

🛠️ Purpose & Design Philosophy
This workflow is a high-fidelity environment built for Illustrious. It prioritizes stability and professional texture over generation speed. It follows an "all-in-one" philosophy: configure your prompts, hit queue, and let the workflow handle the multi-stage refinement from start to finish.
Not for Speed: This is a heavy-duty refinement tool. If you want 2-second previews, use a basic workflow.
Personal Use: Built for my specific production needs. It is shared as-is for those who want a "set-and-forget" pipeline for Illustrious. Adjust the settings and models to fit your needs. The defaults on v19+ will be what I used for the sample images.
All-in-One Logic: The workflow handles generation, detailing, and upscaling in one continuous pass.
If you're needing something with more features: Try checking out Silly All-in-one, Multiple Characters With Regional Loras which is on civitai. I have no plans to implement additional features.
⚠️ Disclaimer & Compatibility
Install at Your Own Risk: Custom nodes can break your environment. I am not responsible for troubleshooting your specific installation.
ComfyUI: Built and tested on the non-app version. Desktop app users may face additional hurdles.
The "Your Version" Factor: Your node versions and environment are 99.9% likely to differ from mine.
Nodes 2.0: I do not recommend using Nodes 2.0. It creates unpredictable UI behavior; I will not provide support for issues involving this feature.
🤝 Support & Boundaries
I have not and never will monetize my workflow. CivitAI is the only platform I am maintaining this workflow on. If you find a version of my workflow posted and/or monetized anywhere and use it, then whoever posted it is responsible for providing you any support. This is the main reason why I don't monetize this: I don't want to be or feel obligated to provide support.
No DMs: DMs are disabled due to repeat spam. Please check the Discussions tab below; most questions have already been answered.
Modifications: You are free to hack this workflow apart. However, you are responsible for fixing it if it breaks.
Custom Requests: I do not make private workflows. If you need a custom solution, post a Bounty on CivitAI. There are many talented creators ready to help you for a fee.
Description
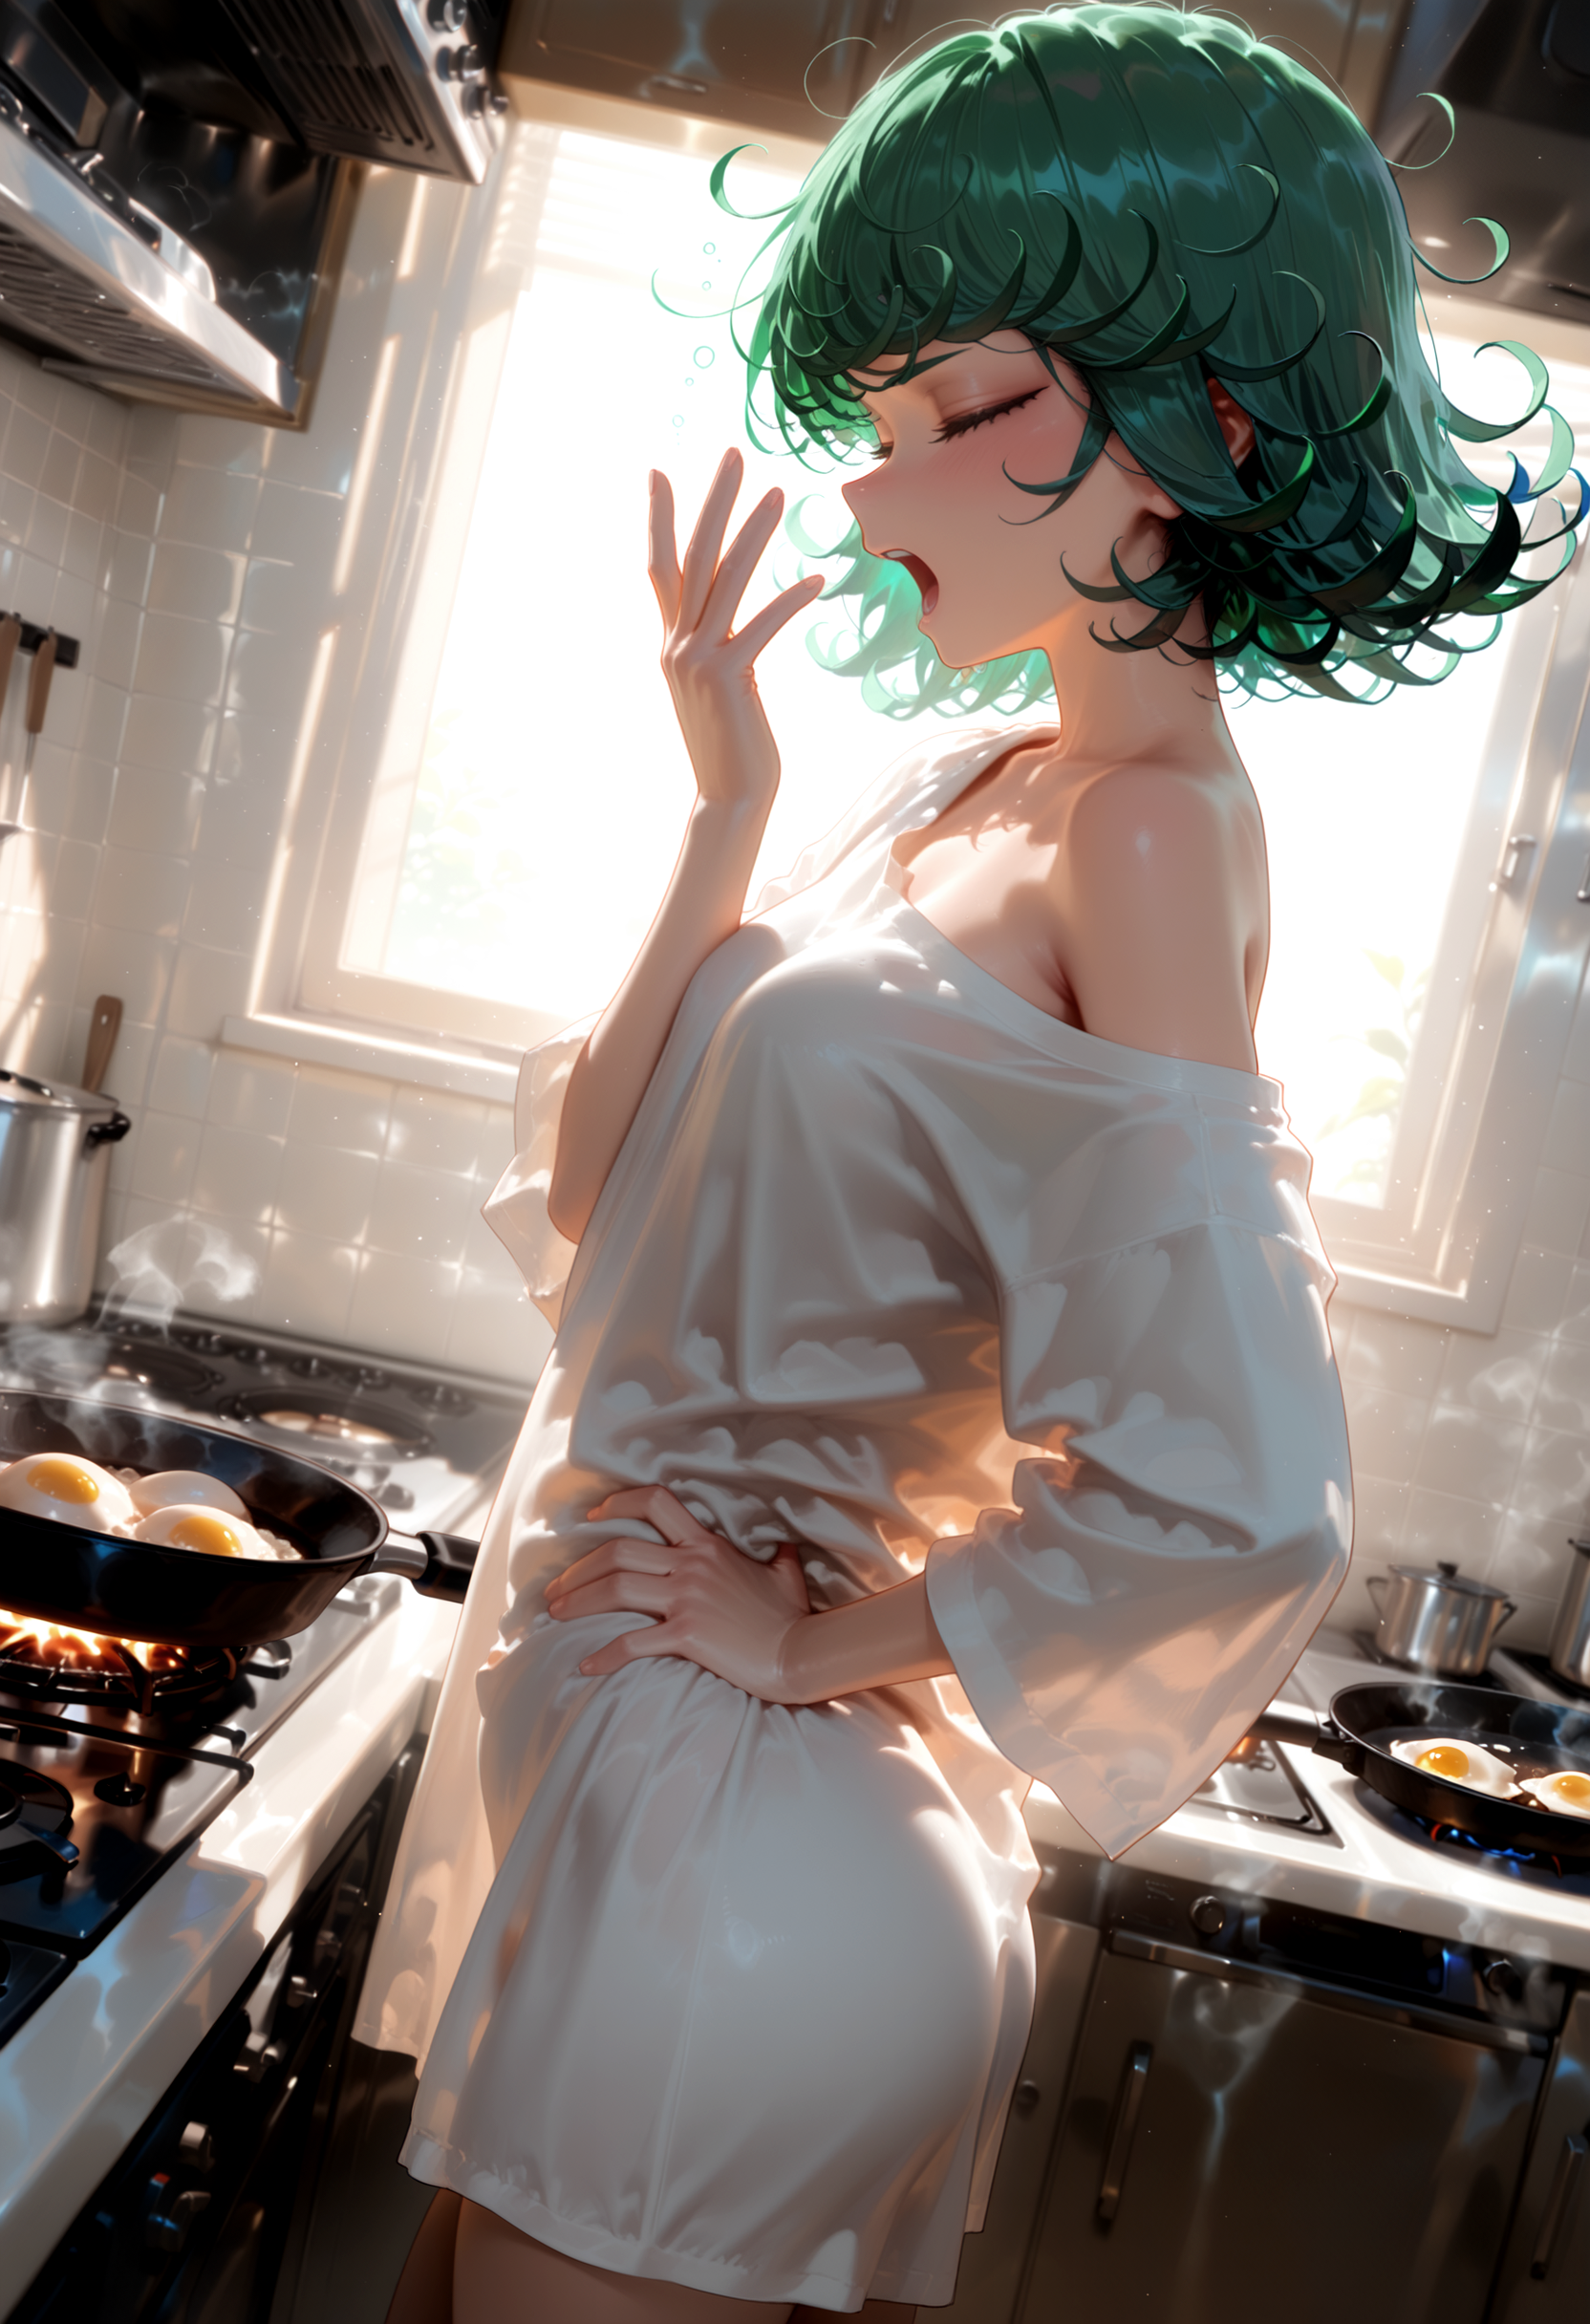
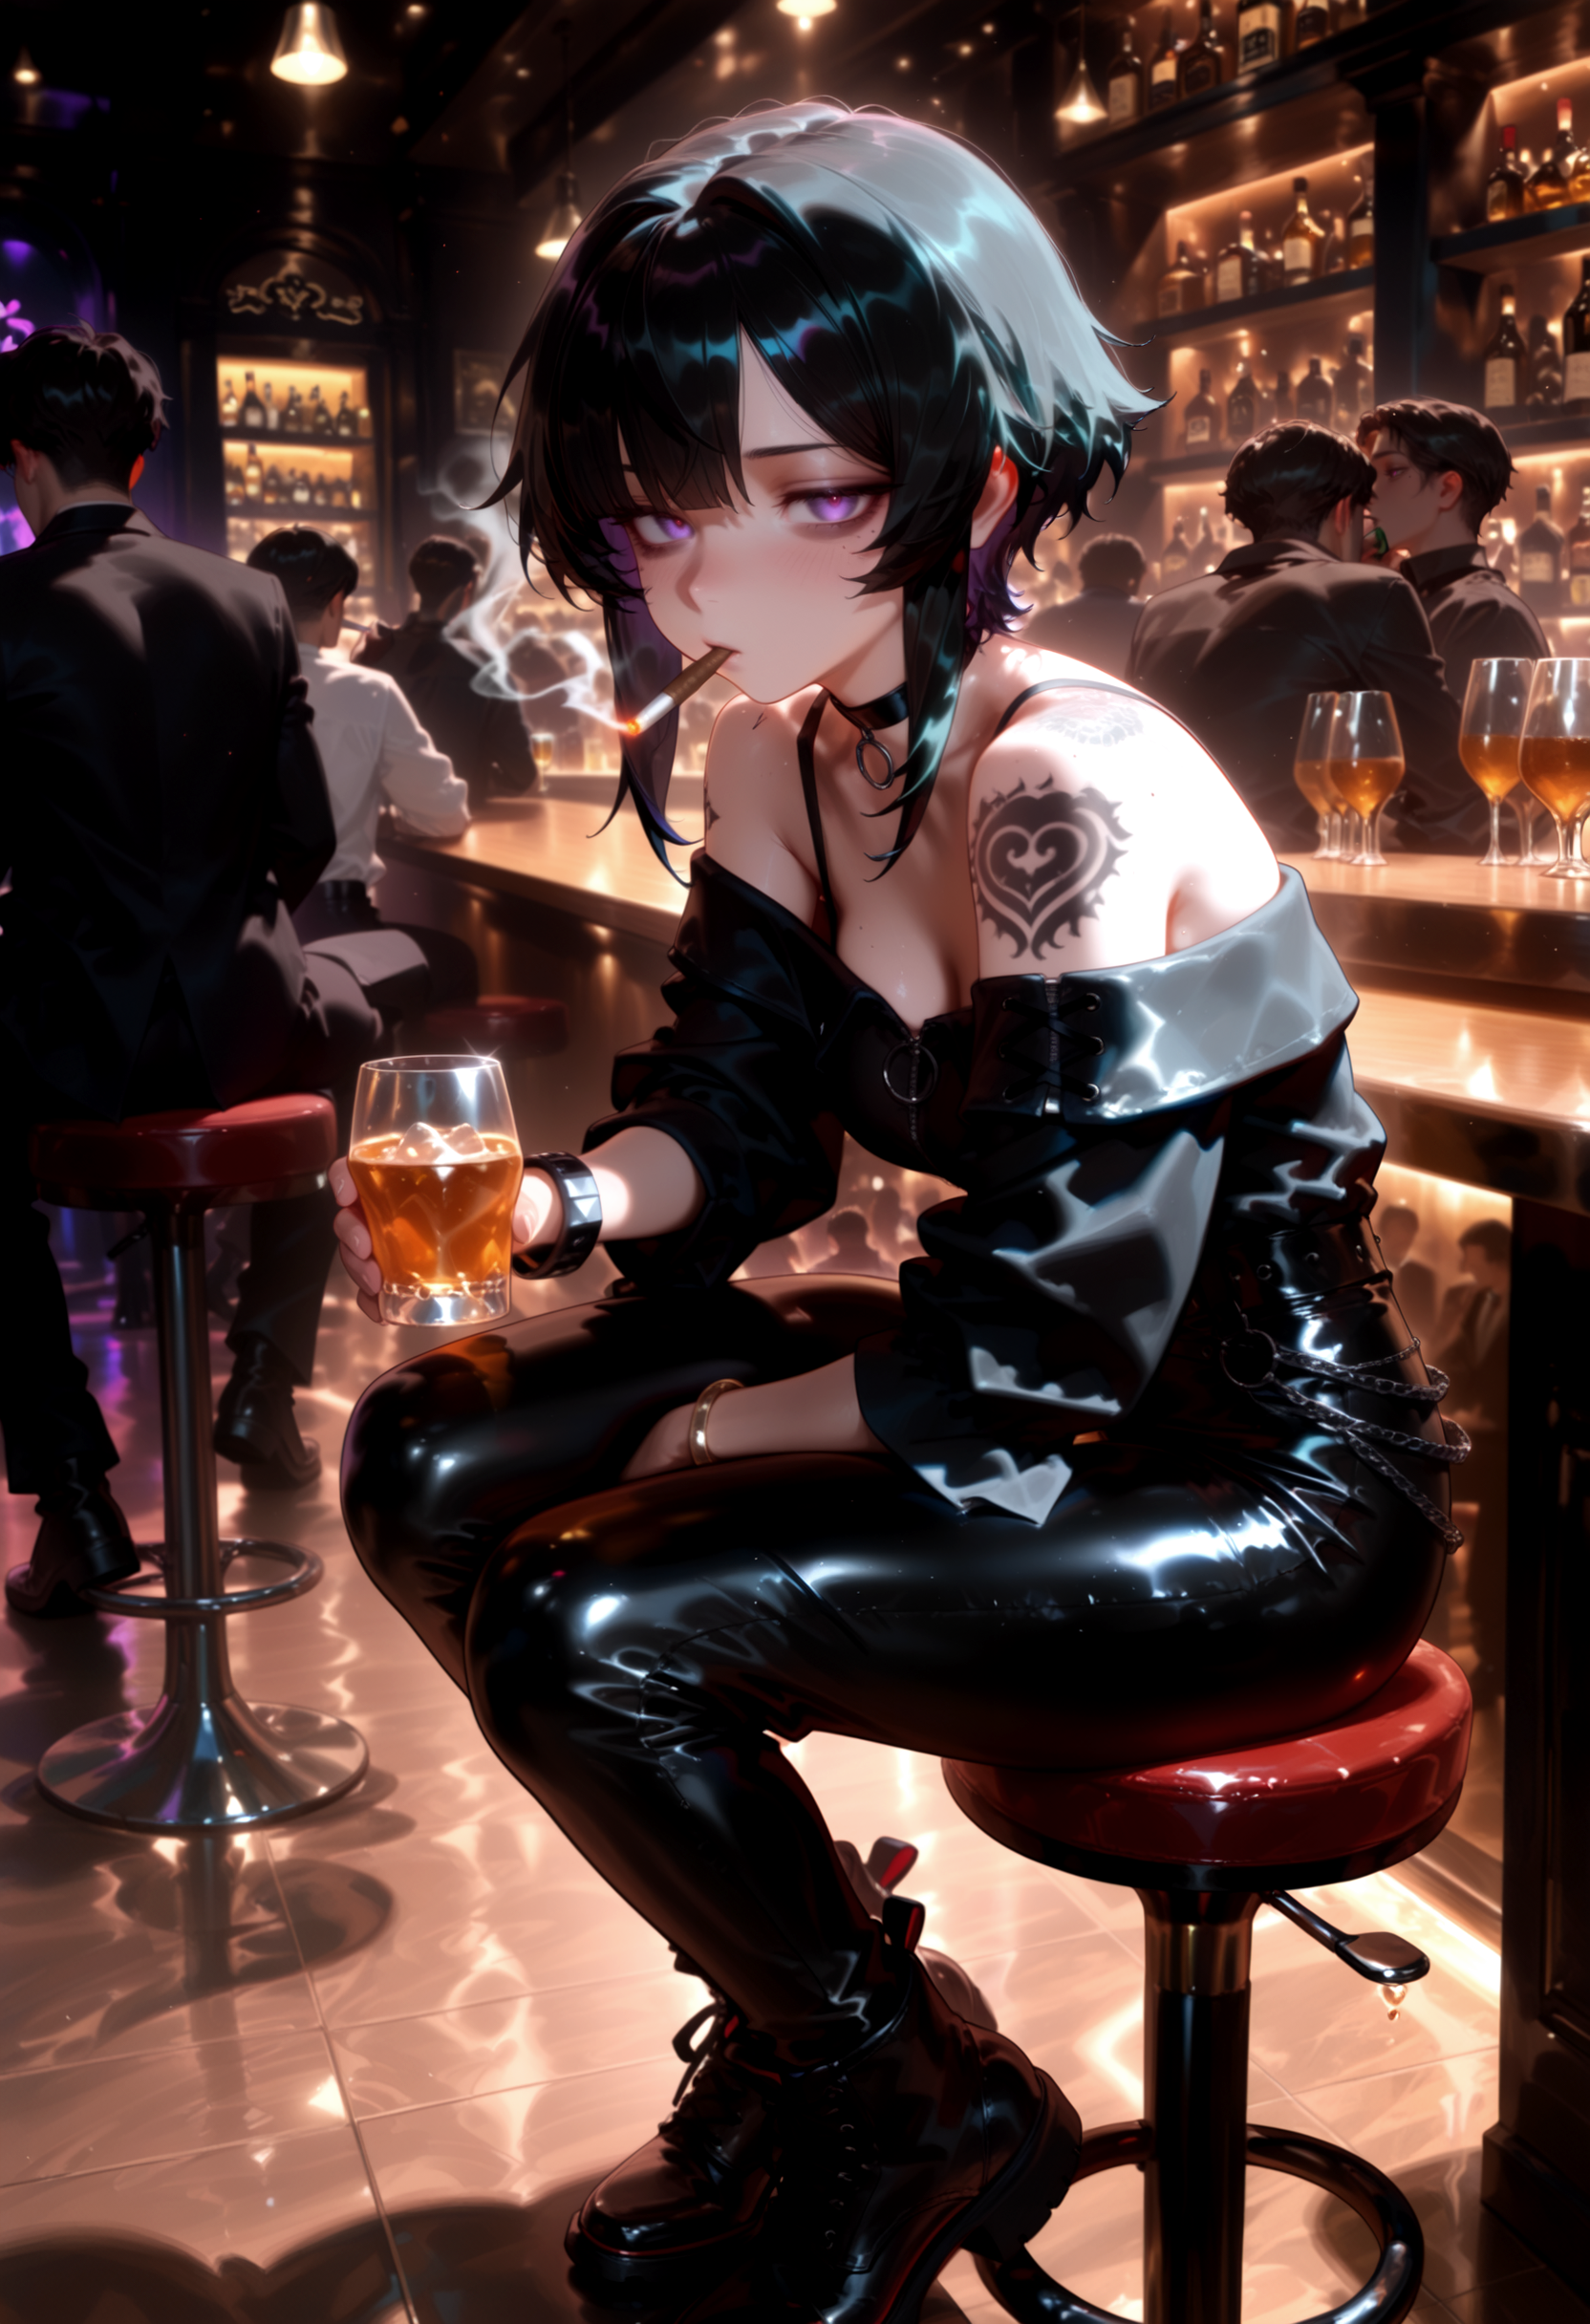
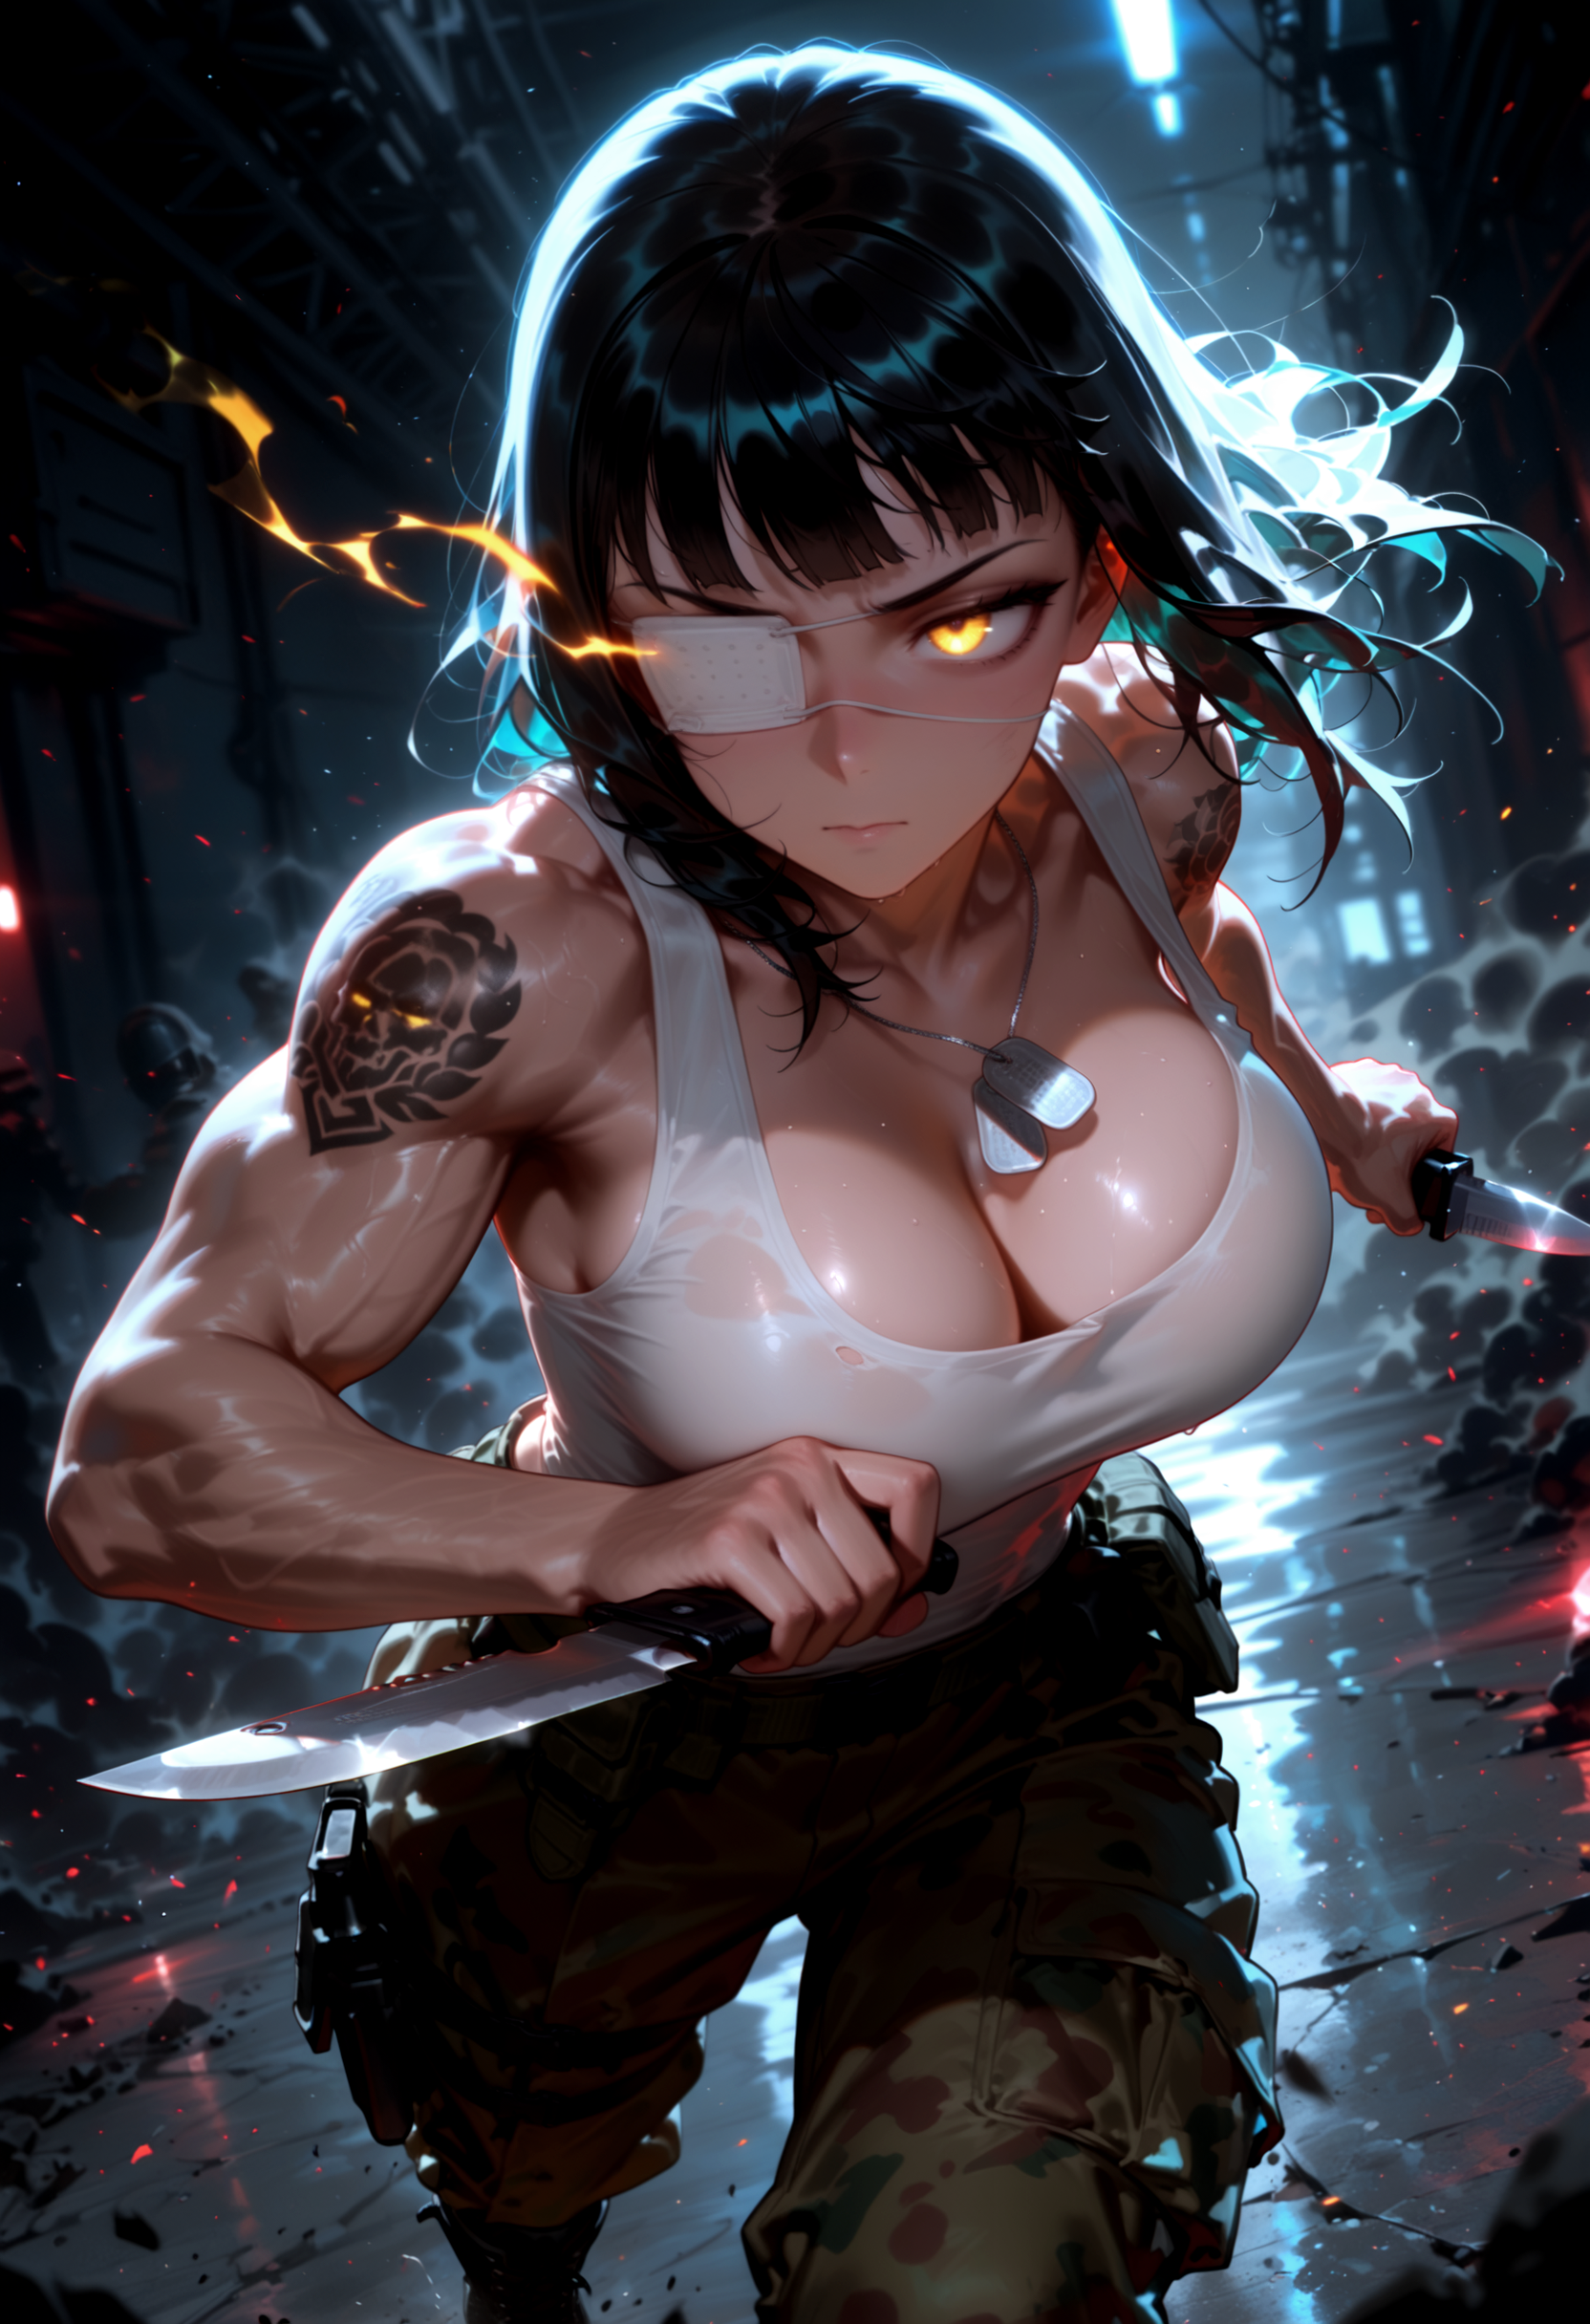
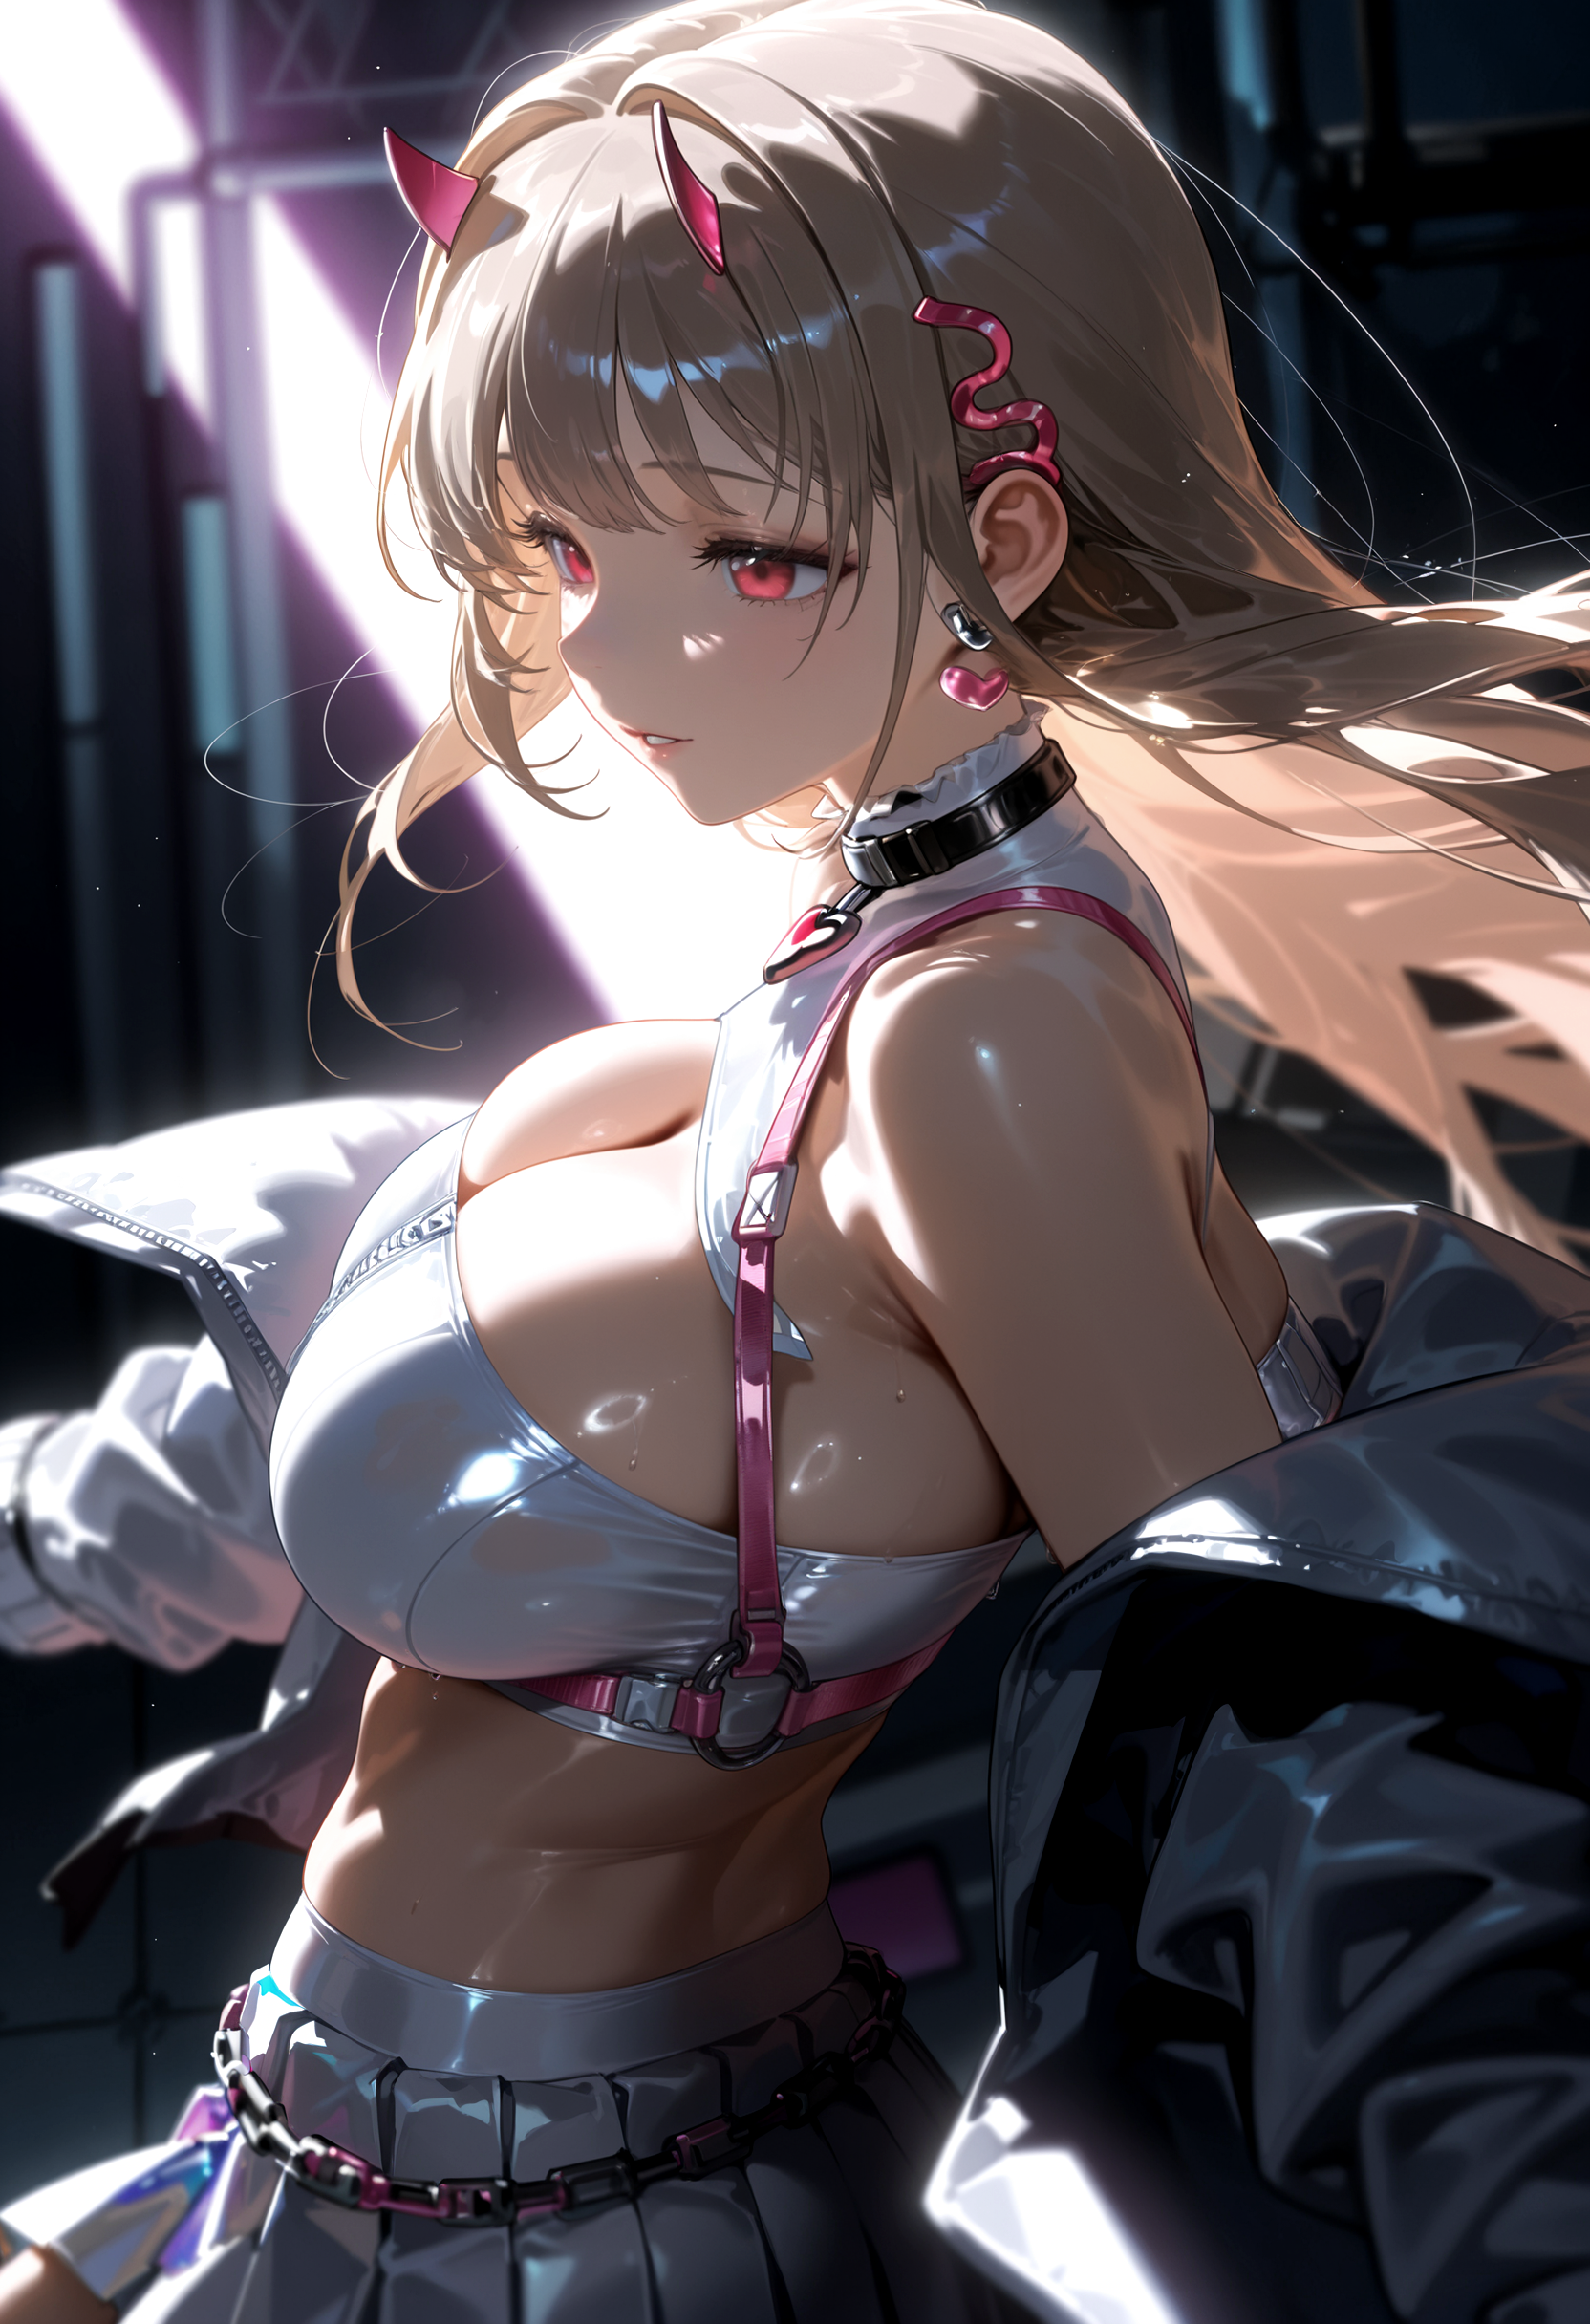
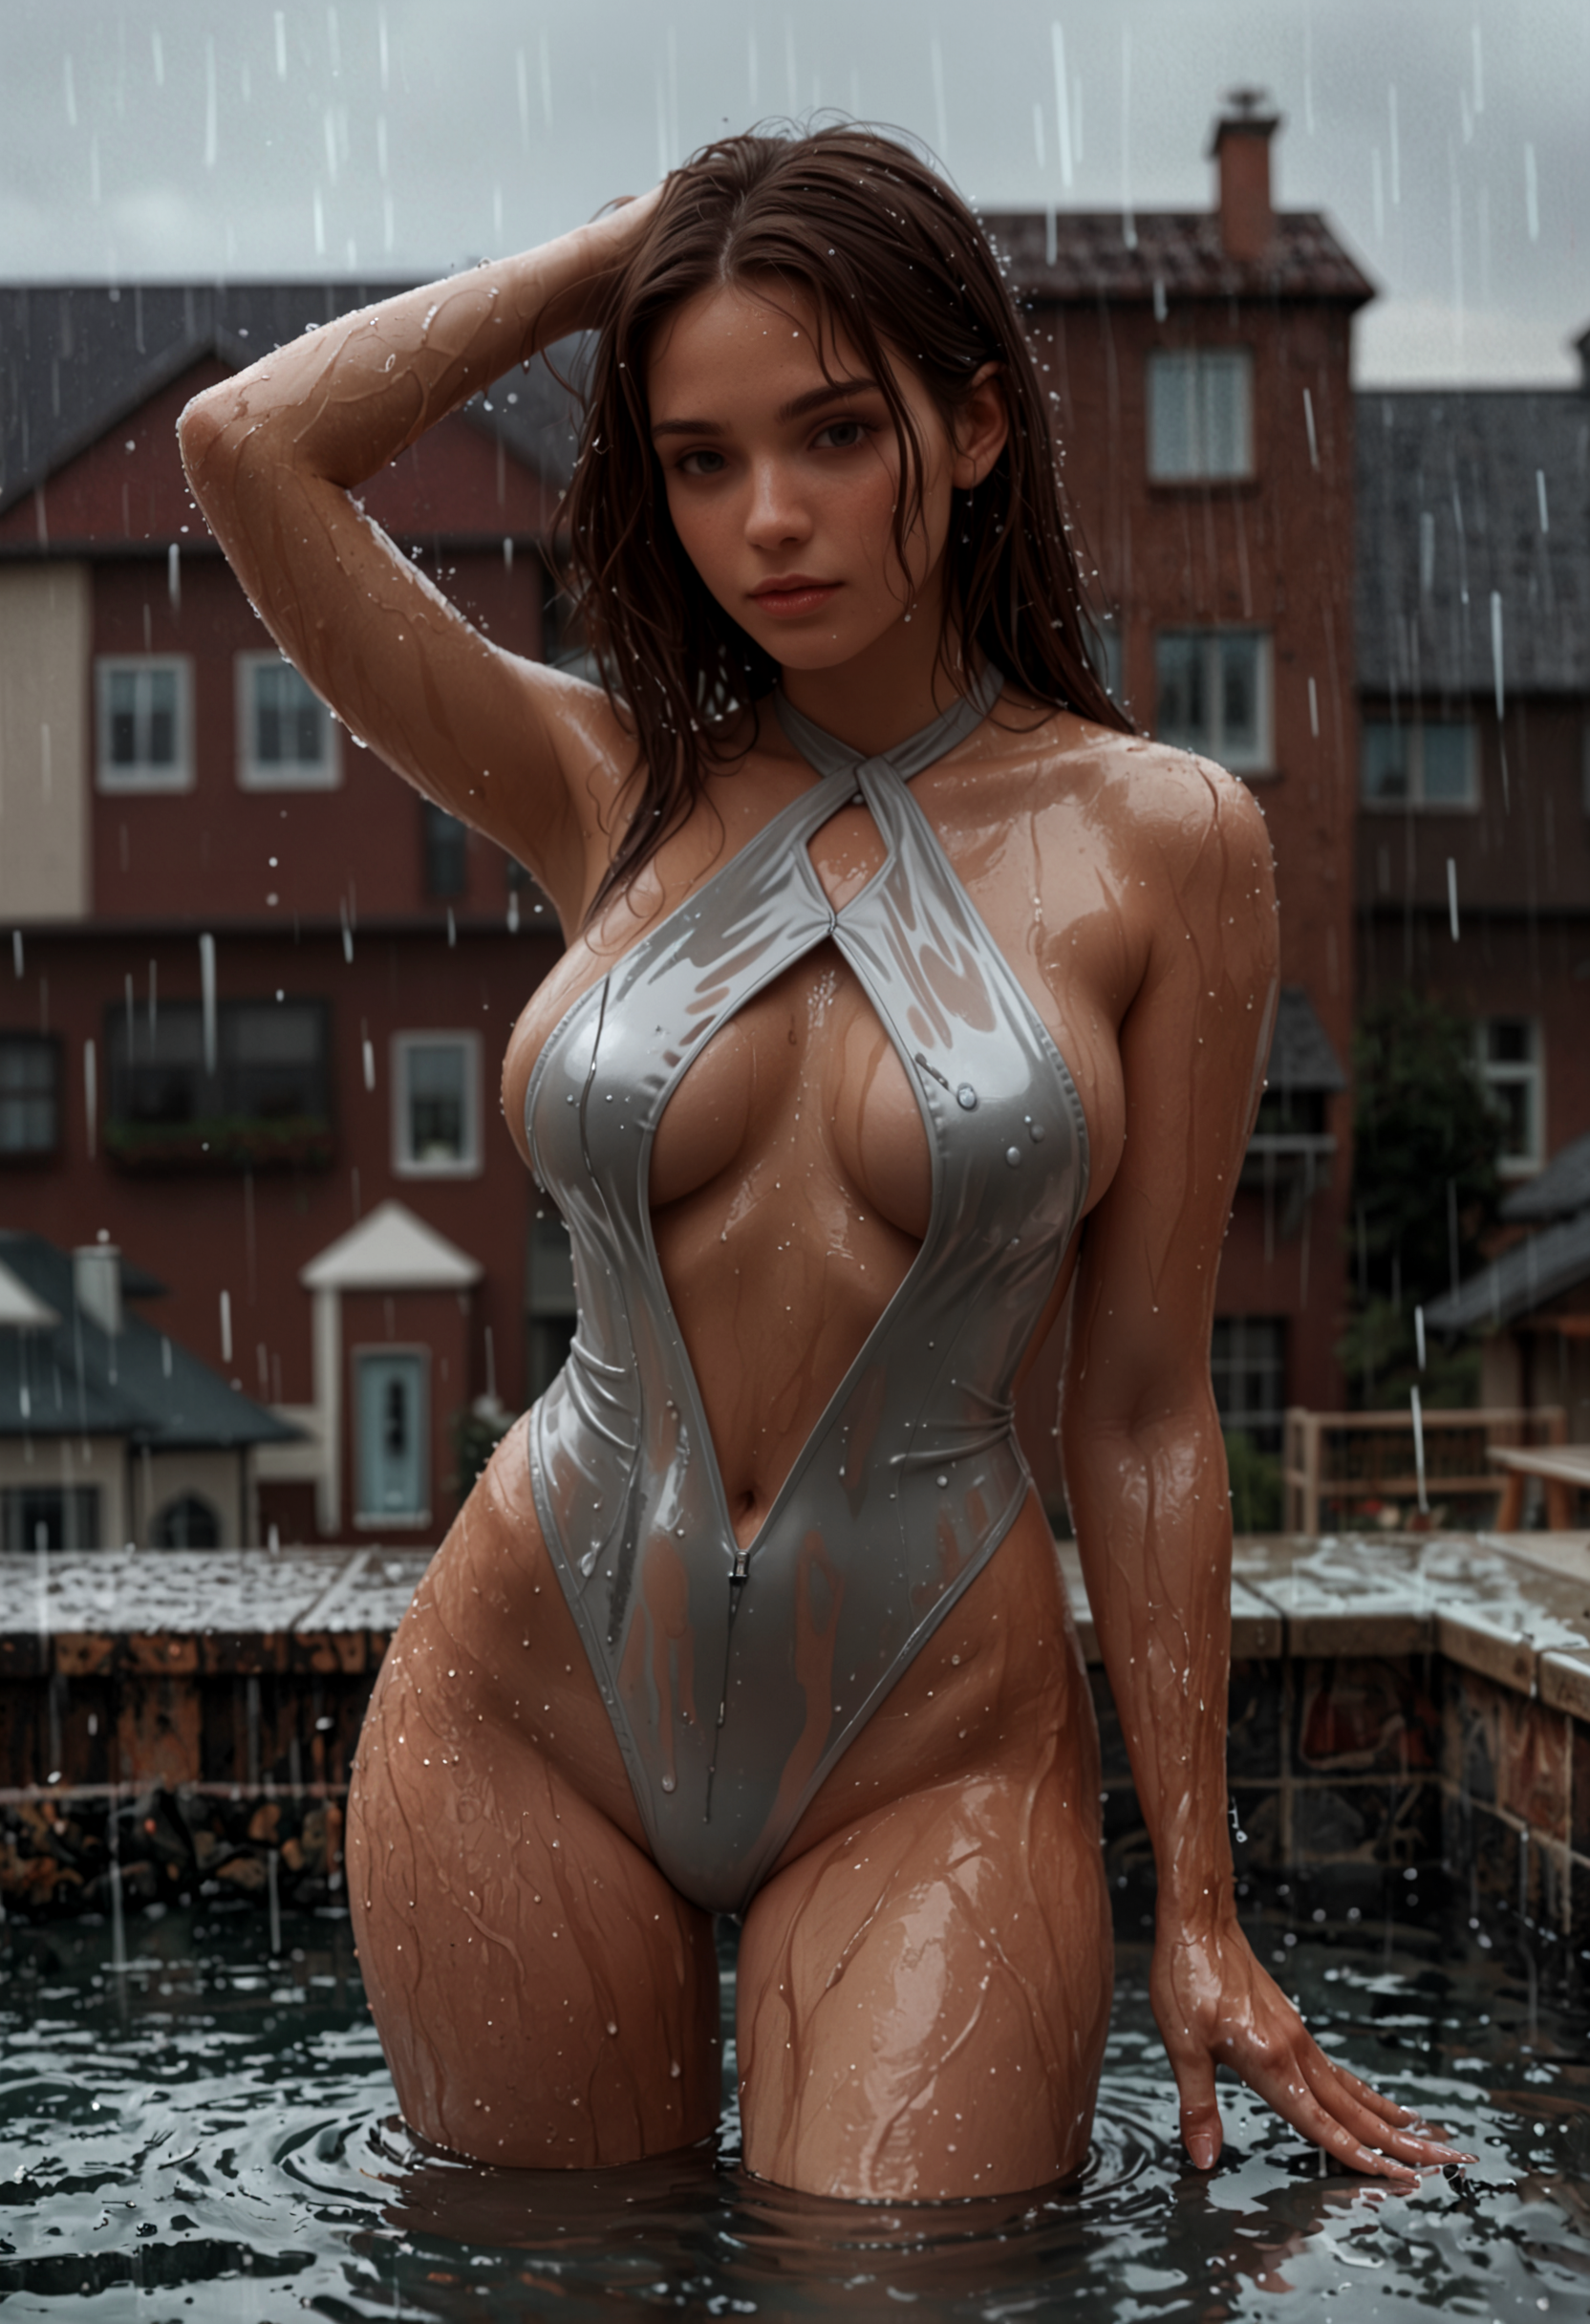
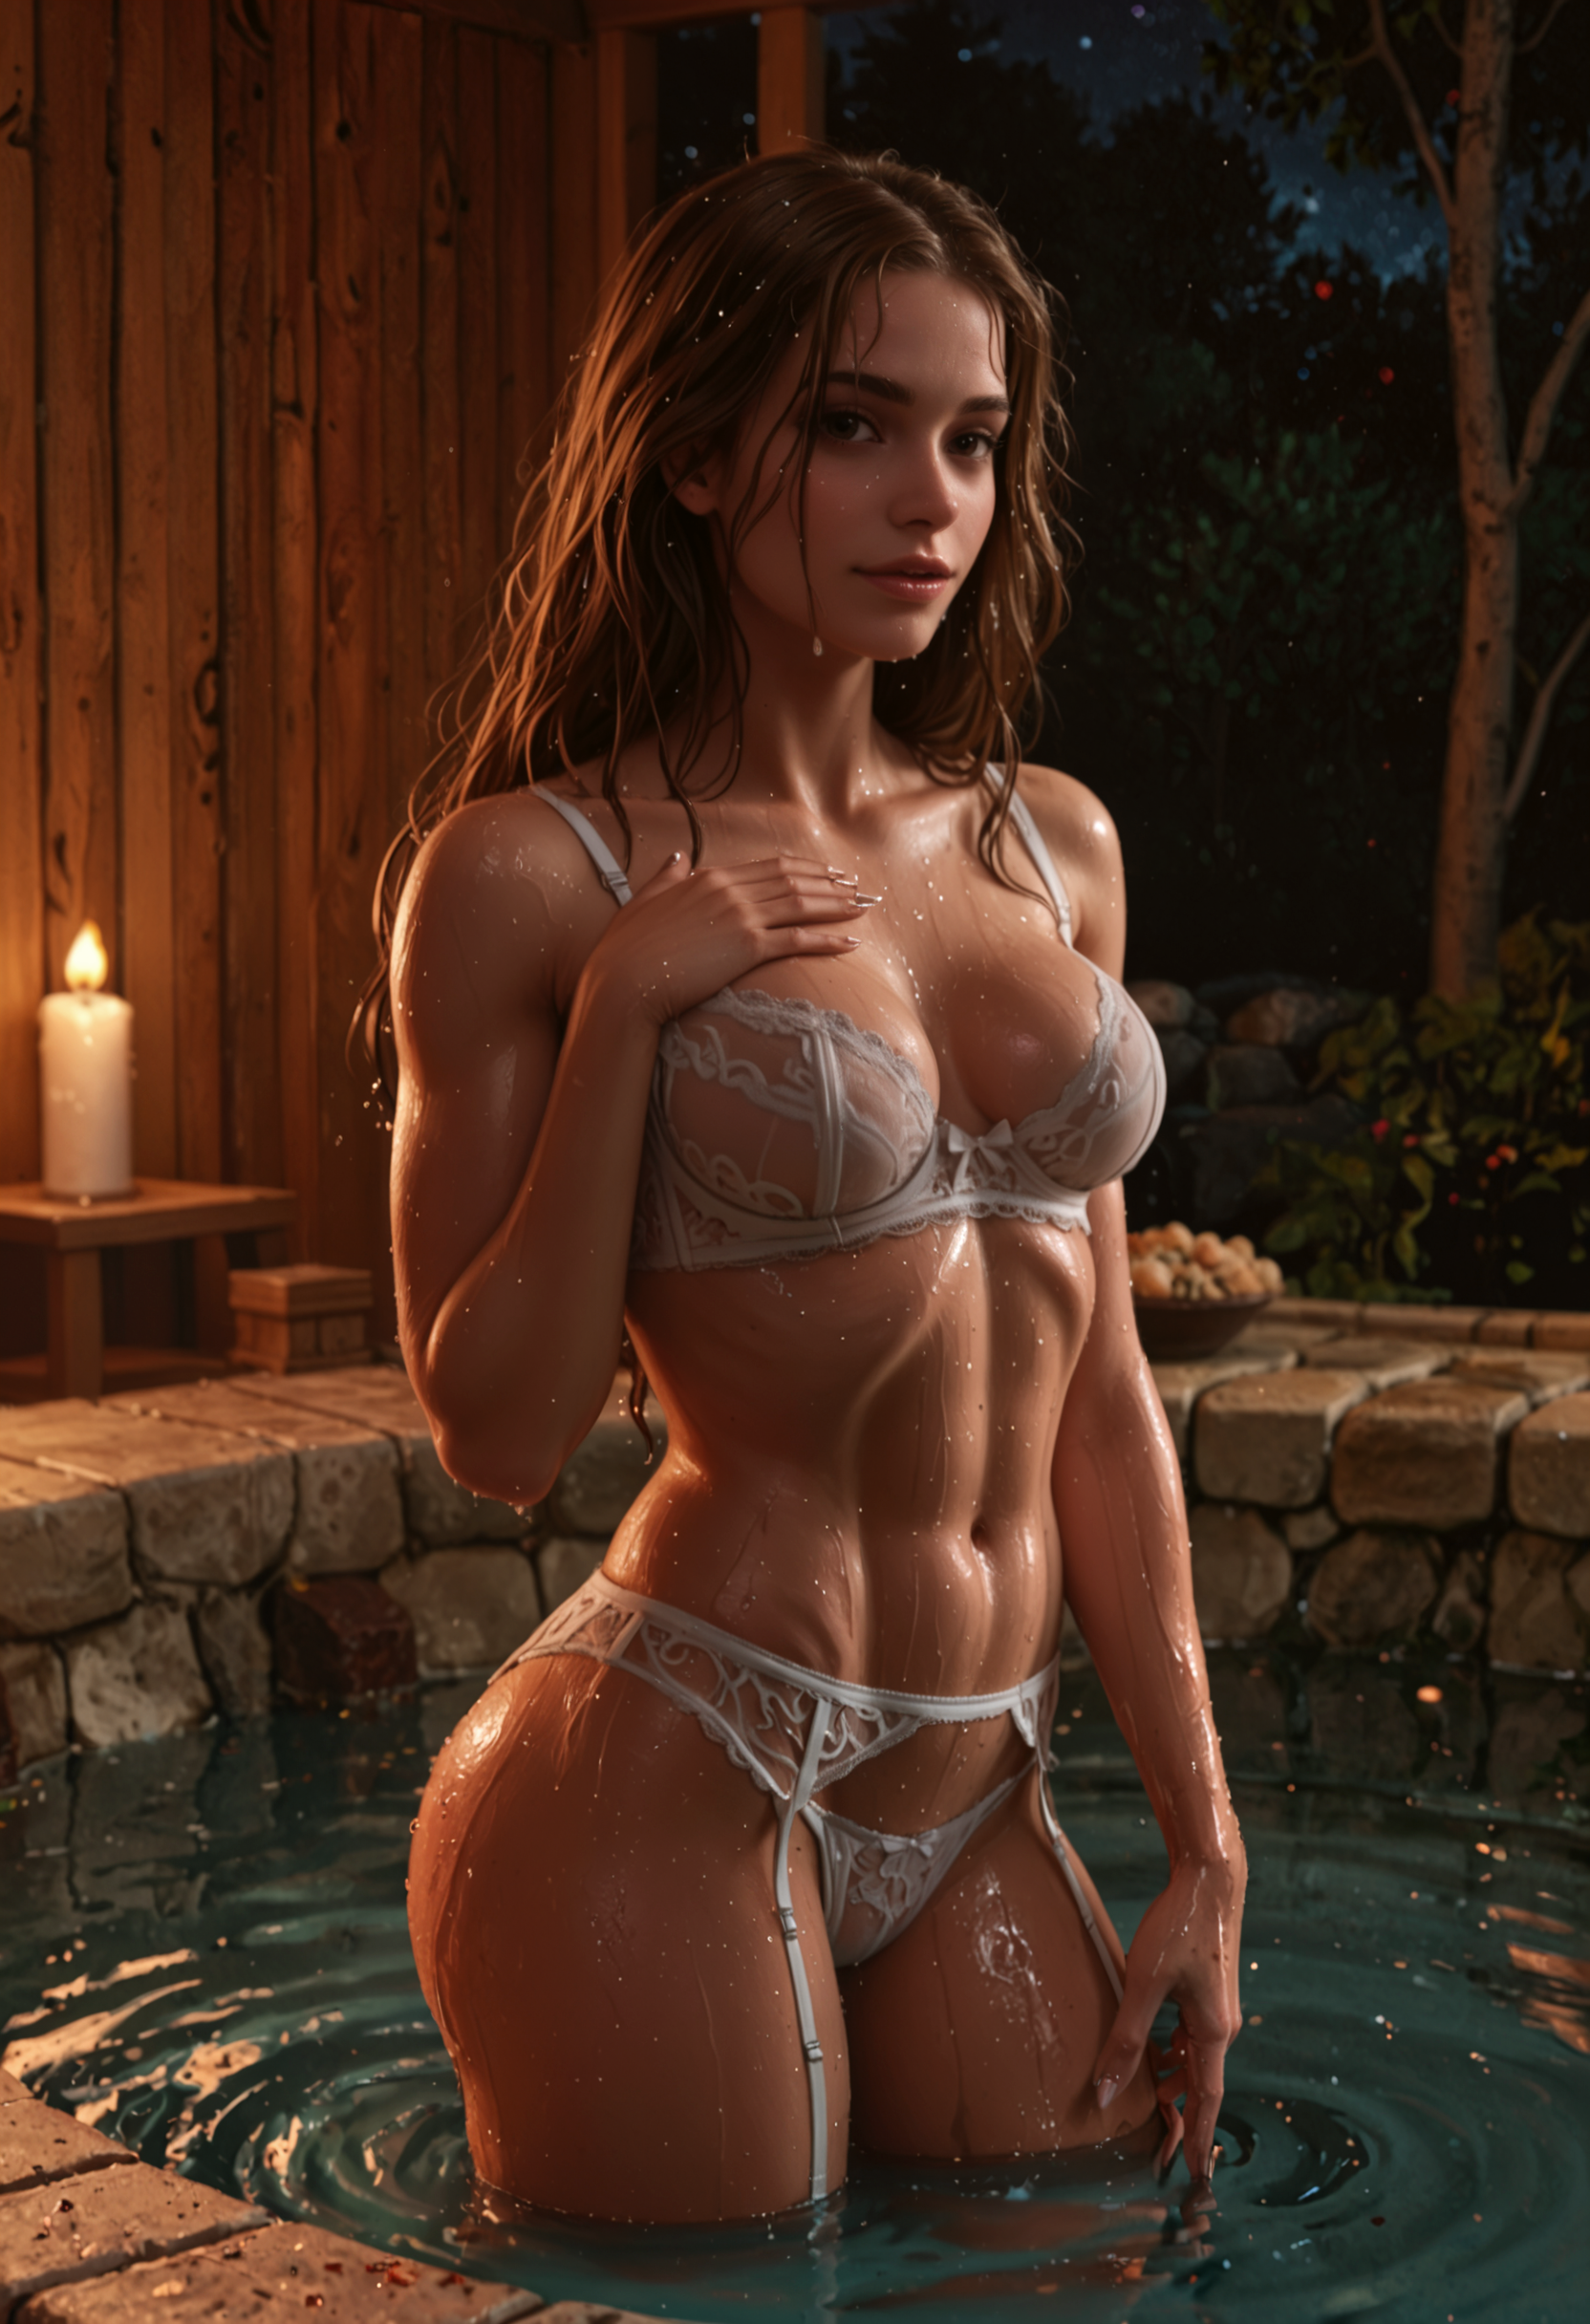
Updated file to have a single default version plus image examples of various settings that can be drag and dropped into your comfyui on your browser.
The image examples should cover most usage scenarios.
v5b changes:
Dropped ComfyUI-Adaptive-Guidance
Did not seem beneficial enough to keep in the workflow
To make full use of it, I would have to create a toggle for the normal node and the negative node version at a minimum.
I got better results when just using a standard guider node in many cases.
Added a switch from ComfyUI_Comfyroll_CustomNodes that allows the IMG2IMG group to be bypassed.
This node just changes the latent source going into the first KSampler.
You will still have to have an image placed in the Load Image node AFAIK, but you can try not having one there and see if it works.
Added a switch to allow for either latent upscaling or upscaling image with model below the 1st KSampler.
This affects what latent source feeds into the 2nd KSampler.
The 2nd KSampler by default is set to 1x Upscale, but you can adjust it to a higher number. I use it as a 2nd pass KSampler.
I've included 3 versions of the workflow with different settings.
The one I used to make the sample images will be the demo_settings version.
With everything turned on and USDU set to Half-tile: it takes about 4 minutes from start to finish on my 3060.
FAQ
Comments (24)
NEW VERSION LETSSS GOOO
Had to update the demo_settings version. I uploaded it with the wrong upscale setting on the 2nd KSampler. but otherwise it should be fine!
Thank you very much, teacher. You are my guiding star.
Your actuallySimple workflow helped me so much. I tried constructing workflows myself, but none of them produced the level of quality your workflow produces. Thanks for sharing! 😁🙏
Glad to hear it helped!
Any chance of making this available for on-site generation? Would love to play around with it.
I didn't know that was a thing for workflows, but I'll take a look.
Yeah, doesn't look like that's a thing on civitai. I have it uploaded at openai also. You could try there.
Aw boo. Oh well , thanks for checking! Sadly I don’t have the hardware or extra funds to take my dabbling elsewhere, but thanks nonetheless!
no problem. It might be worth suggesting to the civitai devs, if it hasn't been already.
Very good workflow. How to realize the image-to-image function? The effect of adjusting the noise reduction value is not obvious.
The denoise level will vary depending on how much change you want. I have used 0.75, but that is to my preference. The denoise level can vary depending on what you like. There is no magic number that works for everyone.
I updated the workflow archive file to include an image example of using the IMG2IMG function. You can drag and drop that image into your comfyui to see the settings I used. If the denoise settings are making enough or too much of a change, then try adjusting your CFG also.
@Gladas thank you very much
Going to update the file for v5b soon with some example images that can be drag and dropped into the workflow. For me this is less of a hassle than making multiple json files.
Updated the v5b archive to include image examples that should cover most usage scenarios.
I didn't do any ControlNet examples, but I assume if you are using ControlNet, then you know what you are doing.
Workflow has been re-tested with CFG++ and normal samplers with no issues.
If you are encountering something weird, try the settings from the example images and compare them to your settings to see what is different and troubleshoot from there.
Newer does not always mean better for everyone! I create new versions based on what I am experimenting with and like.
As usual, my comfy is on the latest (nightly) version. If you are not on the latest version, then this could be the cause of some of your issues.
Hey I have been using the v4, would you recommend upgrading to any of v5 versions ?
@devishm I think if you're getting the results you like with v4, then you should be fine sticking with it.
I make changes based on my own preferences or just trying new stuff. I personally like how v5b is working for me, but I have gotten at least one person saying they had better luck with one of the v4 versions.
@Gladas hey I wanted to know why did you removed the normal prompt style and included the A111 style prompt, the lora adding is more convenient by use the rg tree's power lora loader
@devishm this is due to personal preference. I like the Impact Wildcard Encoder's way of including the lora in the prompt. It makes it easier for people to see what settings I used for the lora when sharing my prompts. This is also due to compatibility with Image Saver. It's just easier this way for me.
You can always modify the workflow to your preferences or even make your own from scratch and take what you like from mine to suit your needs.
@Gladas ahh okay thank you
going to be clearing out the old workflows, since the mods are blocking some of them for lack of images. This was a result of me removing my X and XXX anime style images.
v4g was removed by the mods. I removed everything older than v4.
If you are no longer seeing a preview image on the Detailer nodes, but want to see them:
Right click on the node.
Convert Widget to Input.
Convert wildcard to Input.
Add a Primitive node (or whatever you prefer).
Connect it to the wildcard input.
This will allow you to add prompts still (if desired).
If you want to use wildcards in this situation, you would have to add the Wildcard Processor node instead of the primitive node (probably).
Not sure if this is due to a comfyui update or Impact Pack update.