
Check the version description below (bottom right) for more info and add a ❤️ to receive future updates.
Do you like what I do? Consider leaving me a tip
Hi, I'm shikasensei, also known as u/Boring_Ad_914 on Reddit. With the hype around Magnific AI, I found myself drawn to achieving similar results. Initially, I was inspired by LDWorks' work; however, due to the limitations of their initial workflow, I decided to create my own, thus Ultra Upscale was born.
Currently, my focus has shifted more to tools like Clarity Upscaler and ultimately Magnific AI. However, moving the Automatic1111 workflow to ComfyUI has not been successful because the Tiled Diffusion nodes work differently. If anyone finds a way to achieve this, please let me know and I'll be happy to update the workflow.
In relation to the previous point, I recommend using Clarity Upscaler combined with tools like Upscayl, as this achieves much better results. However, I have updated the workflow because many people use it, and because I myself use ComfyUI in my day-to-day work and find it tedious to launch Automatic1111 just to upscale an image.
Please consider the following:
The workflow currently scales an image from 768x768 to 6144x6144. This doesn't mean it's limited to square images; rather, the workflow increases your image size by 8 times. Therefore, for larger images, it will take longer. One option would be to resize the image to 768 or 1024.
Before commenting on any issues with the workflow, ensure all necessary nodes are installed, update ComfyUI, and all nodes.
IMPORTANT: To install the missing nodes, you will have to install ComfyUI Manager. Once installed, you will have to click on "Install missing nodes" and install each node that appears.
Additional resources:
I hope you find this workflow helpful. Please let me know if you have any questions or suggestions.
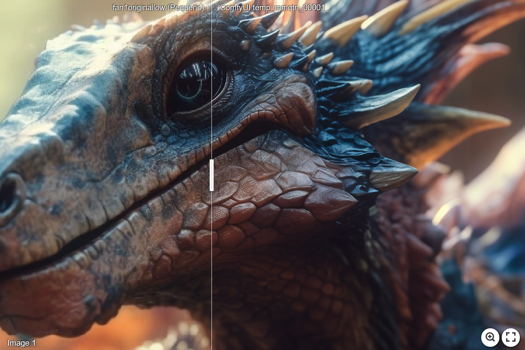
Links to examples:
Description
Check the version description below (bottom right) for more info and add a ❤️ to receive future updates.
Do you like what I do? Consider leaving me a tip
Recently, with the rise of MagnificAI, I became interested in how to increase the size of images without losing detail or modifying composition. I came across the work of u/LD2WDavid, who mentioned having trouble going beyond 6k. Based on their research, I developed a workflow that allows scaling images to much higher resolutions, while maintaining excellent quality.
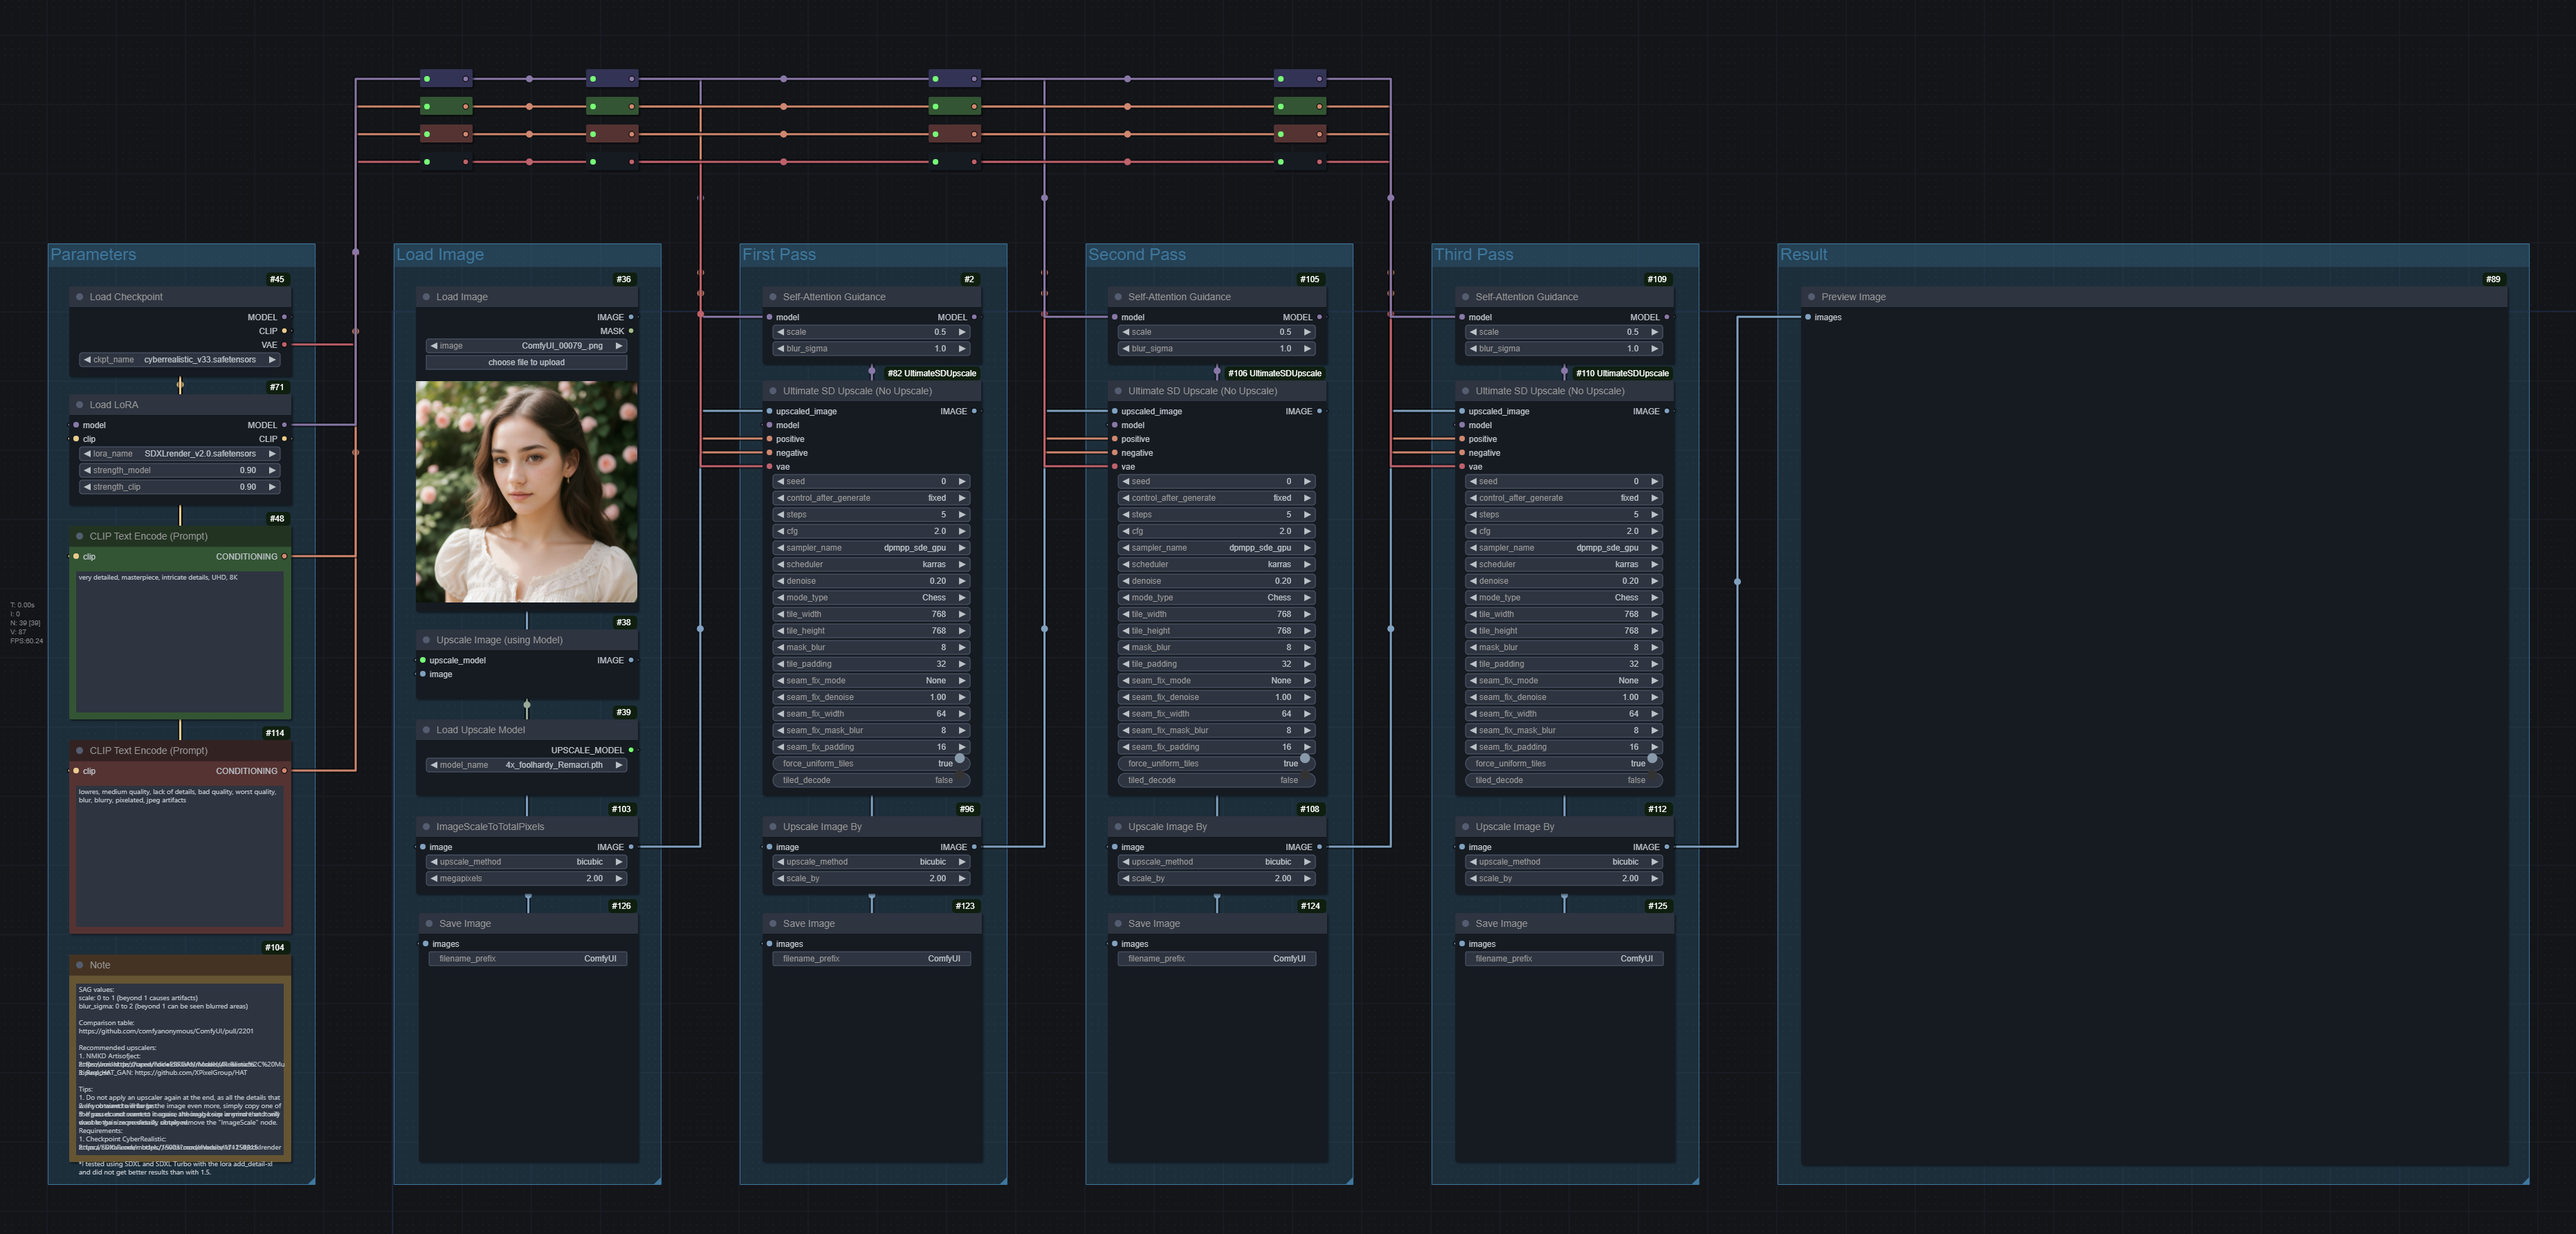
The workflow is based on the use of Ultimate SD Upscale (No Upscale) and the use of Self-Attention-Guidance (SAG).
I have tested this workflow with images of different sizes and compositions, and the results have been very satisfactory.
The model used was CyberRealistic with the LoRA SDXLRender. SD 1.5 was used because no better results were obtained with SDXL or SDXL Turbo.
It is likely that using IP-Adapter would allow for better results, but that is something I will be testing soon. For now, I am a bit busy.
The processing time will clearly depend on the image resolution and the power of your pc. In my case, with an Nvidia RTX 2060 with 12 GB, the processing time to scale an image from 768x768 pixels to 16k was approximately 12 minutes.
In the workflow notes, you will find some recommendations as well as links to the model, LoRa, and upscalers.
Links to images for examples
FAQ
Comments (19)
A 3MB workflow file size?! Jeez!
How will I ever store this 3MB workflow, oh well back to download 6GB checkpoints xD
Sorry that I wasn't more clear. I was just thinking it must be some massively complicated workflow for it to be so large. But after downloading it, I see that it's a zip file with a 3MB image in it. 😂
Some people are used to load the workflow by dragging the workflow image, so I included the image as the .json file.
I tried this out, but I got this:
"When loading the graph, the following node types were not found:
ImpactMakeTileSEGS
DetailerForEachDebugPipe
Upscale Model Loader
ToBasicPipe
Image Comparer (rgthree)
Nodes that have failed to load will show as red on the graph"
I ran the comfy ui updater before launching.
download the comfyui manager from here, then run it again. Manager will automatically download any nodes you're missing. Just click on what you need downloaded, it does the rest
That worked, Thank you!!
@Light7799 may I know where to download?
how do I use this?
learn comfyui..
https://openart.ai/workflows/academy - I recommend starting here.
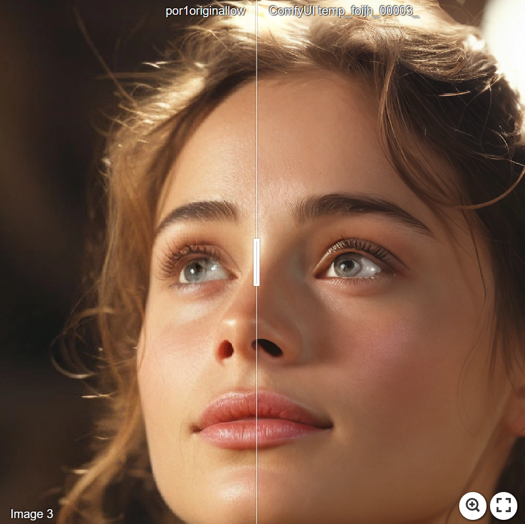
Where are the original images from in your examples? If using a generated image, are you using the same prompt for upscaling as generation? I feel like the original images in your examples have a more natural feel to them and the ultra upscaled versions look like someone went a little too hard with the sharpening filter and it makes them look less natural.
The images are taken from the Magnific.AI site, so no, they are not generated by me.
garbage comfy ui childish connecting game
Thanks for this workflow, it does a great job! Here's an example, based on a photo I took: https://imgsli.com/MjMxODI2
I lost the original raw file a long time ago, and I think your v2 worked great.
I tried v2.1 (both the 4x and 8x versions) and I think 2.0 does an overall better job without as much tiling artifacts.