


First i recommend reading the Part 1. It explains the extension and settings. Remember to leave some ⭐(~ ̄▽ ̄)~
I have planned to expand more on multidiffusion tutorials:
Workflow on multidiffusion + controlnet tiling
Maybe inpaint workflow tutorial
If you have something you would like to see tutorial on let me know in the discussion.
Please leave feedback and images you manage to create with the tutorial :)
⬇Updates and information below ⬇
Updates:
05/07
V1.0 of Region prompt control
Tutorial focused on Region prompt control.
05/01
V1.0 of Multidiffusion IMG2IMG Workflow
Tutorial more focused on scaling in IMG2IMG
04/29
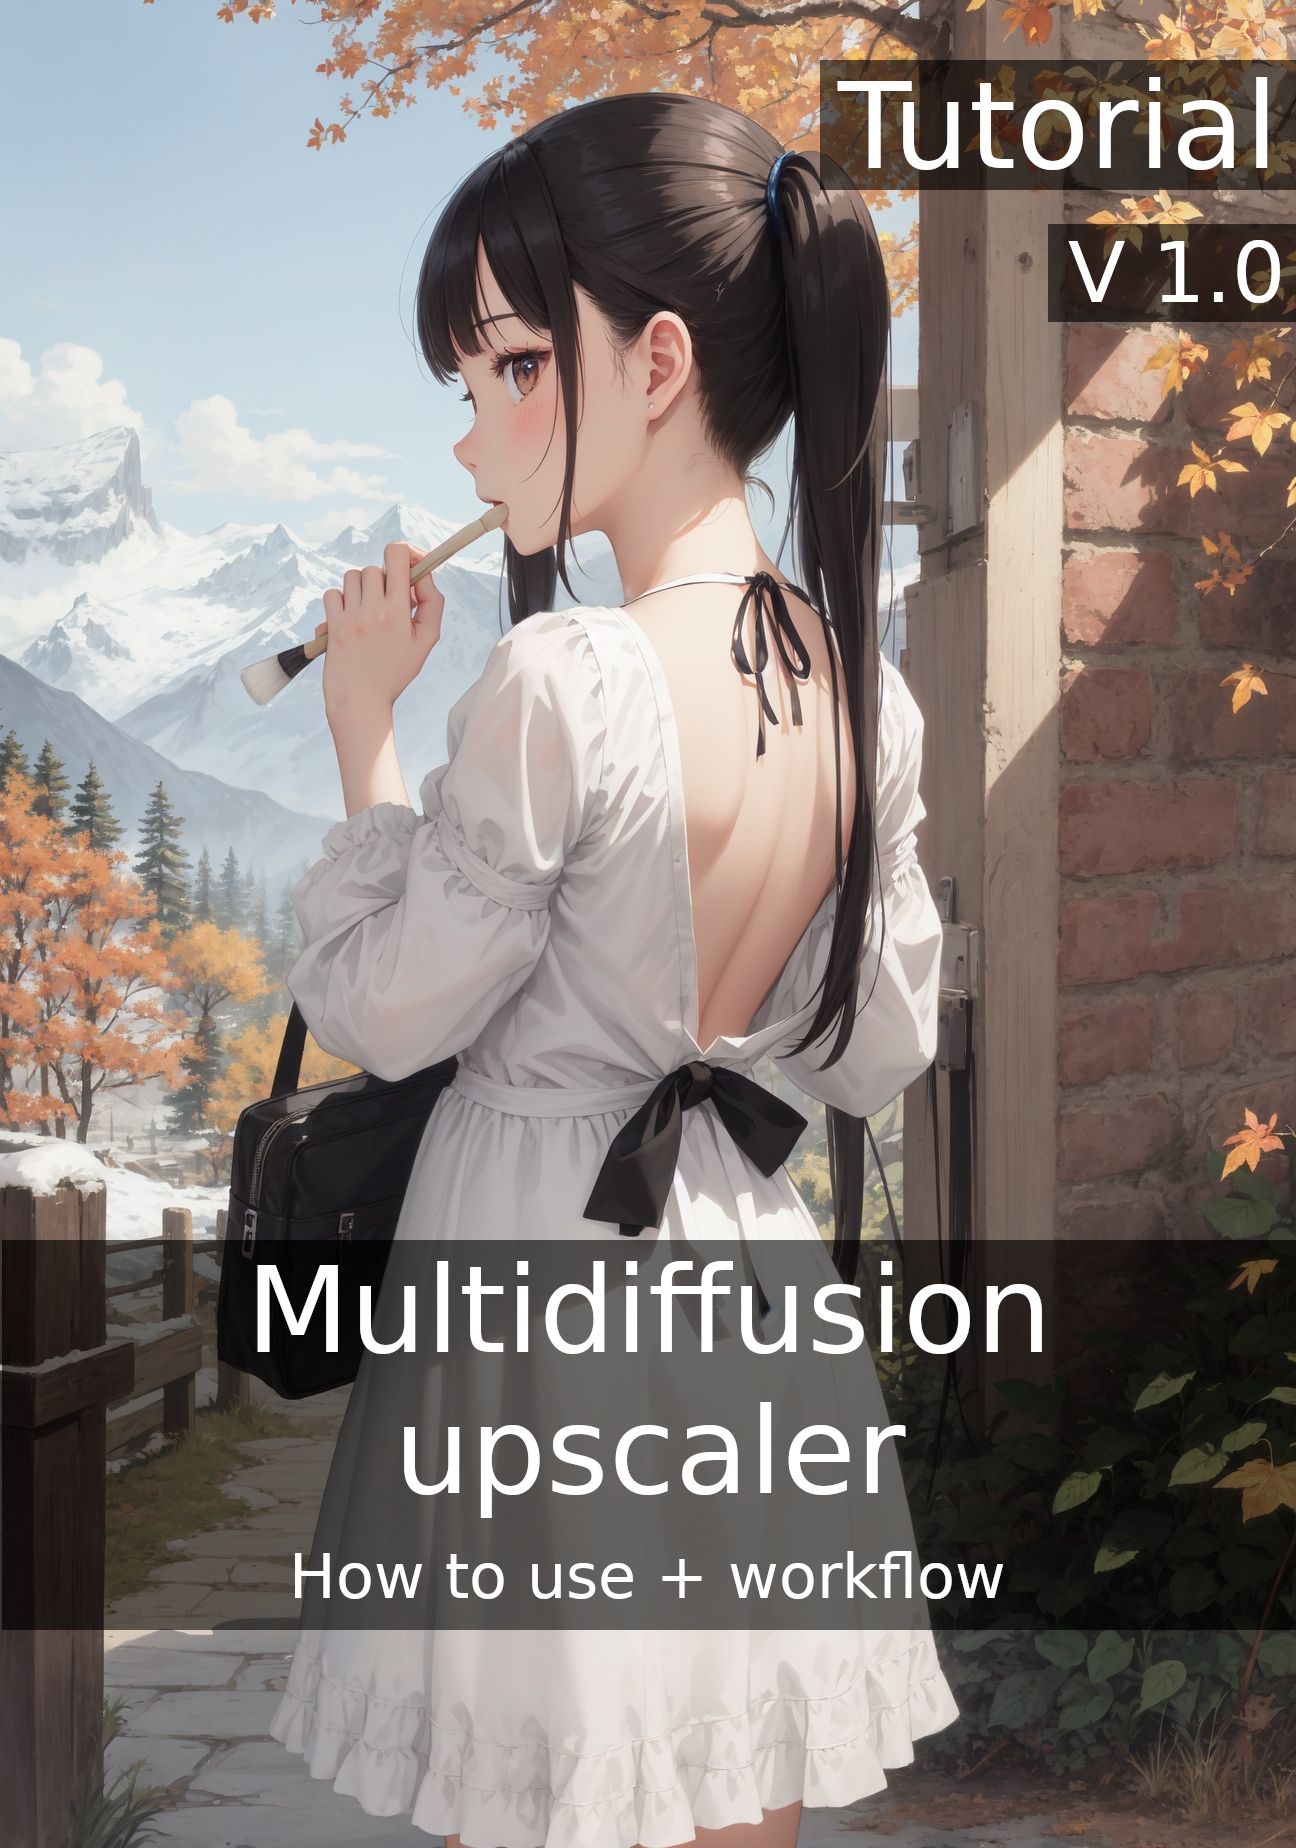
V1.2 of Multidiffusion upscaler how to use + workflow
Clarified few things in the tutorial
04/25
V1.1 of Multidiffusion upscaler how to use + workflow
Fixed some typos, uncompressed images, wording
04/24
V1.0 of Multidiffusion upscaler how to use + workflow
multidiffusion upscaler for automatic1111
Disclaimer
This is information i have gathered experimenting with the extension. I might get something wrong and if you spot something wrong with guide, please leave comment. Any feedback is welcome.
I am not native English speaker and write such text. I can't do anything about that. :)
I am not the creator of this extension and i am not in any way related to them. They can be found from Gitgub . Please show some love for them if you have time :).
Description
V 1.2 Clarified few things in the tutorial
V. 1.1 Fixed some typos, removed image compression, clarified few things
V. 1.0 New better tutorial
FAQ
Comments (53)
my issue i keep get the same face on all the figures in the image. how to get different face for each? what prompt or whatever will work?
Hey, it could be issue with the model, you could try to change hair, eyes color, try emotion like smile etc.. If you are talking about inpainting, then the issue could be too low Denoising strength.
@Potatovision i mean this...u can see the settings i use and model and prompts in meta data. it doenst matter the model i still get look a like faces
images2.imgbox.com/f1/71/BZdQeOUu_o.jpg
@emotionaldreams4 Hey, can't see any settings from the image, maybe the site you uploaded it in removes metadata. You could try to specify each girl. Like "Girl in the left has x, girl in the middle has x, girl in the right has x. I do not know if this actually works. Can you post your prompt on this post, so i can check.
@Potatovision (3girls, multiple girls:1.3) a photo of skaijackson wearing white evening gown standing together with [(ariana) wearing red evening gown and (zendaya) wearing yellow mini skirt], (laughing), (facing viewer), movie stars, modelshoot style, (extremely detailed CG unity 8k wallpaper), Intricate, High Detail, Sharp focus, dramatic, photorealistic painting art by midjourney and greg rutkowski , (waist chain), ((movie premiere gala)), ((standing on the red carpet)), ((paparazzi in the background)), (looking at viewer), (detailed pupils:1.2), dimly lit
Negative prompt: (((kids))), (((child))), (((children))), (((loli))), canvas frame, cartoon, 3d, ((disfigured)), ((bad art)), ((deformed)),((extra limbs)),((close up)),((b&w)), blurry, (((duplicate))), ((morbid)), ((mutilated)), [out of frame], extra fingers, mutated hands, ((poorly drawn hands)), ((poorly drawn face)), (((mutation))), (((deformed))), ((ugly)), blurry, ((bad anatomy)), (((bad proportions))), ((extra limbs)), cloned face, (((disfigured))), out of frame, ugly, extra limbs, (bad anatomy), gross proportions, (malformed limbs), ((missing arms)), ((missing legs)), (((extra arms))), (((extra legs))), mutated hands, (fused fingers), (too many fingers), (((long neck))), Photoshop, video game, ugly, tiling, poorly drawn hands, poorly drawn feet, poorly drawn face, out of frame, mutation, mutated, extra limbs, extra legs, extra arms, disfigured, deformed, cross-eye, body out of frame, blurry, bad art, bad anatomy, 3d render, (knees), (full body), (((nsfw)))
Steps: 35, Sampler: Euler a, CFG scale: 7, Seed: 2471623824, Face restoration: CodeFormer, Size: 512x768, Model hash: 61b359f3fe, Model: NSFW-Style_consistentFactor_v30, ENSD: 31337
@emotionaldreams4 Hey, it could be face restoration. And i would recommend using textual inversion negatives instead of long list of negative. Those can be causing issues too if they are strong. Are those "skaijackson" "ariana" "zendaya" LORA's or special commands in the model? Could be that it takes the first and inserts the face from it to all of them.
Did fast generate, and to my eye the faces seem different https://i.imgur.com/VJklzJU.jpg
(3girls, multiple girls:1.3) a photo of skaijackson wearing white evening gown standing together with [(ariana) wearing red evening gown and (zendaya) wearing yellow mini skirt], (laughing), (facing viewer), movie stars, modelshoot style, (extremely detailed CG unity 8k wallpaper), Intricate, High Detail, Sharp focus, dramatic, photorealistic painting art by midjourney and greg rutkowski , (waist chain), ((movie premiere gala)), ((standing on the red carpet)), ((paparazzi in the background)), (looking at viewer), (detailed pupils:1.2), dimly lit
Negative prompt: (low quality, worst quality:1.5), [Unspeakable-Horrors-16v:Unspeakable-Horrors-24v:0.5],
Steps: 50, Sampler: Euler a, CFG scale: 13, Seed: 774200380, Size: 512x712, Model hash: e2f6e0733a, Model: coffeemix_v20, Denoising strength: 0.45, Clip skip: 2, Tiled Diffusion: "{'Method': 'MultiDiffusion', 'Latent tile width': 64, 'Latent tile height': 80, 'Overlap': 56, 'Tile batch size': 8}", Hires upscale: 2, Hires upscaler: 4x-UltraSharp, Dynamic thresholding enabled: True, Mimic scale: 7, Threshold percentile: 100, Mimic mode: Half Cosine Up, Mimic scale minimum: 4, CFG mode: Half Cosine Up, CFG scale minimum: 4
Saved: 00425--774200380-coffeemix_v20-Euler a.jpg
@Potatovision "skaijackson" "ariana" "zendaya" are texture inversions
@emotionaldreams4 Those could be causing the issue, try without them and see if the problem still persists
tried ur suggestion. but still same faces..ugh
@Potatovision ..what u mean try without them? i wanted to those 3 in the same image(or something similar). they work fine by themselves though
@emotionaldreams4 Using many Loras ,hypernetworks or embeddings don't always work well with eachother. For example you have 2 persons and use 2 different character loras. Sometimes it only takes character from one of the loras and adds them to both persons.
You ser, are a scholar and a fine gentleman!
Thank you for kind words your excellency 😊
You are using multidiffusion incorrectly. It's suppsoed to be used to make large upscales and add detail. You only use 1.1 scale on a high res image, which defeats the purpose. You can skip the high res step and use img2img on the first image and use scale 2 or more.
Hey, thank you for your input. It does say in the tutorial along the lines of "higher scale give more detail". Yes maybe i should have used higher scale on the img2img to make it more clear. In my opinion tiling is the most amazing thing about this extension, it does add detail alongside with the upscaling. In my opinion this extension is more than just a upscaler.
There is different ways to use the upscaling, for example t2t -> img2img 1.3x ->img2img 1.3x upscaling can give more details with right settings than just simply doing 2x upscale.
The main idea of this tutorial was to give general idea of what things do.
Thanks for feedback, i will clarify this in the tutorial when i have more time.
@adry Hey, i did update on the tutorial and clarified it more clearly that hires. fix is not necessary and you can just jump in to img2img and do 2x upscale for example ;)
Thanks again.
hopefully someone will do video tutorial :/ too much for my brain T_T
:P
Hey thanks for the tutorial. i have been trying some of your prompts but i cant find the Tiled Diffusion upscaler and Tiled Diffusion scale factor settings in the Tiled Diffusion section. I installed the extension from: ( https://github.com/pkuliyi2015/multidiffusion-upscaler-for-automatic1111 ) that i think is the right repo but these settings just wont show up. Can you guide me what i am doing wrong? and how can i fix it?
Hey, upscaler and scaling is only available in img2img. There is button in text2image under the generated image called "send to img2img", with that button you can send the image to img2img and scale it there :)
Let me know if you need more help!
@Potatovision ah I see. Can you guide me to how i can get detailed/clear eyes in a full body shot image? No matter what I try I always get blurry eyes. I tried the upscaling methods from various youtube videos but they never work. What would be the best workflow for it? I see people upload full body images with detailed eyes but I just cant figure it out.
Thanks for the quick reply mate <3
@gtama979728 a bit busy at the moment, i will give reply in 10-15 min
@Potatovision Sure no problem. I am testing the inpainting method you mentioned in the guide right now. Hoping the it works.
@gtama979728 The eyes can be a bit tricky sometimes, and also depends a lot on model you are using. Some can do faces from far and some are bad at it. FP32 models are better at it.
Adding things like (detailed eyes:1.1), (extremely detailed blue iris:1.2) helps. Detailed, intricate detail, highly detailed, extremely detailed, realistic. Pretty much any quality tag is going to enhance them in some way. This depends on model how it reacts.
Higher the resolution more detail, this is pretty obvious, and multidiffusion helps with this a lot, as you can bring the resolution up with tiling.
Upscale, using upscaler like 4x-Ultrasharp that i mentioned in the tutorial is pretty good at bringing detail.
inpaint is the best if you want something really detailed, but can be really time consuming.
These are some tips that i can think of now, let me know if you need more help.
@gtama979728 This was with (detailed eyes:1.1), (extremely detailed blue iris:1.2) and upscaled to 1328x2016 , no inpainting in this. https://civitai.com/images/629594?period=AllTime&periodMode=published&sort=Most+Reactions&view=categories&modelVersionId=54518&modelId=34726&postId=175950
@gtama979728 forgot to mention sampling steps, some sampling methods like euler a needs more to get detail.
@Potatovision Perfect i will try it
@gtama979728 I hope it helps :)
@Potatovision So i tried it in img2img with your guide but the rendering time jumped to 1.5 hours. Everything including the image size was same as in the guide. 12 GB VRAM by the way. Any idea why this happening?
@gtama979728 Do you have xformers enabled, that speeds up the generation time and vram usage too. Did you put latent tile overlap too high? What GPU you have? I have rtx 3060 and i think it took like 7-11 minutes to generate with the img2img setting on. Try disabling it if you put it on.
Did you let it generate a little time, it shows longer time at start as it upscales it first.
@gtama979728 Oh yeah, and did you remember to put Latent tile batch size to 8. I think i forgot to write about that in the guide (っ °Д °;)っ That affects time a lot. In the image it is at least 8.
@Potatovision I tried it in txt2img and got some fine details in with hires enabled. Normally, even with hires it doesn't give that much details. But img2img is not working. Yes, Xformers enabled, Latent tile batch size to 8, and RTX 2060 12 gb vram.
@gtama979728 Hmm.. You have tiled VAE enabled and the VRAM usage does not go to max? If it goes to max it can slow it down insanely. What does the CMD line say about the tile batches: x, and how many steps it is trying to do?
@Potatovision it showed 1200 tiles i guess
i have retry it to se the vram usage
@gtama979728 Hmm.. Should only show 30-100 🤔 With the settings i have in there.
@Potatovision so, i have Fast Encoder and Fast Encoder Color Fix enabled. do you think it is because of these settings?
@gtama979728 No i don't think that is the issue. There must be something wrong with the tiling settings if it is showing 1500 on CMD.
You have exactly these settings in there https://i.imgur.com/2nnPZ7C.png ?
@Potatovision yes except for the upscaler i am using 4x-ultasharp
Ok so now it worked
@gtama979728 I tested with the exact settings, and it is giving me 2 minutes for generate time. Are you sure it is using your cuda cores? When you have generate on, go to task manager -> performance -> GPU and click 3D and change it to CUDA. It should be using 95-100% of the GPU cuda when generating.
@gtama979728 Oh good :) What was the issue?
@Potatovision hmm i have no idea. Maybe i use Hires in txt2img and sent a 1024x1552 sized image in img2img. Because i am doing without hires and i get 4 mintues for rendering.
@gtama979728 Haha, yeah that definitely sounds like something that would cause it (~ ̄▽ ̄)~
I have planned to expand more on multidiffusion tutorials:
+ Workflow on region prompt control
+ Different workflow text2img -> img2img, more focused on scaling in img2img
+ Maybe inpaint workflow tutorial
If you have something you would like to see tutorial on let me know, and i'll see what i can do.
so, let me tell you.. the img2img part of this extension is actually very IMPRESSIVE... but I dont get the txt2img part on your guide... so whats the point of using tiled diffusion if you gonna use hire fix anyways? isnt redundant? and it might actually be bad for your result (maybe some extra noise or "ghosts"), I learnt a lot, thank you for the guide!
Hey, it is one of my workflows i was testing when i wrote the guide and now looking back i should have started with different route, i will be making another workflow soonish that is more focused on img2img.
The main idea of the guide was to show how things work, and as most people seem to like to use hires. fix it seemed like good idea back then ;)
The img2img part in the tutorial does add more detail, but i should have used higher scaling. I clarified this more in v1.2 version of the guide, that more scaling adds more detail.
Also the tiling adds a lot of detail to the picture, and adds details to hires. fix too.
Yeah the img2img is very impressive, i have been lately testing a lot of loopback img2img and have gotten some interestingly detailed results. Fun thing to experiment with. Have not seen too much ghosts or extra noise, higher tile size usually fixes these. One thing to note, if your images start getting darker it is most likely because you are using model that has baked VAE + using another VAE.
Thank you for the comment, and please leave some images you manage to make :)
@Potatovision ok posted one of my results, if I do t2i from the beginning .. I get ghosts. I think if I lower the denoise on img2img I could fix it.. and I didnt know there was an updated guide. Ill check it out tomorrow for sure, ty for your work
@romoe Hey, I uploaded new tutorial more focused on the img2img workflow
MultiDiffusion hooked into DPM++ 2M Karras sampler. Tile size: 64x80, Tile batches: 1, Batch size: 8 [Tiled VAE]: input_size: torch.Size([1, 3, 563, 563]), tile_size: 480, padding: 32 [Tiled VAE]: split to 2x2 = 4 tiles. Optimal tile size 256x256, original tile size 480x480 | 0/20 [00:00<?, ?it/s] Error completing request Arguments: ('task(o7769ays1rpef3p)', 0, 'portrait of milad,in cyberpunk city, cinematic, hyper resolution, very realistic, very detailed, cyberpunk art, 4k hd wallpaper, trending in artstation, octane render, by greg rutkowski, centered', 'easynegative', [], <PIL.Image.Image image mode=RGBA size=512x512 at 0x121545CBB20>, None, None, None, None, None, None, 20, 15, 4, 0, 1, False, False, 1, 1, 7, 1.5, 0.75, -1.0, -1.0, 0, 0, 0, False, 1200, 1200, 0, 0, 32, 0, '', '', '', [], 0, False, 'prompt keyword', 'keyword1, keyword2', 'None', 'textual inversion first', 'None', '0.7', 'None', True, 'MultiDiffusion', False, 10, 1, 1, 64, False, True, 1024, 1024, 64, 80, 56, 8, 'ESRGAN_4x', 1.1, False, False, False, False, False, 0.4, 0.4, 0.2, 0.2, '', '', 'Background', 0.2, -1.0, False, 0.4, 0.4, 0.2, 0.2, '', '', 'Background', 0.2, -1.0, False, 0.4, 0.4, 0.2, 0.2, '', '', 'Background', 0.2, -1.0, False, 0.4, 0.4, 0.2, 0.2, '', '', 'Background', 0.2, -1.0, False, 0.4, 0.4, 0.2, 0.2, '', '', 'Background', 0.2, -1.0, False, 0.4, 0.4, 0.2, 0.2, '', '', 'Background', 0.2, -1.0, False, 0.4, 0.4, 0.2, 0.2, '', '', 'Background', 0.2, -1.0, False, 0.4, 0.4, 0.2, 0.2, '', '', 'Background', 0.2, -1.0, True, False, True, False, False, 480, 64, False, '', 0, 'Send to Canvas Editor', True, False, 1, False, False, False, 1.1, 1.5, 100, 0.7, False, False, True, False, False, 0, 'Gustavosta/MagicPrompt-Stable-Diffusion', '', False, 7, 100, 'Constant', 0, 'Constant', 0, 4, False, 'x264', 'mci', 10, 5, False, True, True, True, 'intermediate', 'animation', <controlnet.py.UiControlNetUnit object at 0x00000120000754B0>, <controlnet.py.UiControlNetUnit object at 0x00000121545CB910>, False, False, 'Denoised', 5.0, 0.0, 0.0, 'Standard operation', 'mp4', 'h264', 2.0, 0.0, 0.0, False, 0.0, True, True, False, False, False, 1, False, False, False, False, '1:1,1:2,1:2', '0:0,0:0,0:1', '0.2,0.8,0.8', 20, '<ul>\n<li><code>CFG Scale</code> should be 2 or lower.</li>\n</ul>\n', True, True, '', '', True, 50, True, 1, 0, False, 4, 0.5, 'Linear', 'None', '<p style="margin-bottom:0.75em">Recommended settings: Sampling Steps: 80-100, Sampler: Euler a, Denoising strength: 0.8</p>', 128, 8, ['left', 'right', 'up', 'down'], 1, 0.05, 128, 4, 0, ['left', 'right', 'up', 'down'], False, None, None, '', '', '', '', 'Auto rename', {'label': 'Upload avatars config'}, 'Open outputs directory', 'Export to WebUI style', True, {'label': 'Presets'}, {'label': 'QC preview'}, '', [], 'Select', 'QC scan', 'Show pics', None, False, False, 'positive', 'comma', 0, False, False, '', '<p style="margin-bottom:0.75em">Will upscale the image by the selected scale factor; use width and height sliders to set tile size</p>', 64, 0, 2, 'mizuni-concept-v1', 1.0, 1, '', 0, '', 0, '', True, False, False, False, 0, 'Blur First V1', 0.25, 10, 10, 10, 10, 1, False, '', '', 0.5, 1, False, 'Not set', True, True, '', '', '', '', '', 1.3, 'Not set', 'Not set', 1.3, 'Not set', 1.3, 'Not set', 1.3, 1.3, 'Not set', 1.3, 'Not set', 1.3, 'Not set', 1.3, 'Not set', 1.3, 'Not set', 1.3, 'Not set', False, 'None', <PIL.Image.Image image mode=RGB size=512x512 at 0x121545C9DE0>, 1, 256, 256, 127, 81, False, 20, 50, 256, 'D:\\SD\\stable-diffusion-webui/outputs/animation.gif', None, True, None, None, False, '', False, 'Normal', 1, True, 1, 1, 'None', False, False, False, 'YuNet', 512, 1024, 0.5, 1.5, False, 'face close up,', 0.5, 0.5, False, True, [], True, True, True, 0.0, 0, None, 'gif', None, False, None, False, 50, 0, 0, 512, 512, False, False, True, True, True, False, True, 1, False, False, 2.5, 4, 0, False, 0, 1, False, False, False, 'Euler a', 0.95, 0.75, '0.75:0.95:5', '0.2:0.8:5', 'zero', 'pos', 'linear', 0.2, 0.0, 0.75, None, 'Lanczos', 1, 0, 0, '<p style="margin-bottom:0.75em">Will upscale the image depending on the selected target size type</p>', 512, 0, 8, 32, 64, 0.35, 32, 0, True, 0, False, 8, 0, 0, 2048, 2048, 2) {} Traceback (most recent call last): File "Z:\stable-diffusion-webui\modules\call_queue.py", line 56, in f res = list(func(*args, **kwargs)) File "Z:\stable-diffusion-webui\modules\call_queue.py", line 37, in f res = func(*args, **kwargs) File "Z:\stable-diffusion-webui\modules\img2img.py", line 172, in img2img processed = process_images(p) File "Z:\stable-diffusion-webui\modules\processing.py", line 503, in process_images res = process_images_inner(p) File "Z:\stable-diffusion-webui\extensions\sd-webui-controlnet\scripts\batch_hijack.py", line 42, in processing_process_images_hijack return getattr(processing, '__controlnet_original_process_images_inner')(p, *args, **kwargs) File "Z:\stable-diffusion-webui\modules\processing.py", line 594, in process_images_inner p.init(p.all_prompts, p.all_seeds, p.all_subseeds) File "Z:\stable-diffusion-webui\modules\processing.py", line 1056, in init self.init_latent = self.sd_model.get_first_stage_encoding(self.sd_model.encode_first_stage(image)) File "Z:\stable-diffusion-webui\modules\sd_hijack_utils.py", line 17, in <lambda> setattr(resolved_obj, func_path[-1], lambda *args, **kwargs: self(*args, **kwargs)) File "Z:\stable-diffusion-webui\modules\sd_hijack_utils.py", line 28, in __call__ return self.__orig_func(*args, **kwargs) File "Z:\stable-diffusion-webui\venv\lib\site-packages\torch\autograd\grad_mode.py", line 27, in decorate_context return func(*args, **kwargs) File "Z:\stable-diffusion-webui\repositories\stable-diffusion-stability-ai\ldm\models\diffusion\ddpm.py", line 830, in encode_first_stage return self.first_stage_model.encode(x) File "Z:\stable-diffusion-webui\repositories\stable-diffusion-stability-ai\ldm\models\autoencoder.py", line 83, in encode h = self.encoder(x) File "Z:\stable-diffusion-webui\venv\lib\site-packages\torch\nn\modules\module.py", line 1194, in _call_impl return forward_call(*input, **kwargs) File "Z:\stable-diffusion-webui\extensions\multidiffusion-upscaler-for-automatic1111\scripts\vae_optimize.py", line 377, in __call__ return self.vae_tile_forward(x) File "Z:\stable-diffusion-webui\extensions\multidiffusion-upscaler-for-automatic1111\scripts\vae_optimize.py", line 264, in wrapper ret = fn(*args, **kwargs) File "Z:\stable-diffusion-webui\venv\lib\site-packages\torch\autograd\grad_mode.py", line 27, in decorate_context return func(*args, **kwargs) File "Z:\stable-diffusion-webui\extensions\multidiffusion-upscaler-for-automatic1111\scripts\vae_optimize.py", line 618, in vae_tile_forward result[:, :, out_bboxes[i][2]:out_bboxes[i][3], out_bboxes[i][0]:out_bboxes[i][1]] = crop_valid_region(tile, in_bboxes[i], out_bboxes[i], is_decoder) RuntimeError: The expanded size of the tensor (3) must match the existing size (8) at non-singleton dimension 1. Target sizes: [1, 3, 36, 36]. Tensor sizes: [8, 36, 36] [Tiled VAE]: Executing Encoder Task Queue: 98%|███████████████████████████████████ | 355/364 [00:00<00:00, 463.66it/s]
keep getting this error
@hoodady Hey, newest version seems to have caused some errors. There was update 5 hours ago, try to see if it helps. https://github.com/pkuliyi2015/multidiffusion-upscaler-for-automatic1111/issues/155