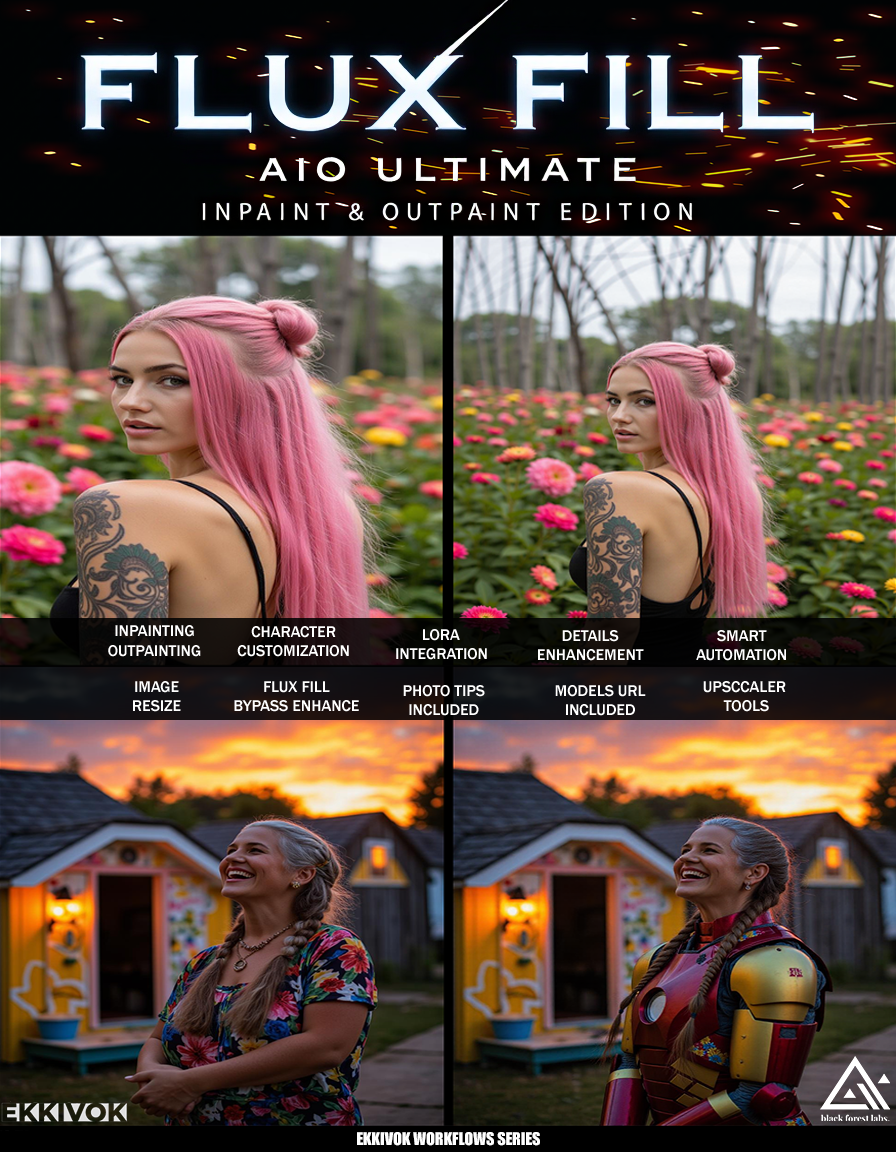


OKAY GUYS LET'S EXPLORE THIS PHOTOSHOP KILLER BOMB !
(This is the BEST POWERFUL REDUX Workflow ever created !)
Hello, creative enthusiasts! 😊 I'm EKKIVOK, the creator behind these powerful workflows. These tools are crafted with precision and care, allowing you to focus on producing stunning results. Each workflow is rigorously tested on two high-performance setups to ensure reliability and optimization:
💻 Computer 1: Intel Core i9-9900K, RTX 3080 Ti, 32GB RAM
💻 Computer 2: Intel Core i9-14900K, RTX 4090, 64GB RAM
Your software is an all-in-one powerhouse for creative editing, packed with advanced features to streamline and elevate your projects. With the integration of the Flux-FILL model, it’s more versatile than ever, and now enhanced with a dedicated Regular Flux Dev Model for optimized performance in specific areas.
Scroll down for WF screenshots and Samples Screenshot !
PRIVATE WORKFLOW COMMIT AND LORAS MODEL IS NOW POSSIBLE !
Please see my links below (Discord etc....) If you're Interested Mate :)
All Informations below :)
Key Features:
1. Advanced Image Editing:
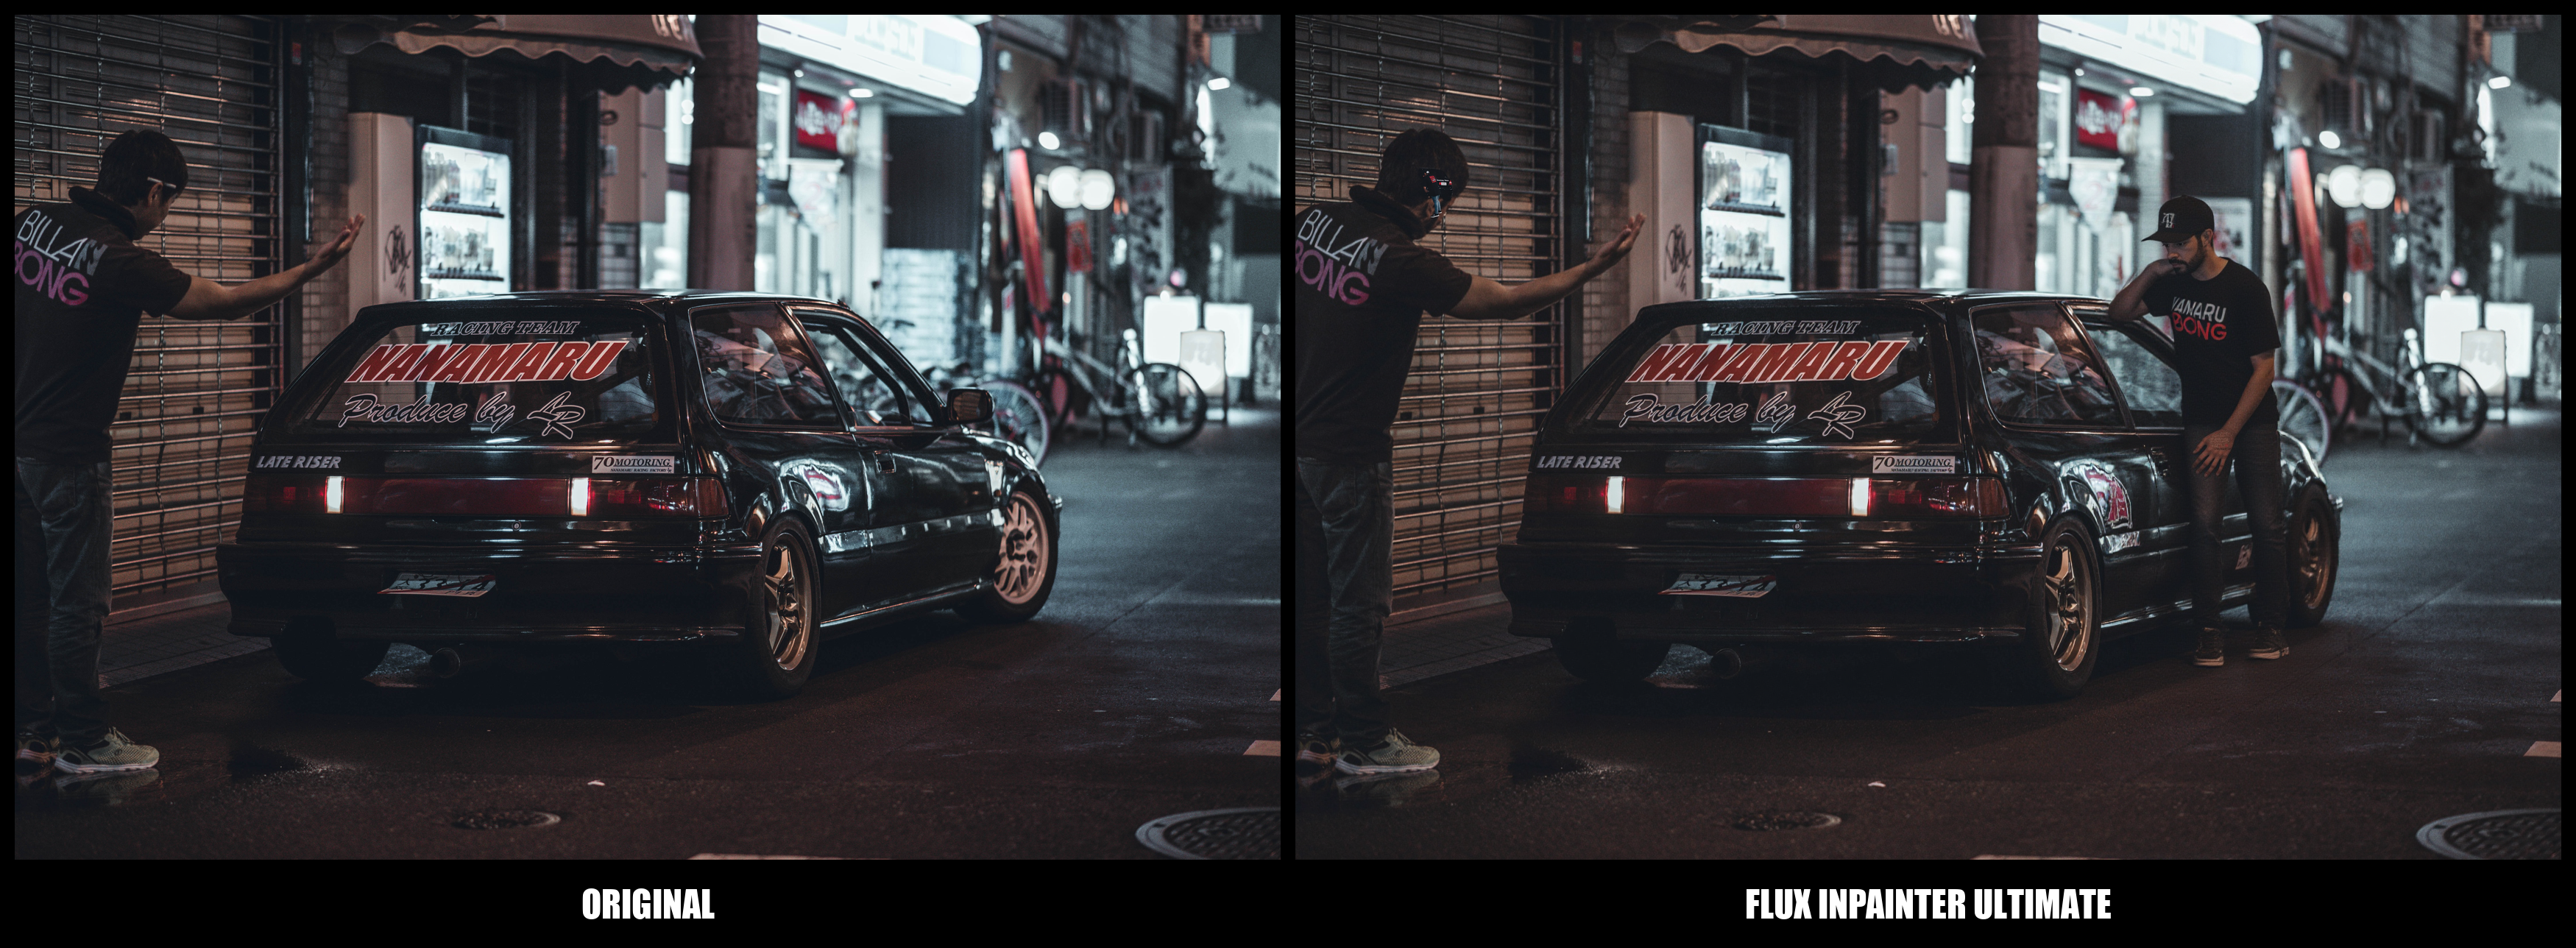
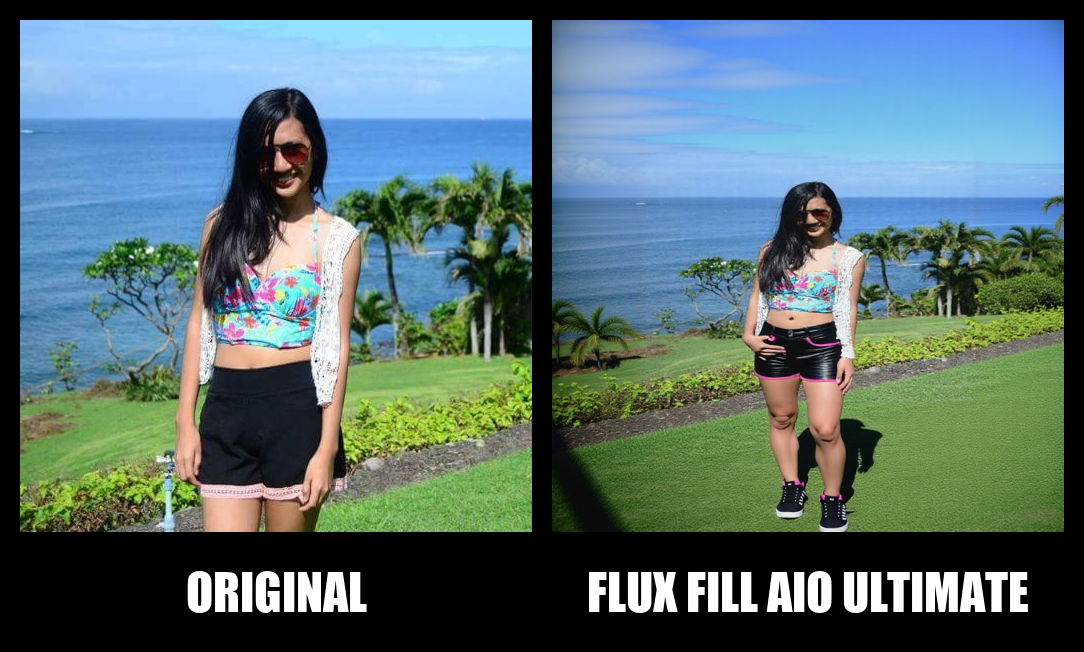
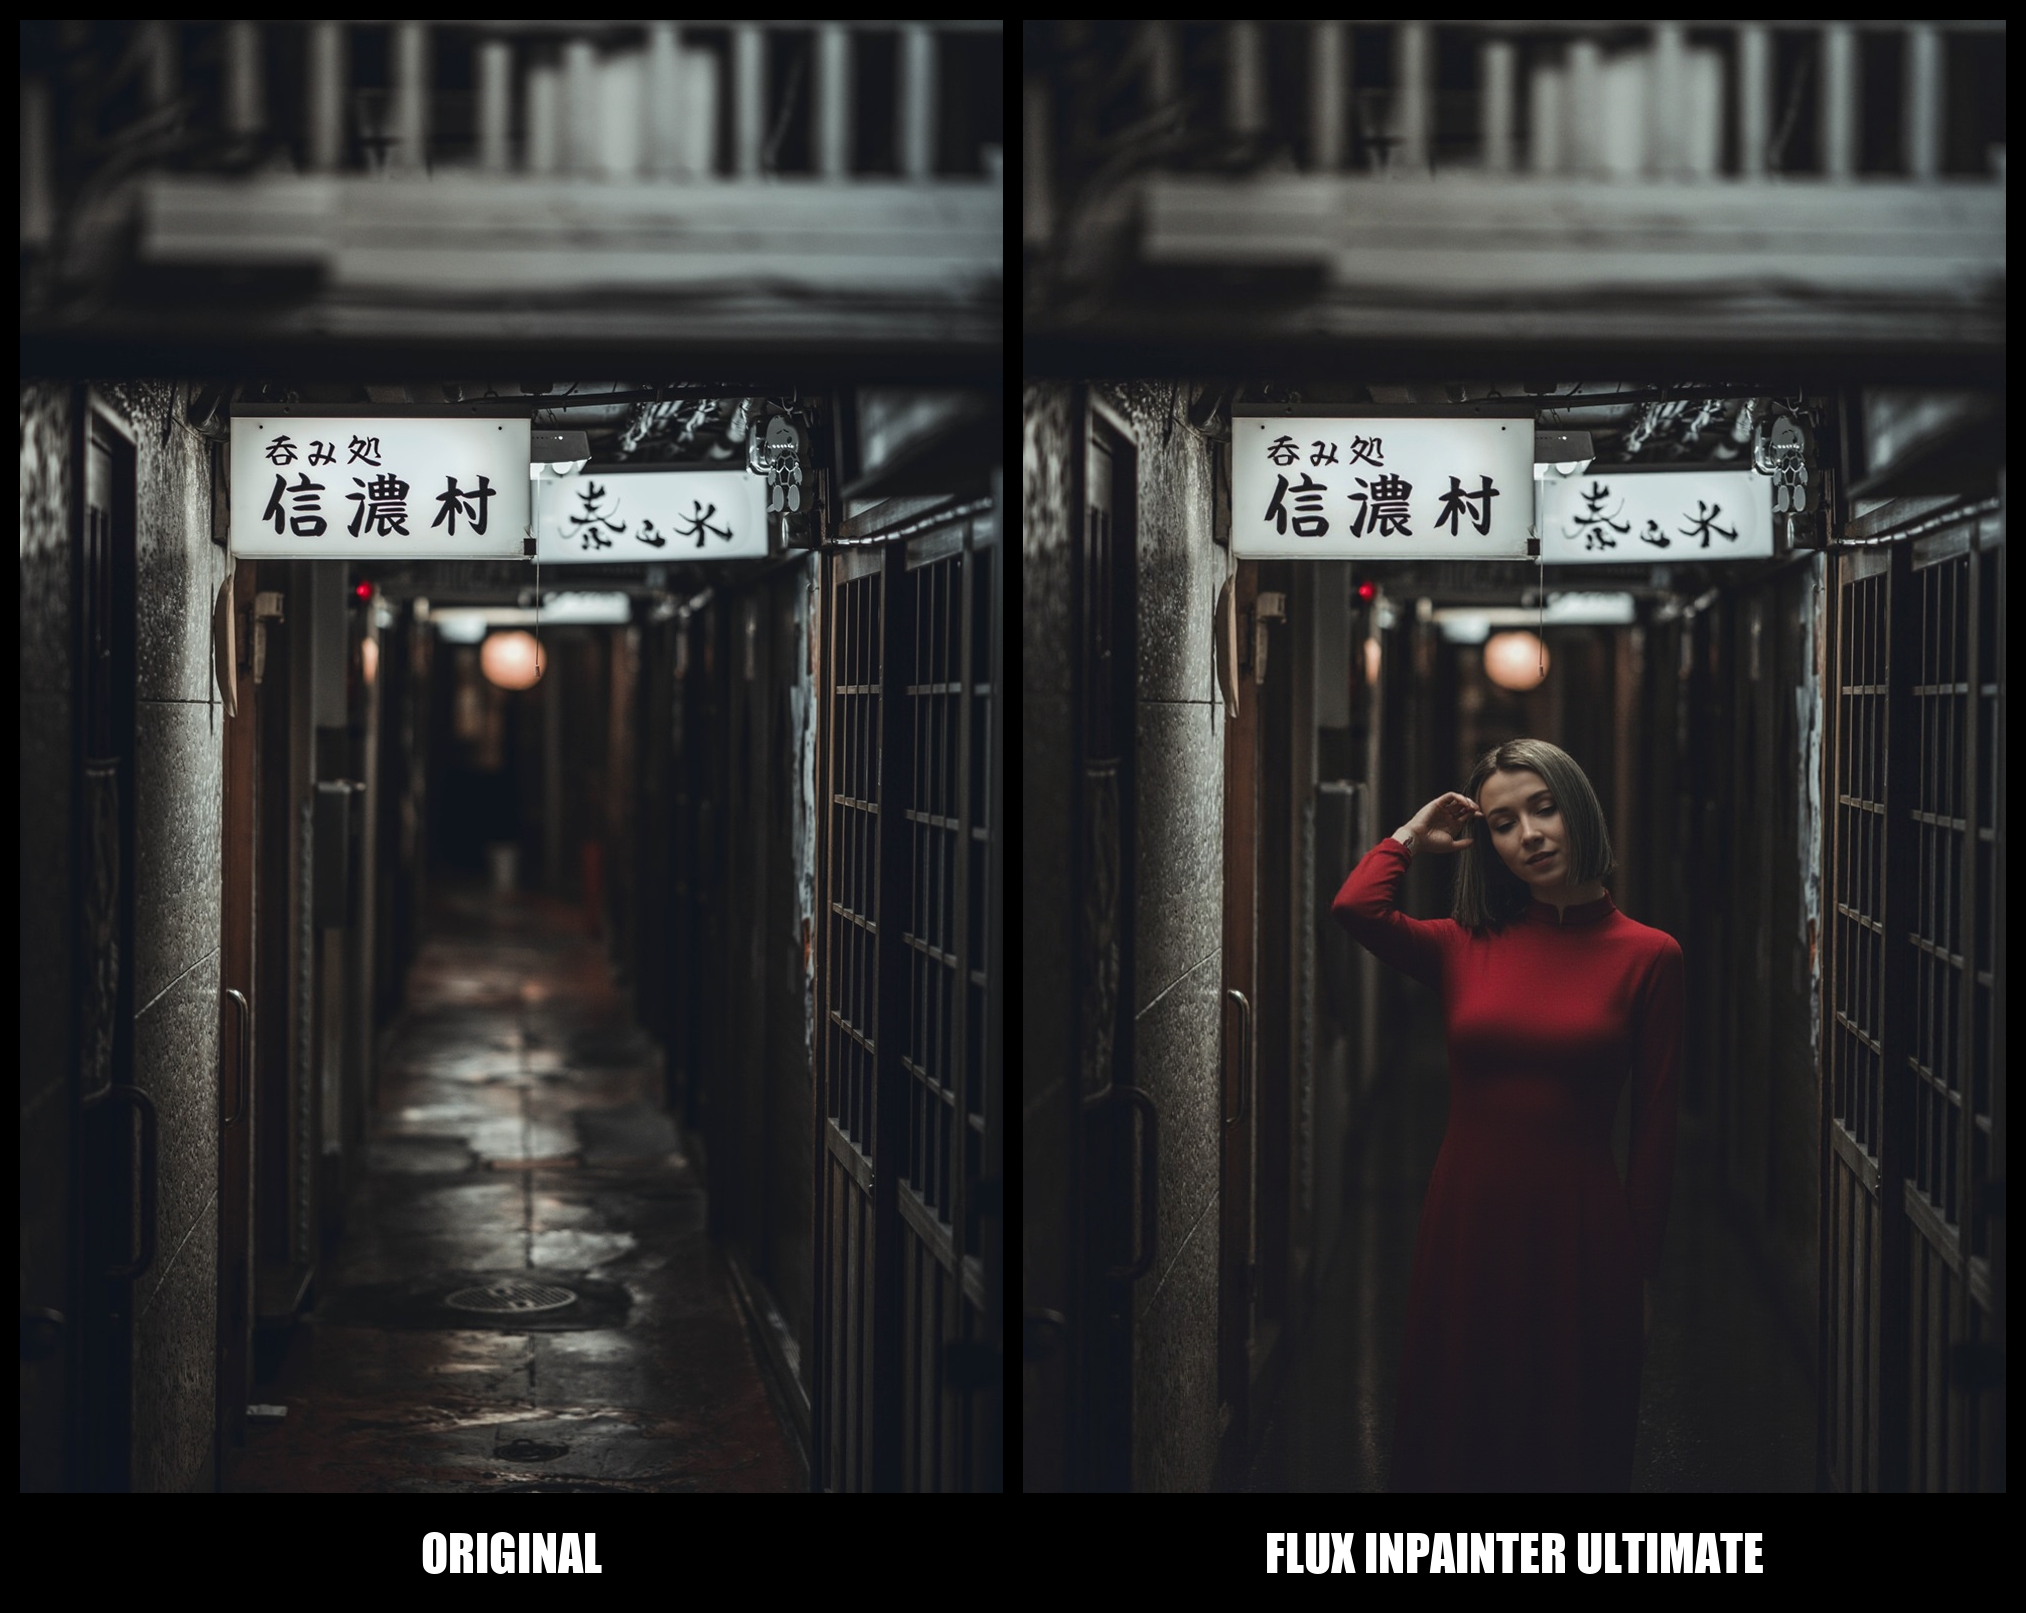
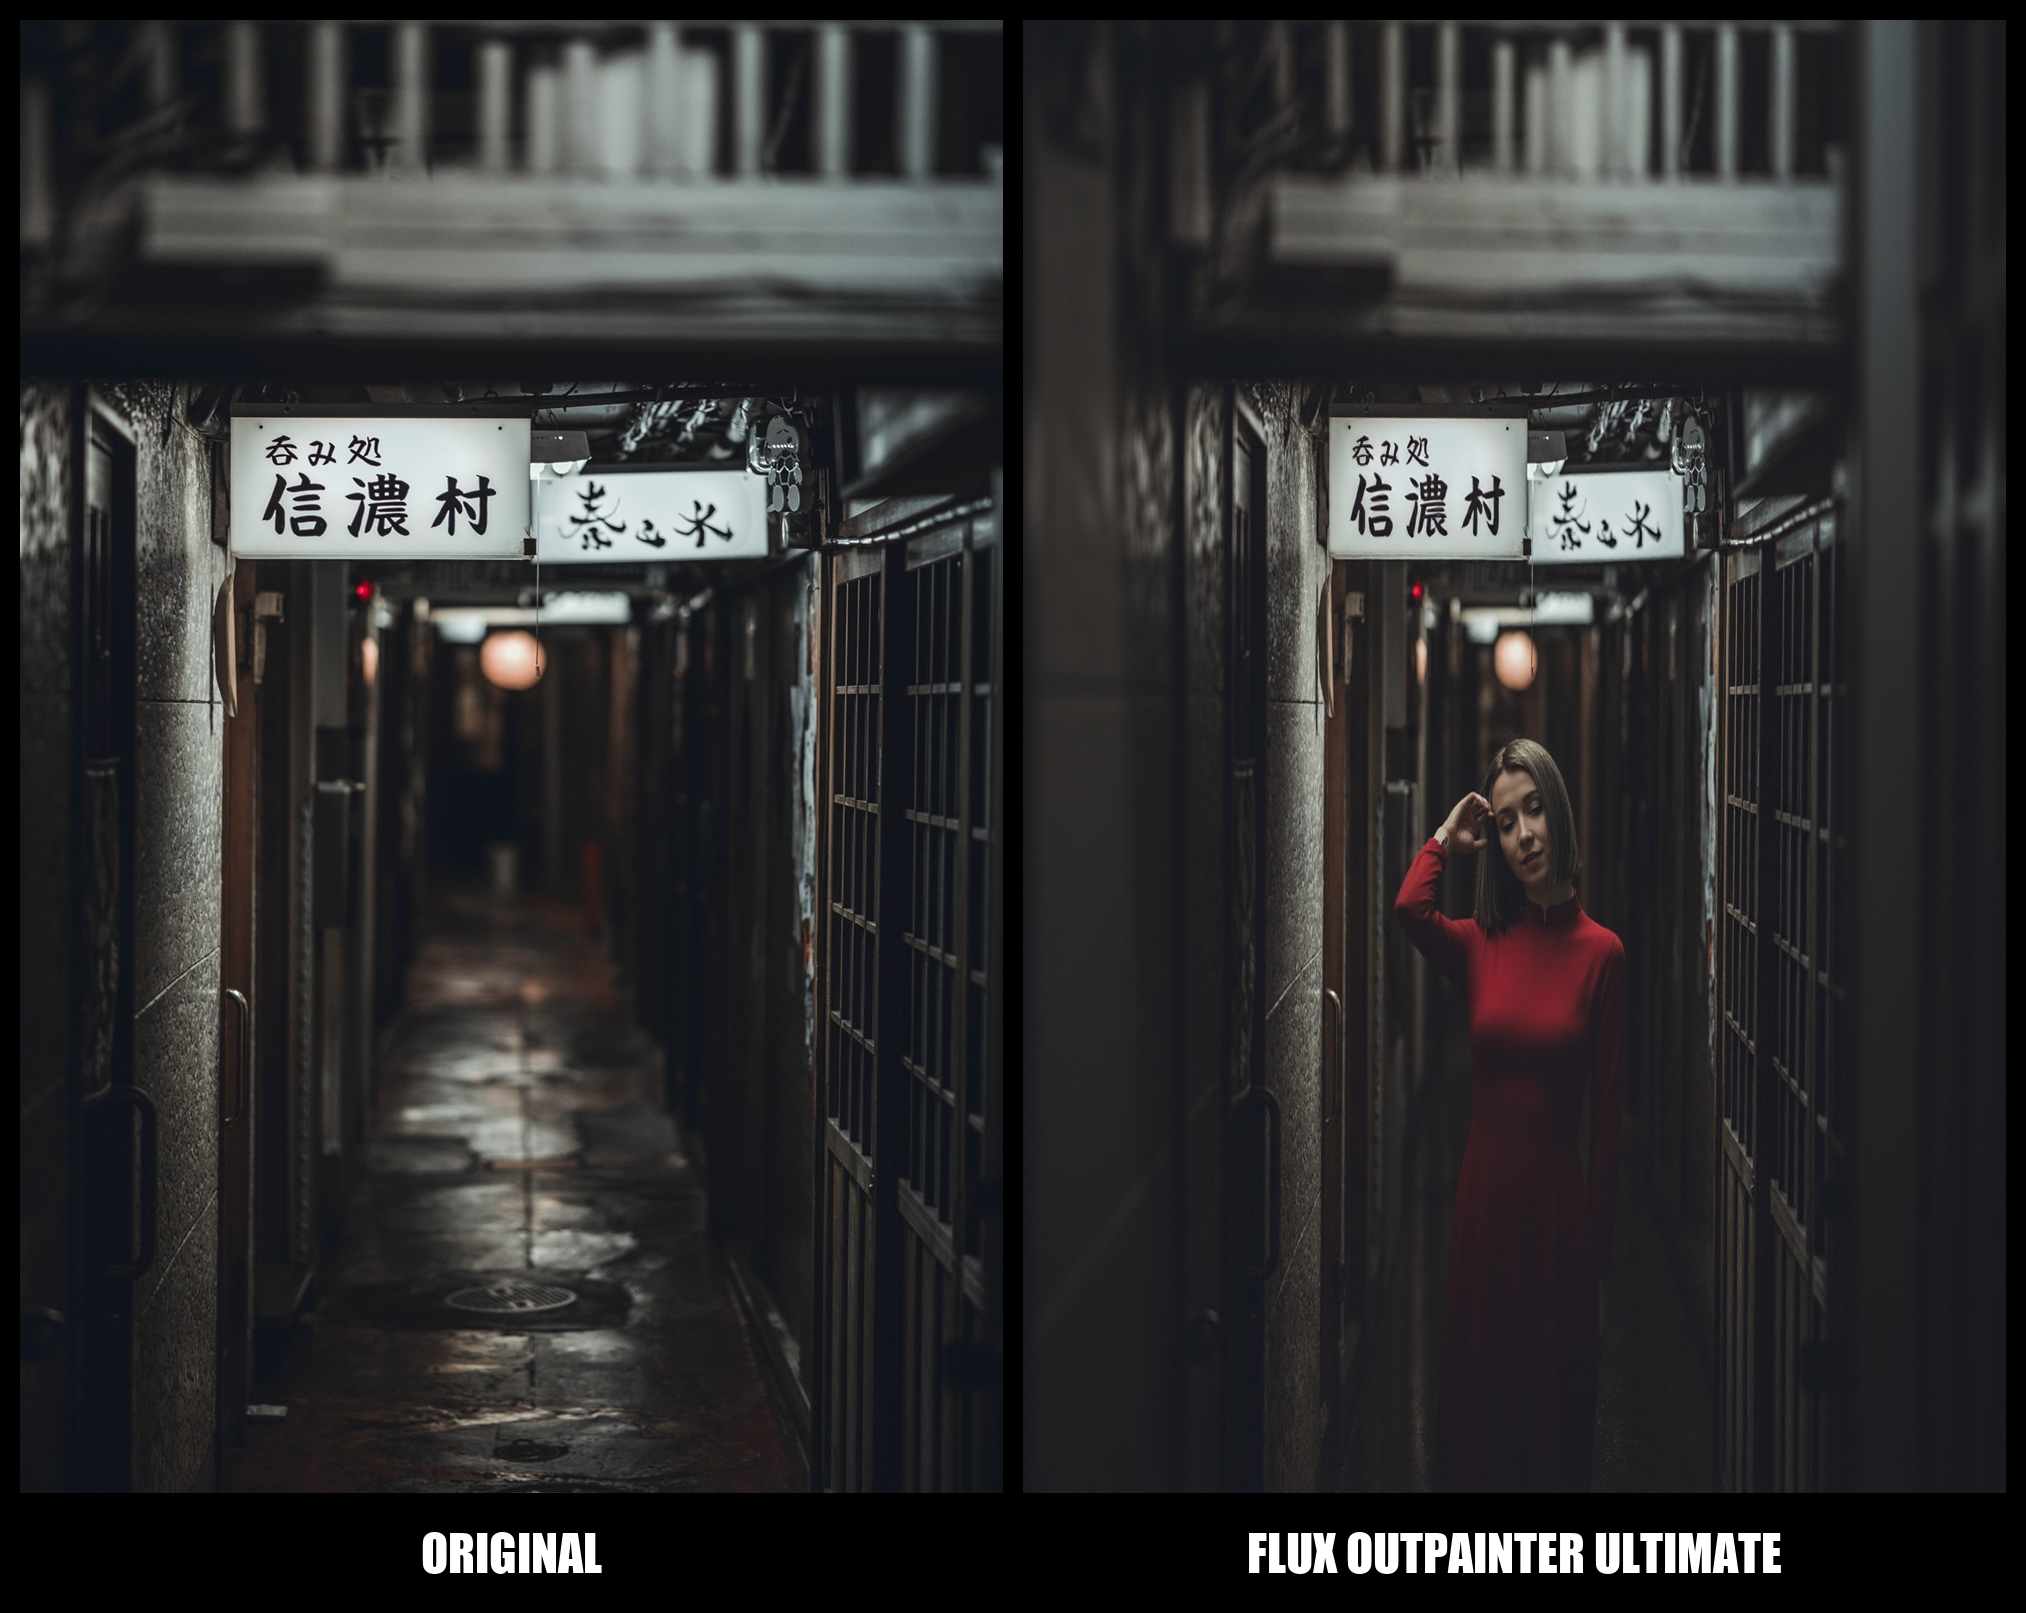
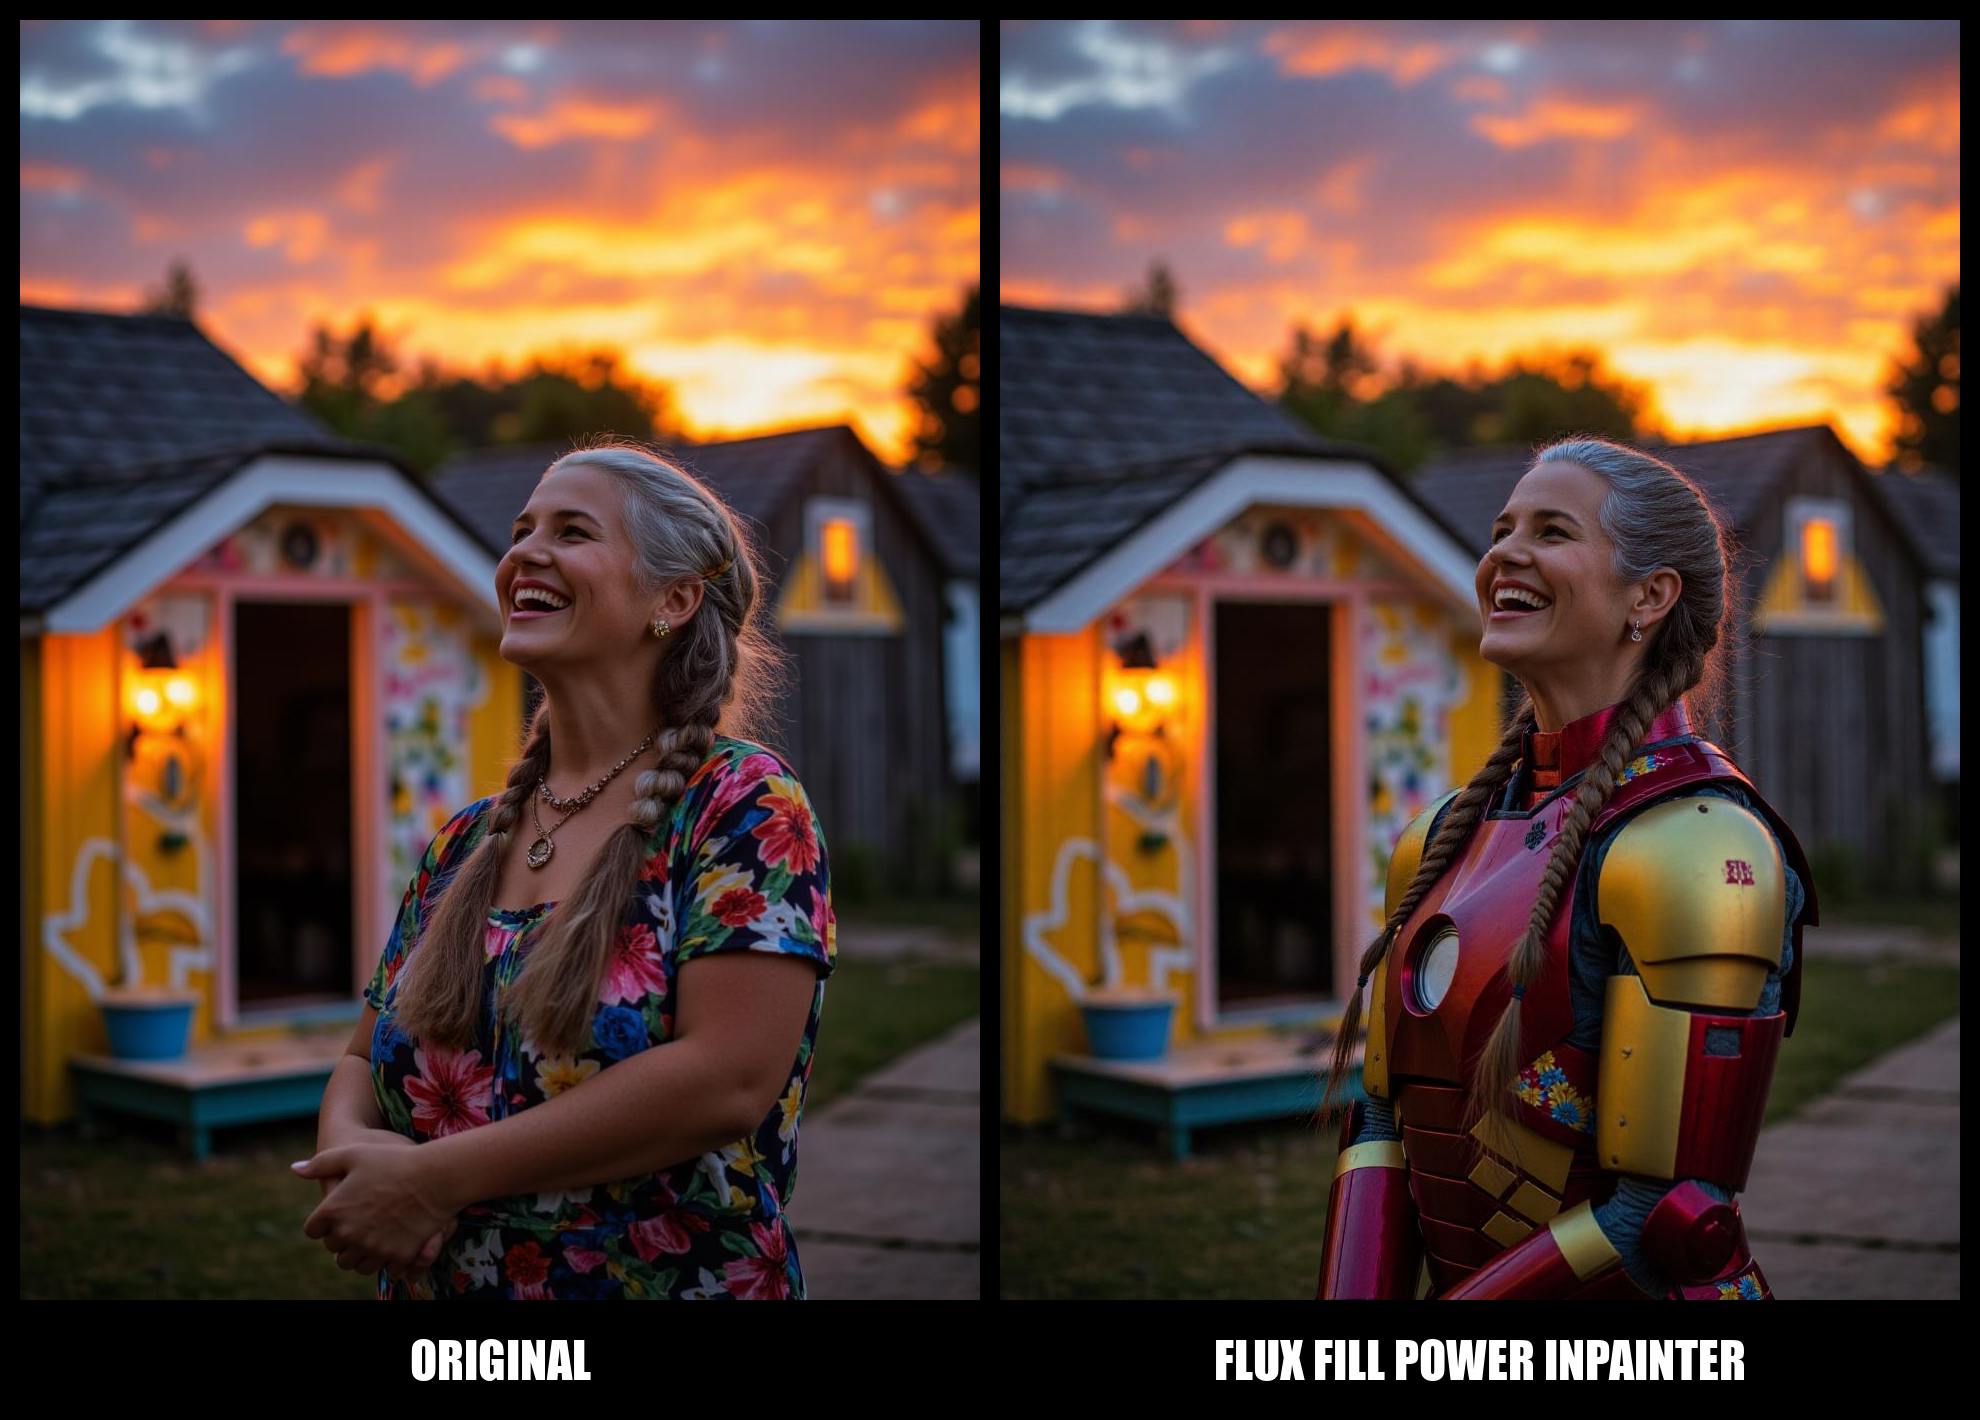
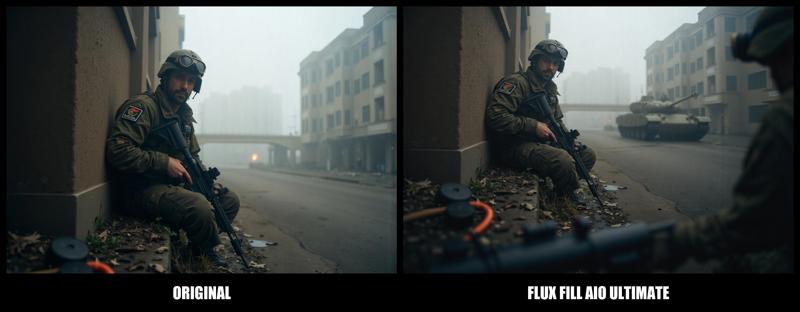
Inpainting & Outpainting: Seamlessly add or remove elements in an image, preserving style and consistency, ideal for refining or expanding compositions.
Image Resize: Automatically resize images larger than 1536px to ensure compatibility without sacrificing quality.
Upscaler Tools: Enhance image resolution with advanced upscaling features to produce sharper, higher-quality outputs.
HD Upscaler: Specifically designed to revive old photos or beautify existing images. Perfect for improving resized images where the original ratio was too large for the model, ensuring exceptional results with restored clarity and detail.
2. Creative Customization:
Character Customization:
Pose Control: Adjust character poses with precision.
Lighting Options: Refine lighting to achieve dramatic or subtle effects.
Makeup & Styling: Add unique visual flair with customized makeup and styles.
Selection Options: Focus edits on specific areas for efficient workflow.
LoRA Loader: Integrate pre-trained LoRA models to introduce new styles, effects, or even specific character designs. Tailor your outputs to meet unique creative demands.
3. Enhanced Detail Refinement:
Face Enhancer: Achieve polished facial features with lifelike details.
Eye Enhancements: Bring unparalleled depth and clarity to eye details.
Hand Refinement: Overcome the challenges of rendering hands with realistic precision.
4. Smart Automation:
Replace Text: Effortlessly modify words or phrases in your prompts for dynamic adjustments.
Auto-Caption System: Generate descriptive captions automatically, saving time on manual input.
Manual Prompt Integration: Fine-tune prompts manually for complete creative control.
5. Workflow Optimization:
Bypass Mode: Skip specific processes or steps to focus on your priorities.
Streamlined Processing: Tools and features work harmoniously, ensuring a fast and fluid workflow.
Why Choose This Software?
Optimized LoRA Performance:
Based on extensive testing, the Flux-FILL model’s performance with LoRA models (style and character) during inpainting was found to be inconsistent. To address this, we integrated a dedicated Regular Flux Dev Model with its own LoRA model loader. This model achieves superior results for LoRA-based editing, offering more precise styles and character rendering.
Differential Conditioning for Better Outputs:
A unique workaround using differential clip/model conditioning has been implemented for the detailer and upscaler sections. This approach yields consistently improved detail and clarity compared to Flux-FILL, especially when producing finalized detailed and upscaled outputs.
HD Upscaler for Photo Revival:
The new HD Upscaler breathes new life into old photos and enhances existing ones with stunning results. This feature is especially useful for resized images with ratios that were too large for the model, ensuring sharpness and vibrant details in every output.
Highlights:
Professional-Grade Results: Realistic and detailed outputs suitable for any creative project.
Cutting-Edge Models: Leveraging both Flux-FILL and the Regular Flux Dev Model for tailored workflows.
User-Centric Design: Intuitive tools built for artists, designers, and professionals alike.
Efficiency: Save time and maximize creativity with features like Auto-Caption, Replace Text, and Bypass Mode.
Take your creativity to the next level with this advanced and user-friendly software. It’s everything you need to turn your ideas into reality—effortlessly. 🚀
🐾 THE BEAST
Unleash the full potential of your creative vision with this workflow! Designed for advanced performance, Whether it’s art, design, or exploration, this is your powerhouse tool! 💪
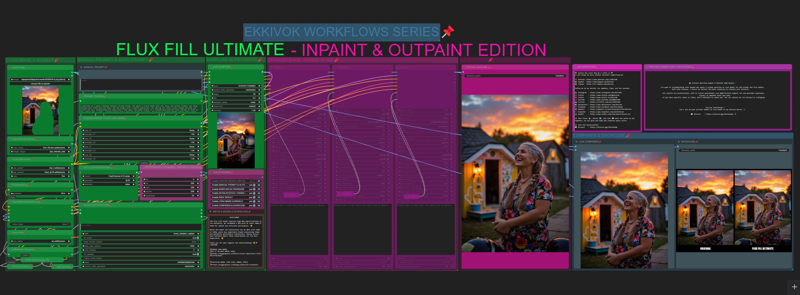
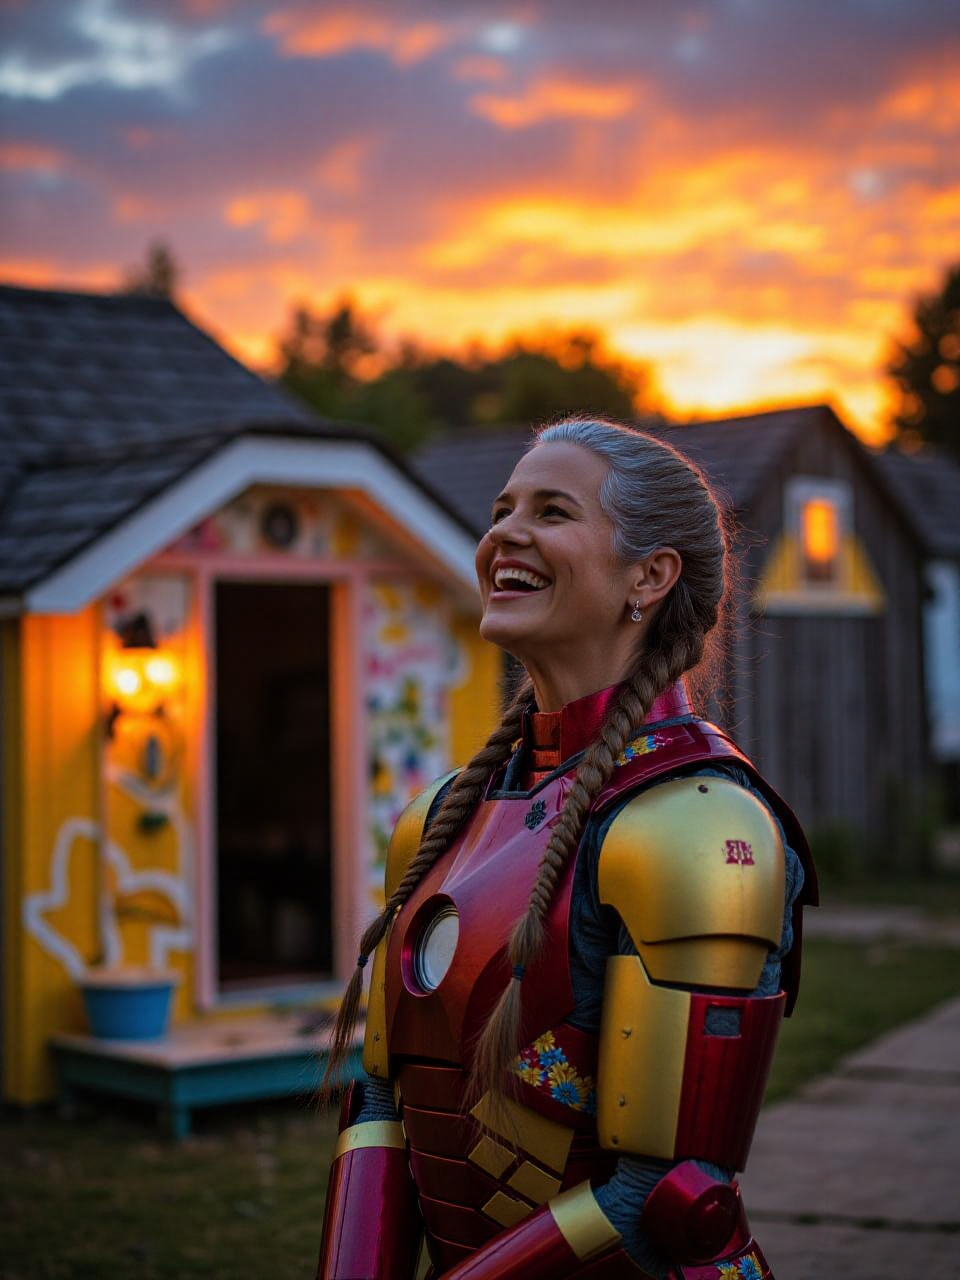
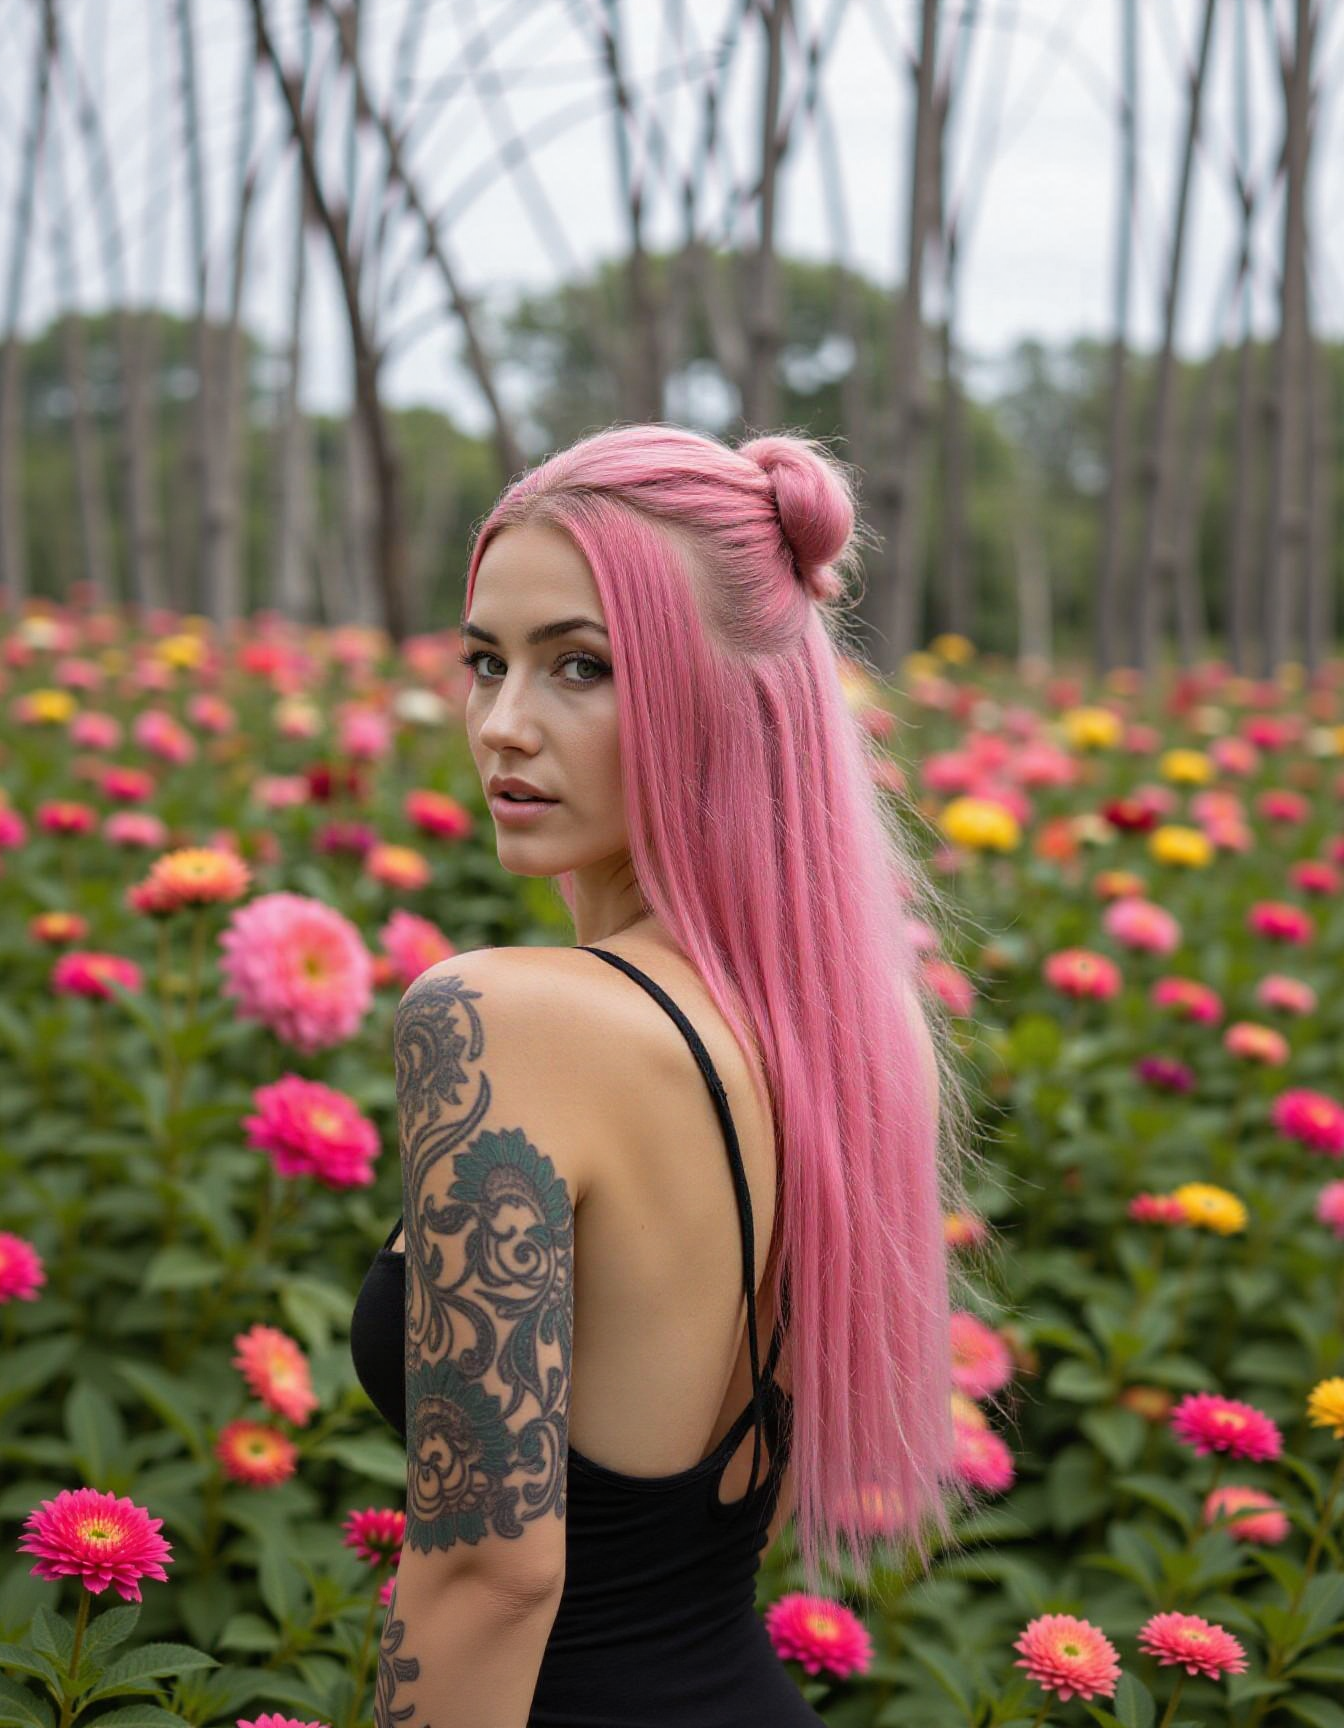
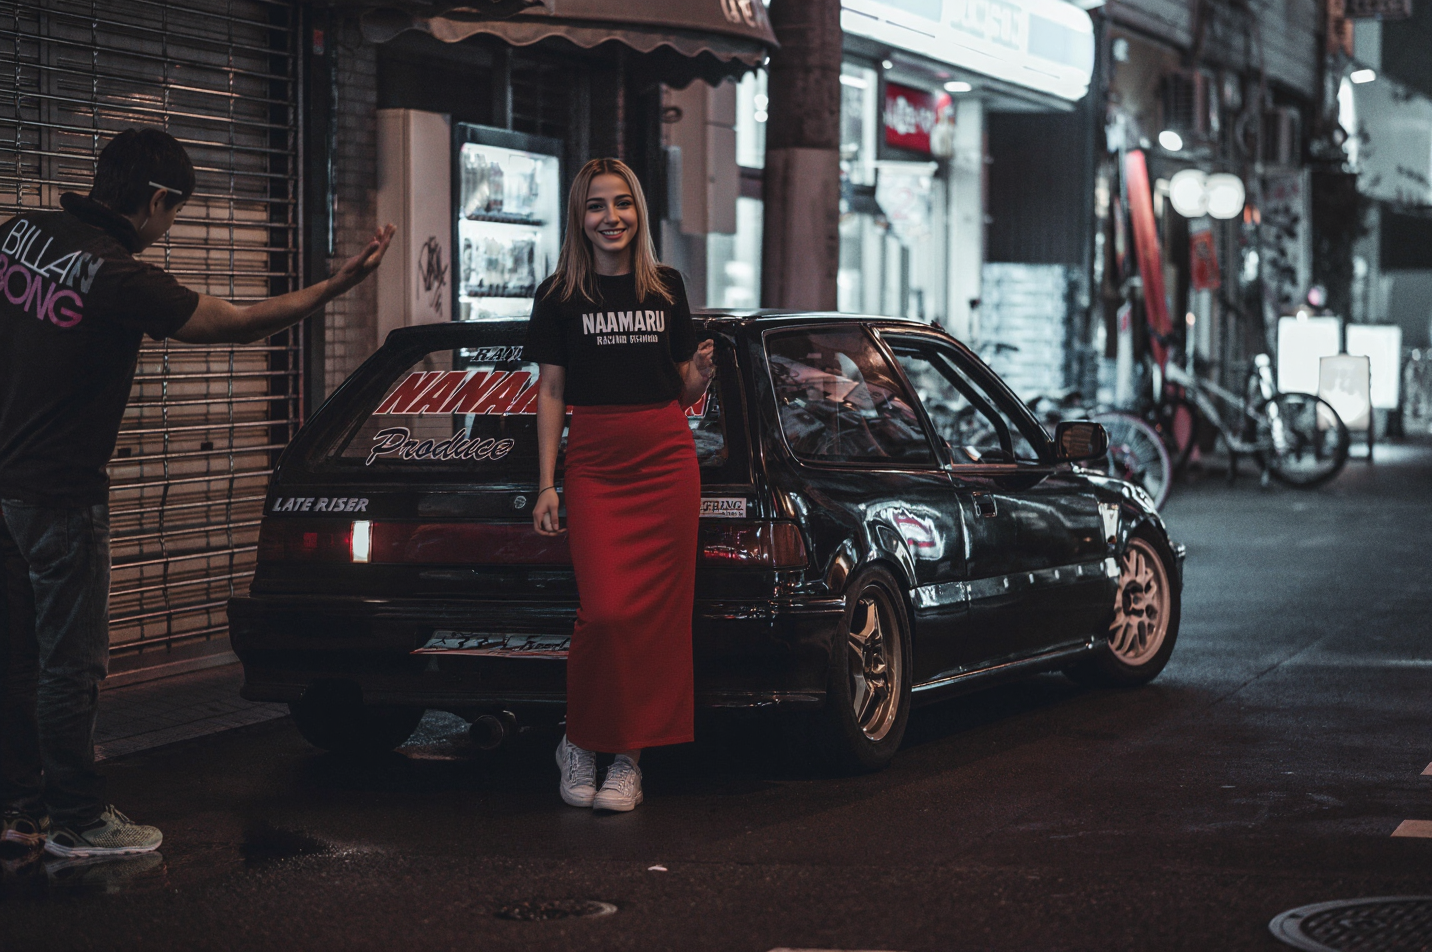
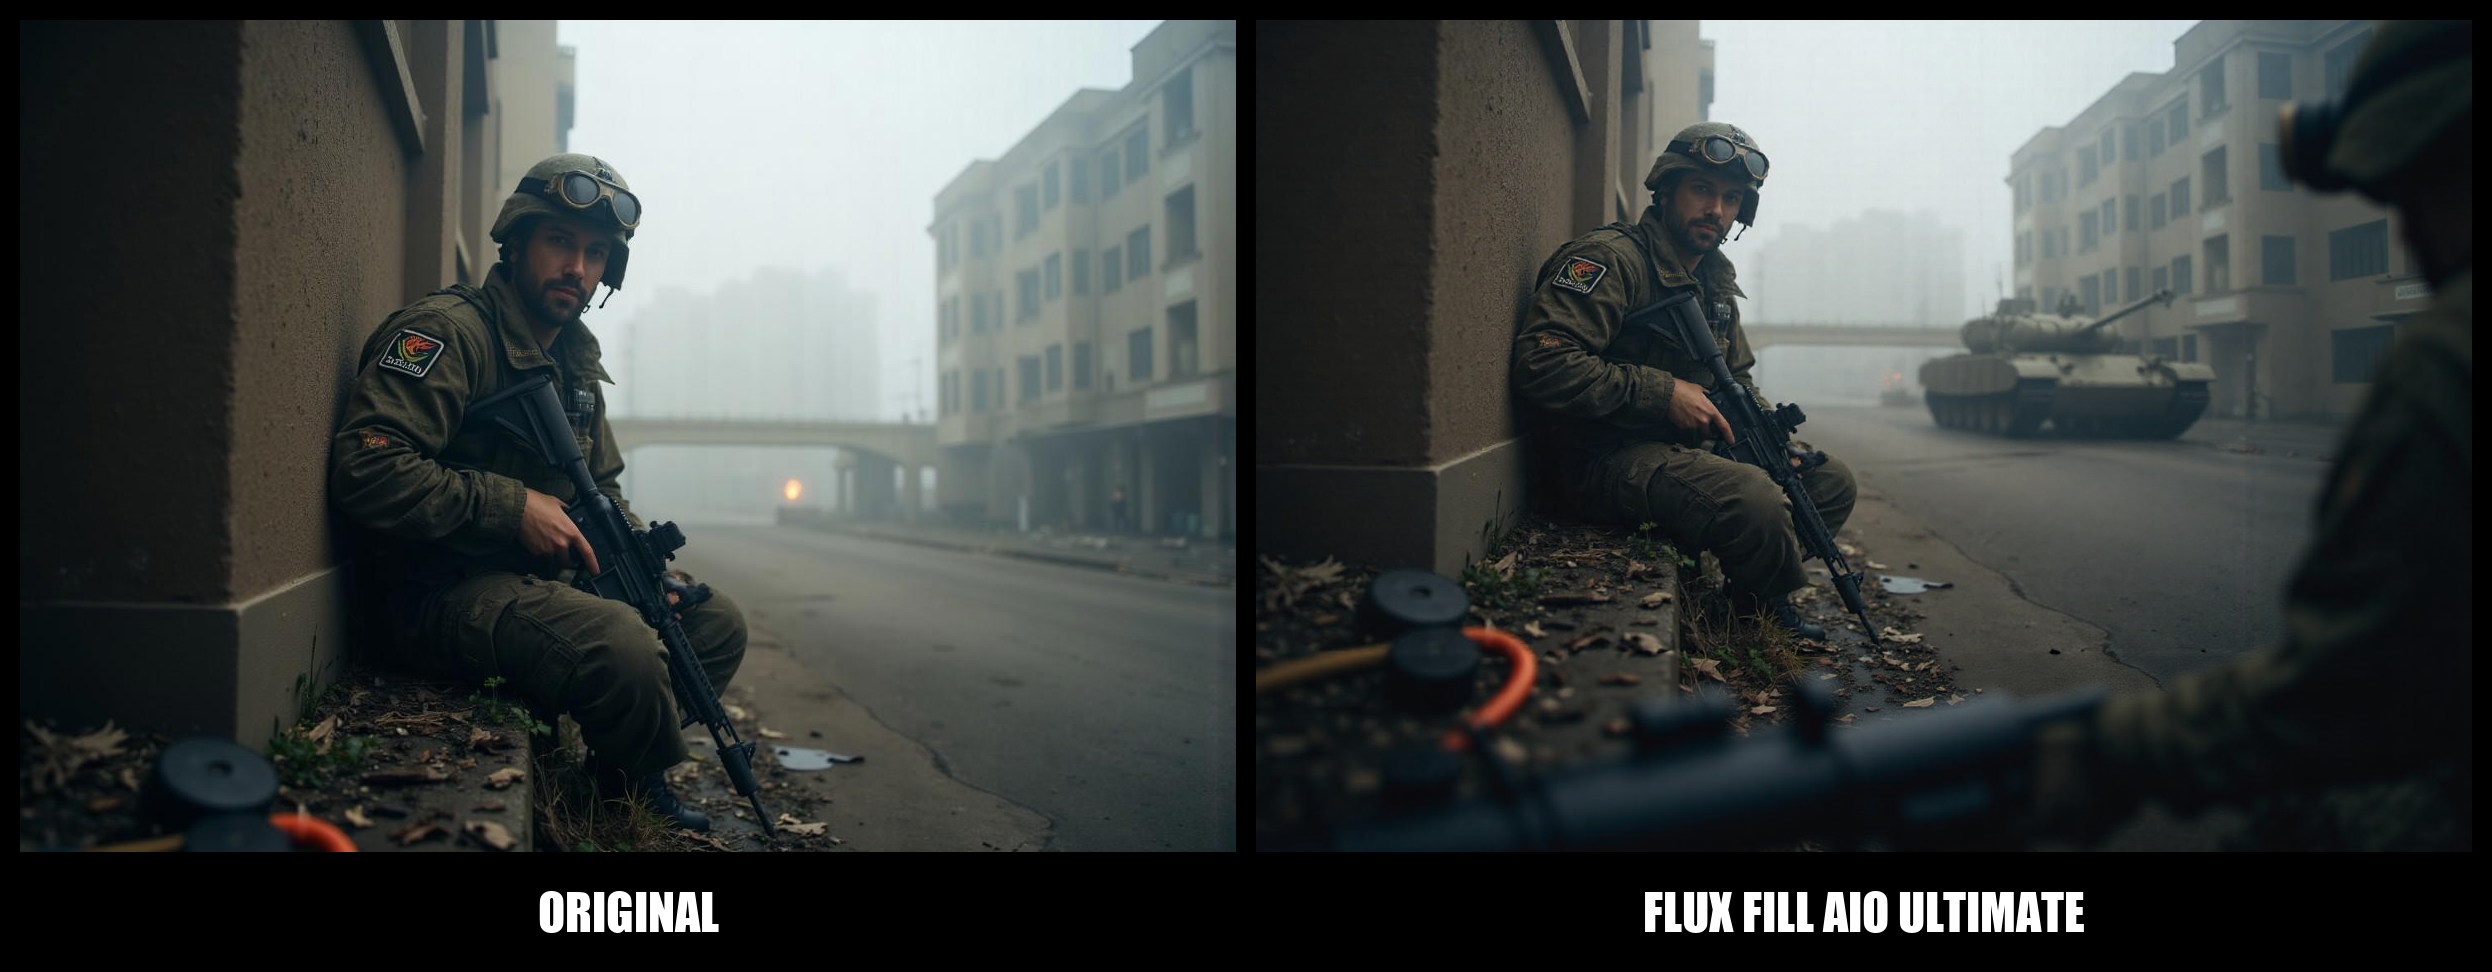
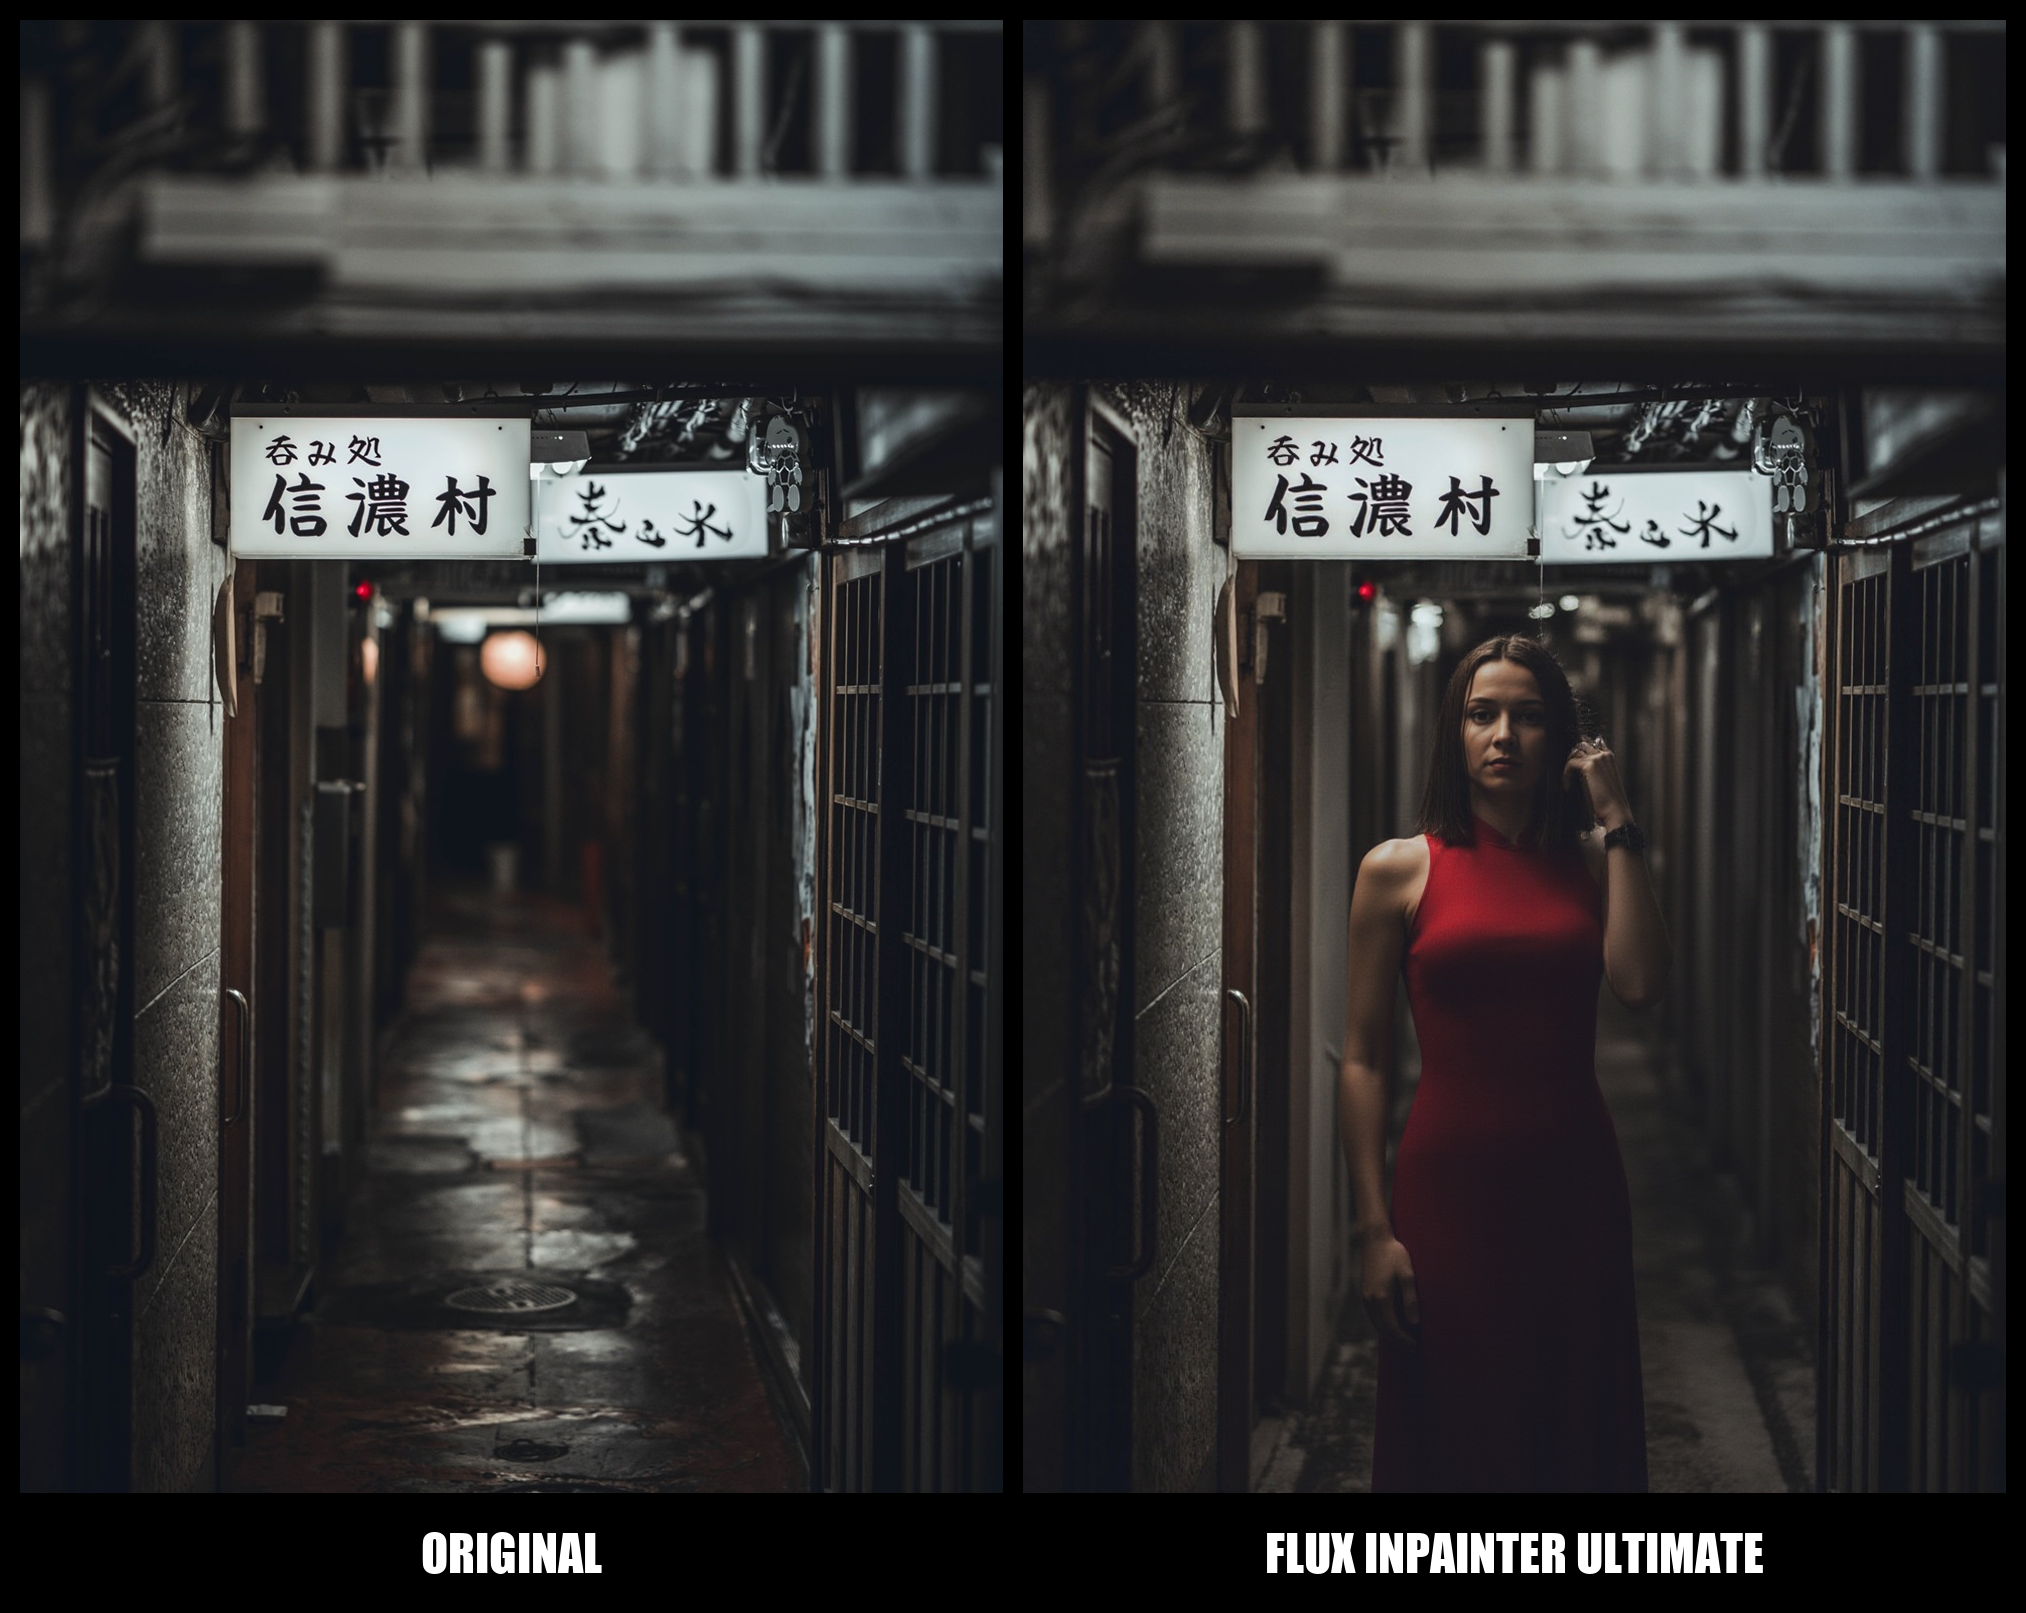
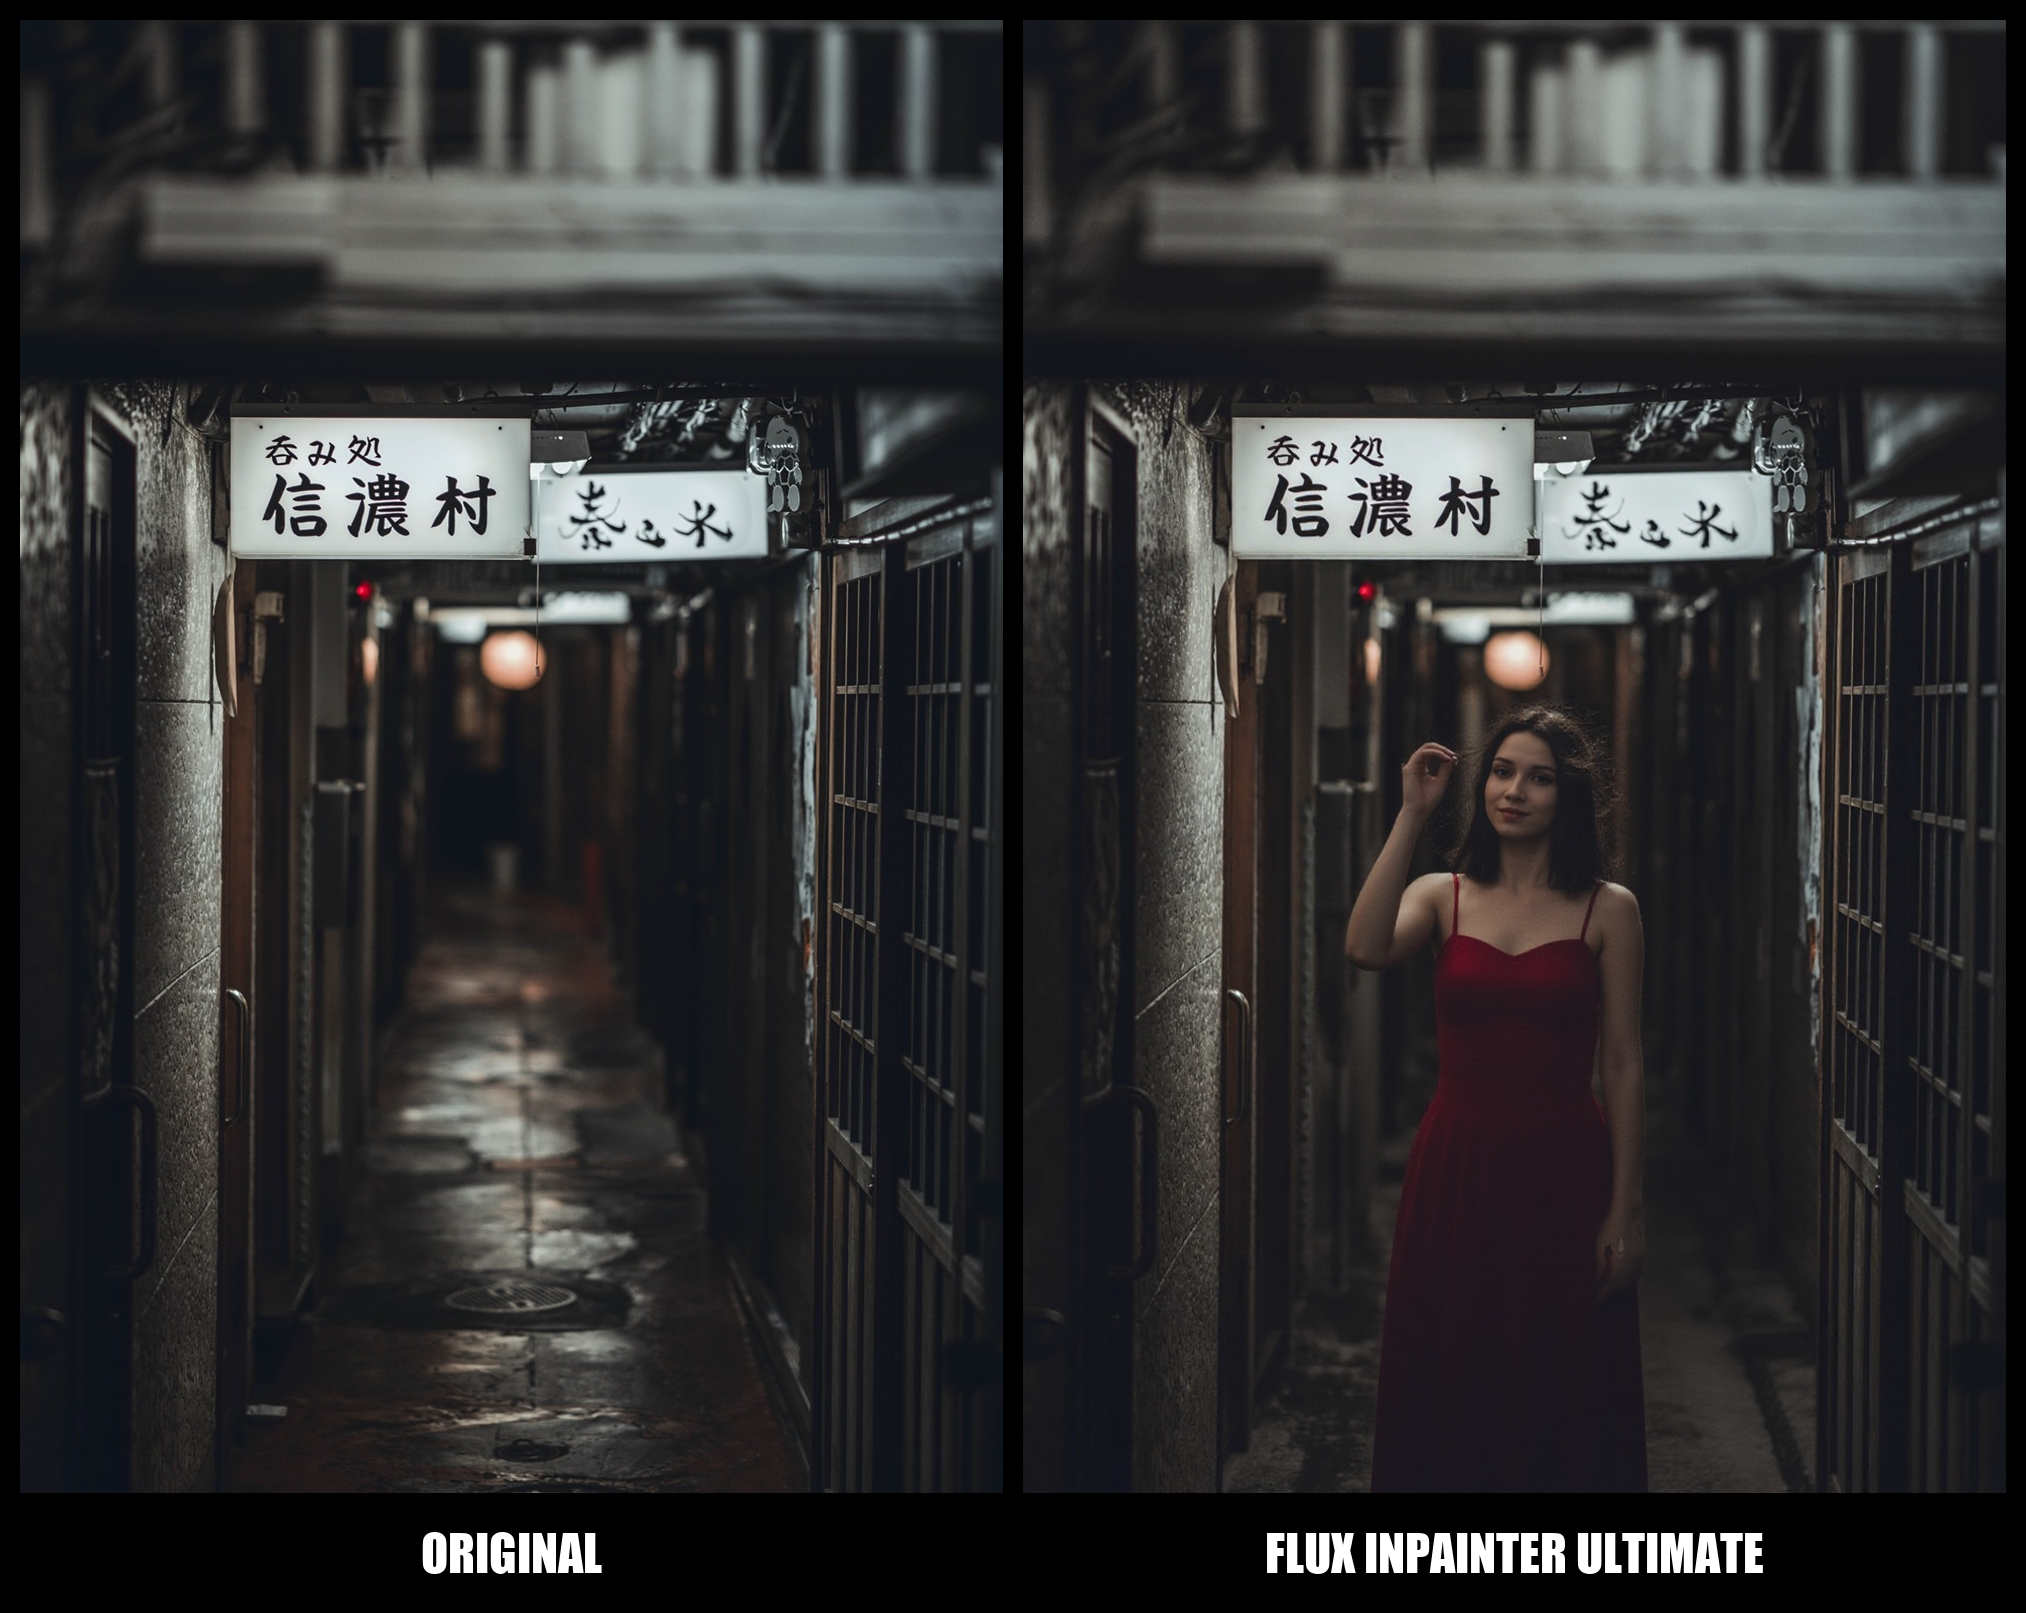
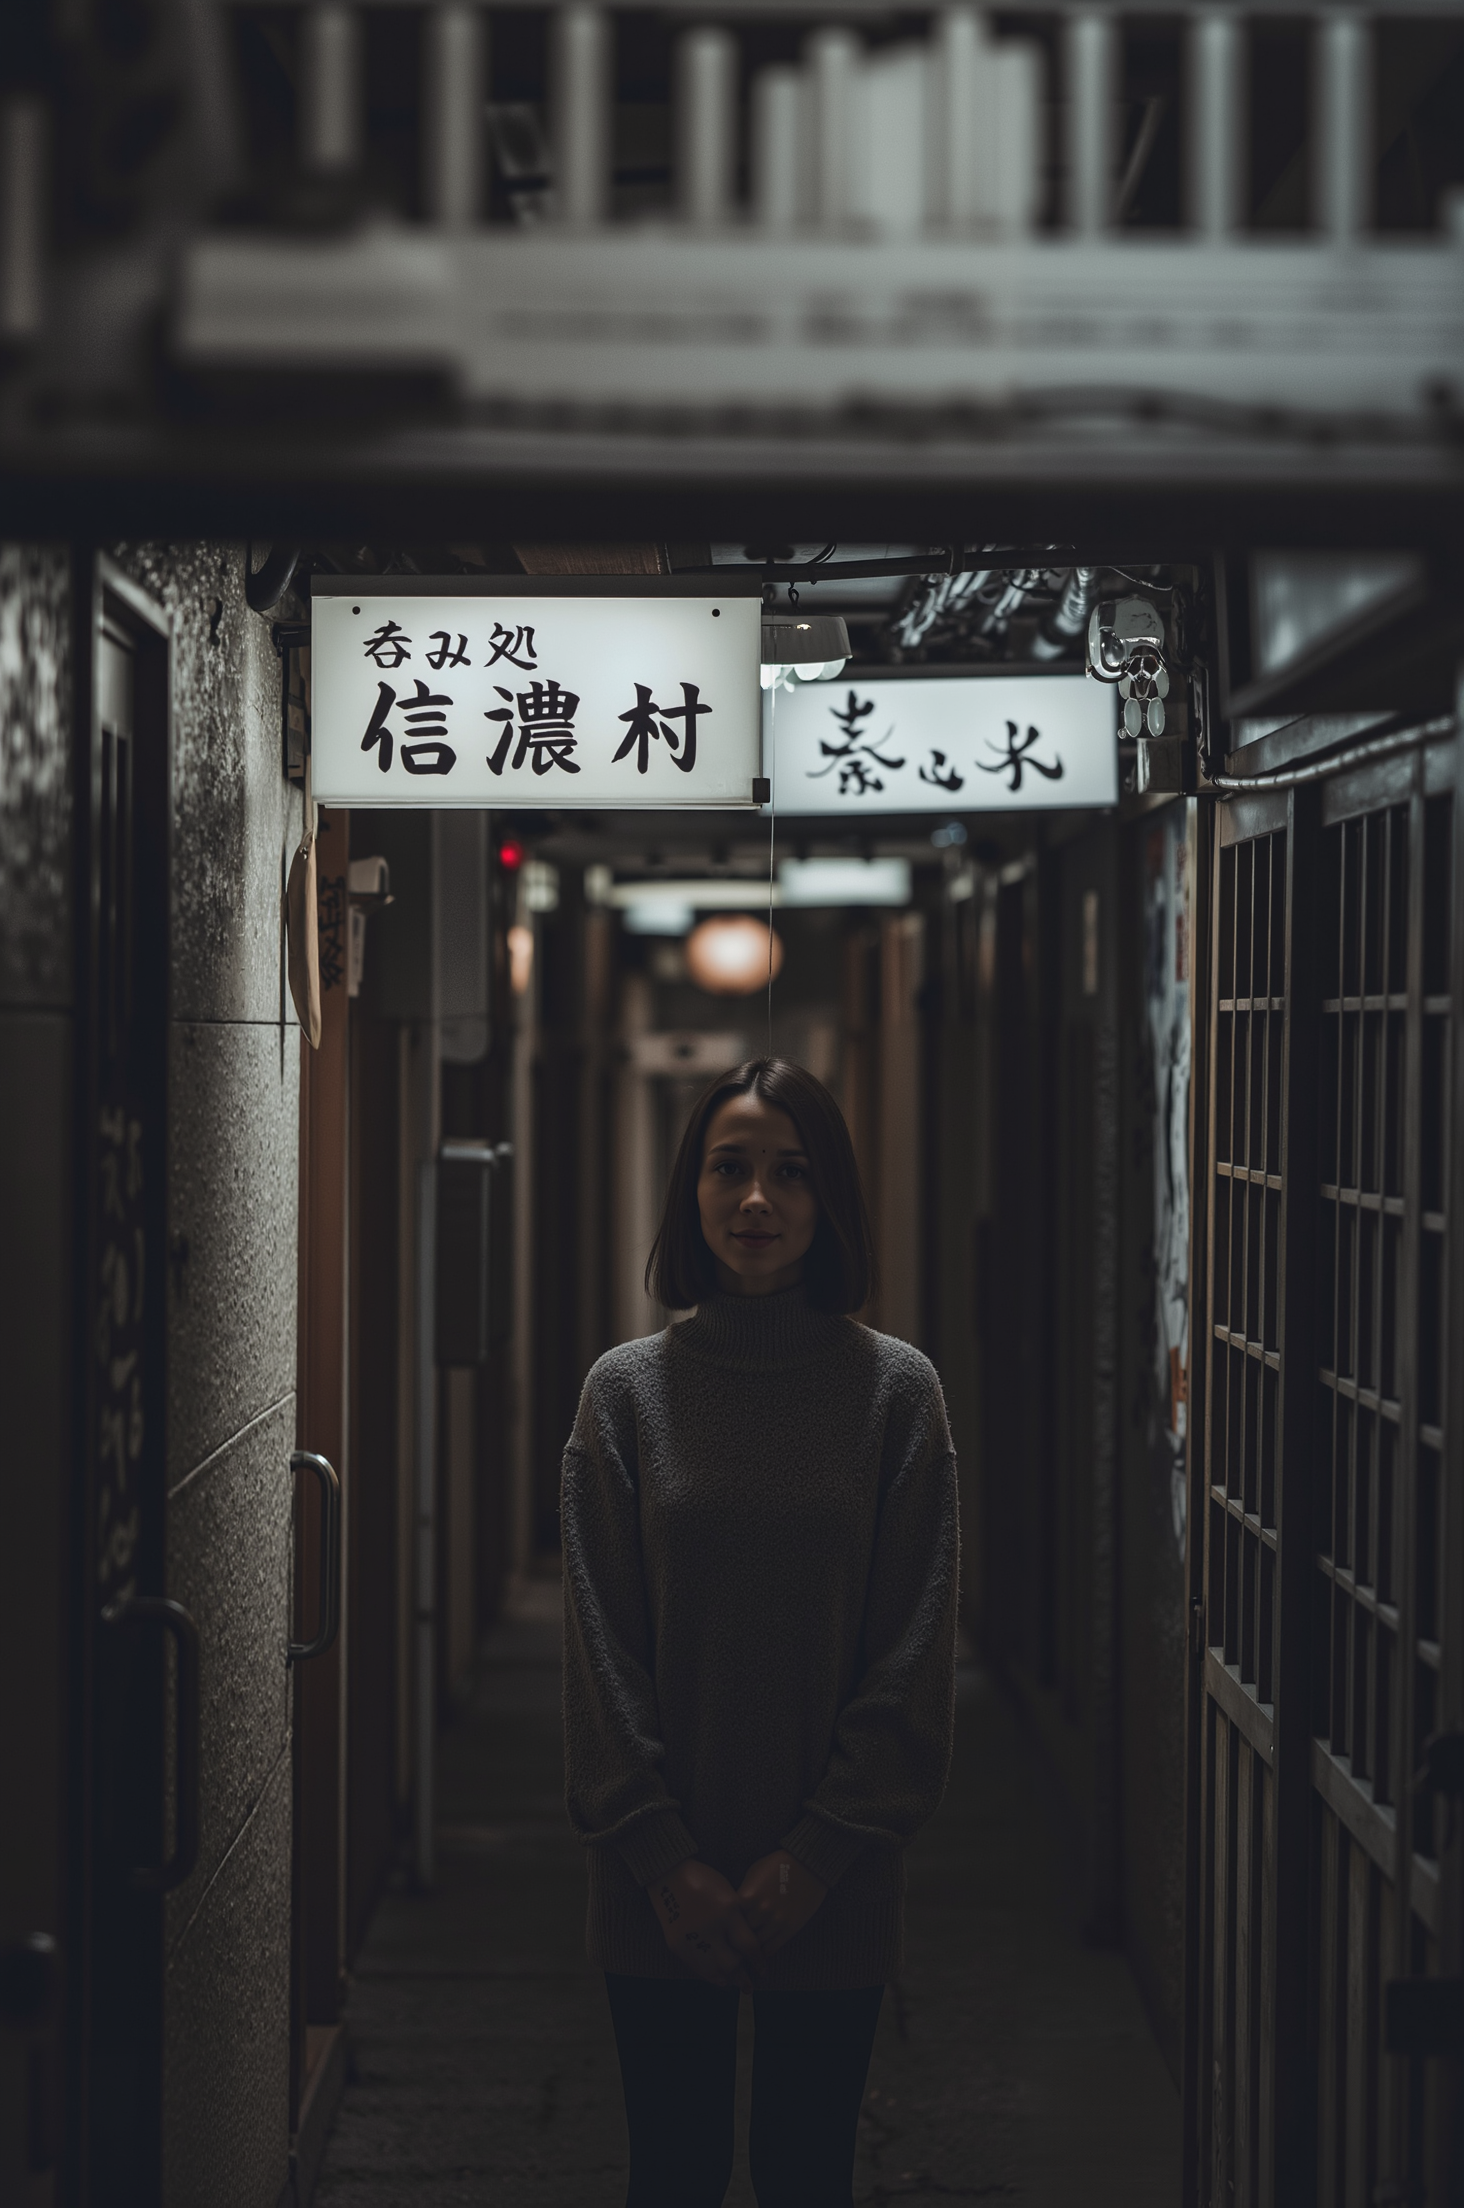
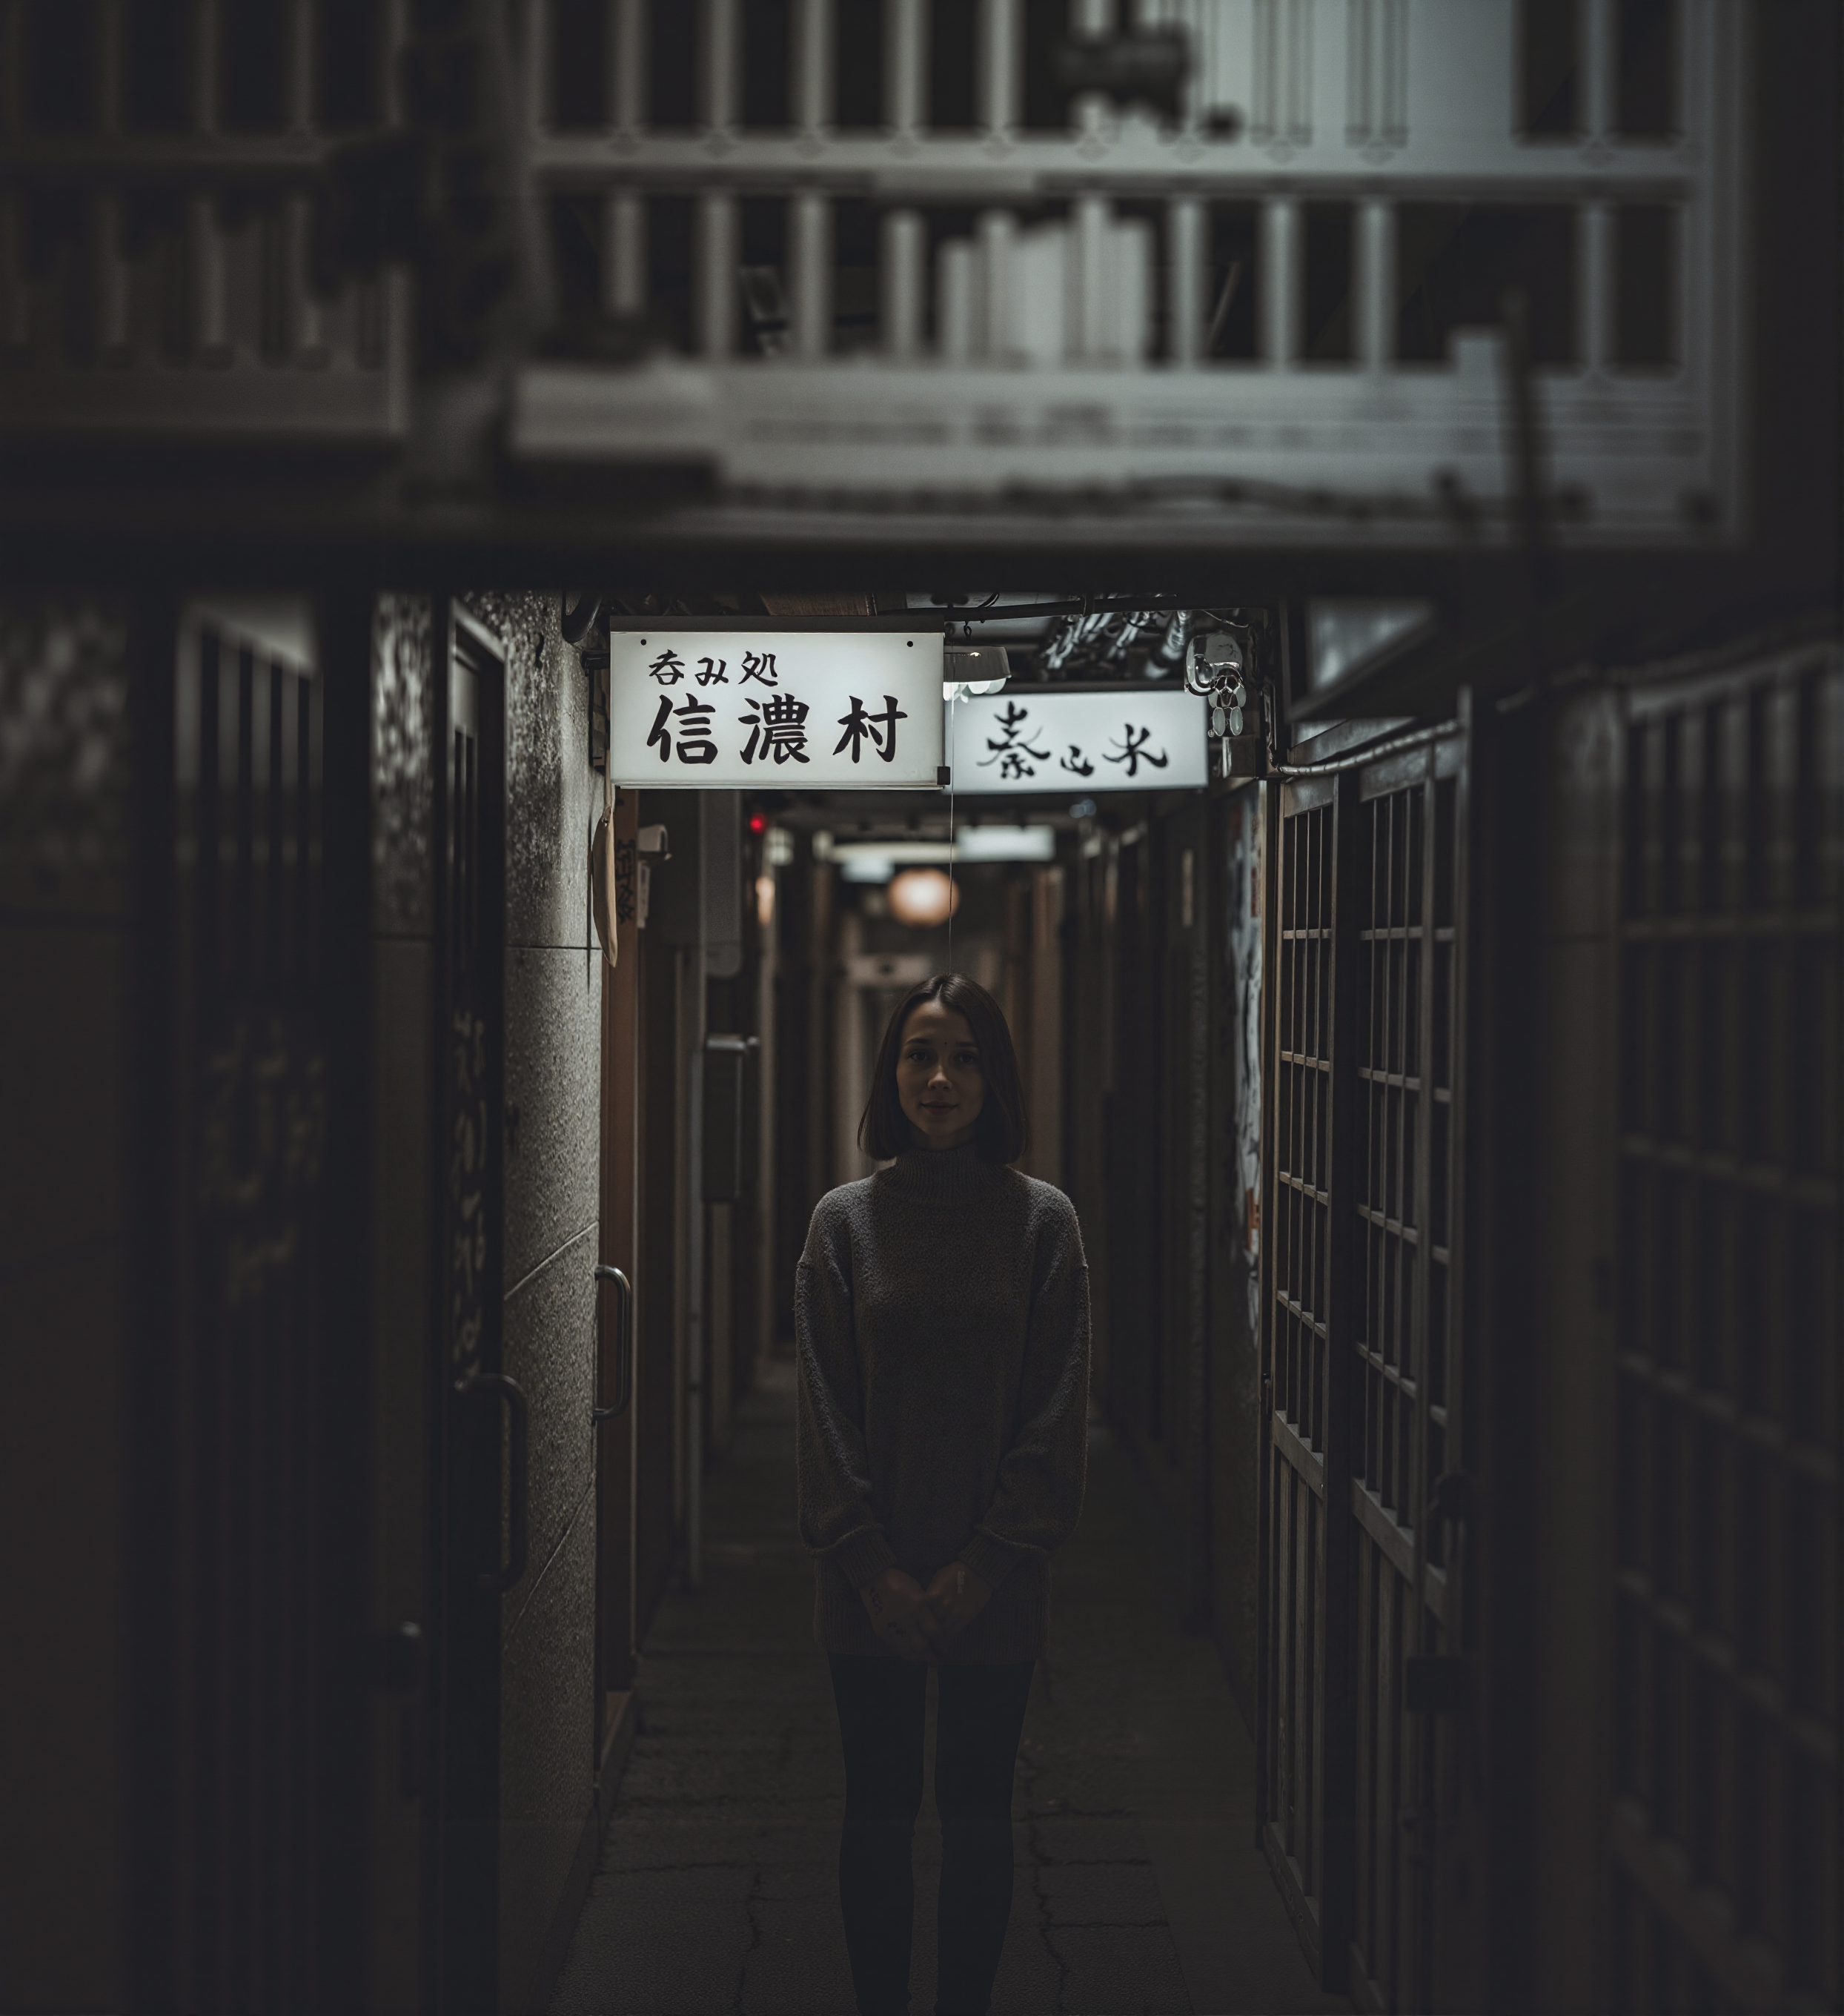
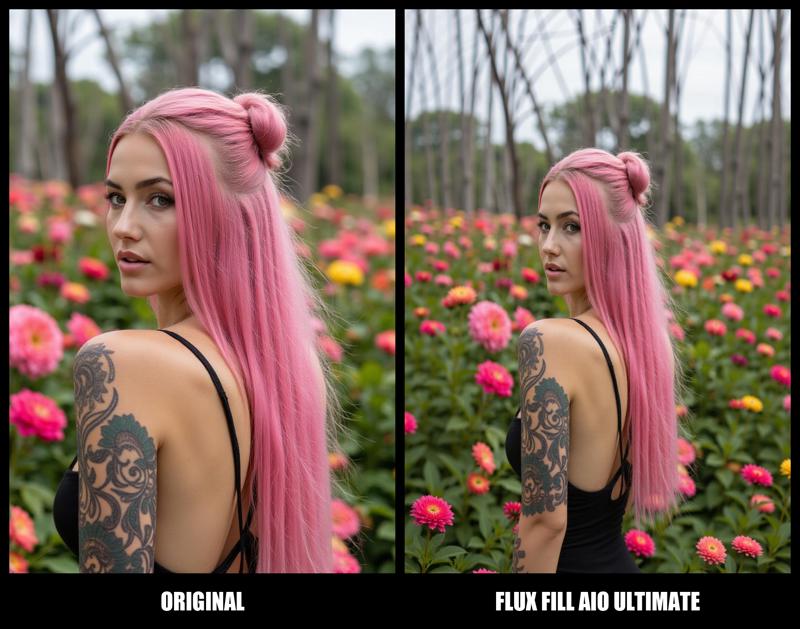
🖼 SCREENSHOT
Here’s a sneak peek of what this workflow can achieve! This visuals are real examples of its capabilities. Imagine the possibilities and let it inspire your projects! 🌟

🔒 NEW! Private Workflow Commit & PRIVATE LORA Models
I’m open to collaborating with anyone who wants a custom workflow or Lora Model for SD1.5/SDXL and Flux models.
With each release, I strive to deliver the best resources to elevate your projects. Thank you for using my work and being part of this journey! 🚀
All results are professional, with no issues guaranteed, and 100% Discord support for any possible questions, issues, or demands after the sale.
If you have specific needs or ideas, don’t hesitate to reach out!
You can contact me via Discord or Instagram.
🌟 Spread the Love! 🌟
If you enjoy my work, please consider supporting me:
Follow me on my socials for updates, tips, and fun content:
✨ Your likes 👍, shares 🔄, and subs 💬 mean the world to me!
Together, we can grow and keep the creative spark alive.
📢 Join the Conversation!
🚨 Disclaimer:
Please respect the time and effort put into these workflows. Modifications and redistributions are welcome only if credited. Let’s keep this a positive space for collaboration and creativity!
Description
FAQ
Comments (24)
Kind of hard to unhide everything in your workflow, but from what I could see, you are not properly compositing the image after any VAE decode and that is really wrong for any inpainting or outpaining workflow. You need to composite your image or you will degrade the whole not painted area: https://www.reddit.com/r/StableDiffusion/comments/1gy87u4/this_looks_like_an_epidemic_of_bad_workflows/
@diogod Wrong basicaly i was building a workflow with the simple inpainting FIll model. BUT i saw that model cannot reproduce any character lora with precision. so i decide to use detailer and upscaler as refiner usin another model that will take the lead after the fill inpaint made is job. In that way Regular Flux model can properly refine any details for face, body shape and hands, cause the Fill model is not made for that. this is ok for outpaint but NOT for inpaint. and trust me i worked hours on that workflow with all possible connection and configuration to see the better is to double it.
@EKKIVOK Sure, great man. That's awesome, really! But still, you need to composite the image after inpainting or outpainting, and I did not see any node for that after any VAE decode on your workflow.
@diogod thanks bro :) but what do you mean by "composite the image" ?
@EKKIVOK It means to use the node "ImageCompositeMasked". It stitches the inpainted area back to the original pixel imgae. Why? because inpainting (decoding and encoding to latent) ALWAYS is a lossless process. It degrades the whole image, not only the masked part. If you don't composite, you will end up with a worse image that what you started (the areas not changed will degrade). Read this here and see the example of this effect after only 5 inpaintings, the face was not inpainted yet it still becomes trash quality after some inpaitings https://www.reddit.com/r/StableDiffusion/comments/1gy87u4/this_looks_like_an_epidemic_of_bad_workflows/
@diogod really interesting i will apply that fix to this workflow then :) thanks a lot (sorry but i don't know every nodes released lol) but this one is an interesting one :)
@diogod i verified my workflow but there is no problem with that i guess. the workflow is correctly built.
the problem here is as i mentioned come from source img that can be (sometimes) up to the max allowed resolution for fill model wich is 1536, as SDXL have a limite of 1024 - 1280 (depend of the models), here fill have serious limitations. that why i added before the process a resclae factor to get the source image resized before inpainting. there is no real fix to that, look closely the starting masking process and inpaint mode is pretty the same as the simple workflow who was originaly released first by BFL. or i missing something ? cause the image composite mask is not the problem here there is no such of nodes in original workflow cause it is replaced by the inpaint model conditioner. so....
@EKKIVOK I think your workflow is correct in that part. This has nothing to do with resolution or rescaling.
Now about conditioning (control-net), one thing does not replace the other, conditioning is one thing while compositing is another. Conditioning helps the sampler to create the image. Compositing has to do with getting back the areas that were not inpainted to the original image without latent encode and decode. The comfyui org examples are wrong, and they forgot to composite the image in the end. Actually, almost everyone forgets it.
To test this effect I'm talking about is very simple. Get an image already in the correct resolution. Don't upscale it, because upscaling of course already changes the whole image. Inpaint for example a shirt. Get the result and load it back on your worflow and inpaint that same area again. Get the result and inpaint again. Now on the 5th time you will clearly see the image degradation everywhere, specially the face, eyes etc.
@diogod You're 100% correct on that one but i didn't forgot to place a image composite in the workflow or maybe am i ? cause if you look to my toher workflow i put those nodes insis it. cause i found (and i didn't any article about that) to use an image composite to apply effetcs only on a certain part of image (mask) will be the best way instead of the entire image sort of "padding or whole picture as stable diffusion", and that's right ! that's why i add that node to my wf, but maybe something was wrong and i didn't connected it xD i need to see if i did that and if i did i will correct that and post a new version of this wf cause i put so many hours on that one ^^ thanks for your feedback anyway bro, that's really appreciated !
@diogod i jusre re-verified the workflow and you're right i didn't Add that nodes ! it's a big error i made, i will correct this asap, i'm really happy to see ppl like you finding that kinf of problem !! thanks again ! i completely forgot to add that node. (cause usualy i use this all the time), very sorru i will correct that part of the workflow, cause you know i can spent hours on each workflows and see that hard works ruined byt a small thing like that is kinda frustrating ! thanks again mate ! your help was really really appreciated !
@diogod Thanks for helping @EKKIVOK with the information you provided, it's nice witnessing this community in action. Super impressed with what you guys are able to come up with.
I'm glad I could help. Sometimes I point these things out and people get angry. But I'm not trying to antagonize anyone, just improve their workflow.
It's not unfeasible to not composite in the end. If you are going to make only one inpainting, accepting the small degradation would be acceptable to some people, specially because it does blend better. But for me it defeats the whole idea of inpainting... you don't want to mess around with the rest of your image.
Another detail that is normally overlooked is, the Ksampler and VAE encode and decode only deals with images that are multiple of 8 (or 2 sometimes). So if you load a 1025x1025 image it will resize it to 1024x1024, resulting again, in degradation... That is why in my workflow I use a method of cropping the image to a multiple of 8 and then composite it back in the end... a crazy small detail, but it does make a difference. There are so many small things like that in comfyUI...
@diogod good to know i'm back on business some new releases will be released :)
model pose can only be controled by portrait master in prompt?,,,,can flux fill work with openpose or depth CN?
in fact it can. but if i didn't put that possibility in the workflow is cause most people don't have powerfull gpu...and it will cause crash. and i don't want that for people :/
Can't turn off the outpainting switch
Hello @EKKIVOK and thank you for taking the time and energy to put together such a well laid out workflow for us. I am 99% of the way there on being able to run it I think, but it's missing a node still after all of the updates and installs that ComfyUI Manager can provide. Image Size to String is used twice but I am not sure where to locate it or a suitable replacement. Please help. :)
Found the answer after some precise google-fu: https://github.com/tudal/Hakkun-ComfyUI-nodes Gonna get busy with it later today. Thanks again!
@aiboom1 sry for my late answer but atm i have a lot of work outside AI community :) (more personal)
Node missing - Image size to string
How to solve?
Same issue here. Did you found that node? I also cannot find these three: workflowHANDS, workflowFACE, and workflowEYES. I have no idea what they could be.
EDIT: I found this "image size to string" in another comment: https://github.com/tudal/Hakkun-ComfyUI-nodes
However, I am still missing the other three.
Hello and thanks as always, I've problem to find flux1devfp8_v10.safetensors and agathe-grev4.safetensors lora, where I cant find them?
Thank you!