READ THE DESCRIPTION
In this tutorial I would like to teach you how to get more consistent colors on your characters. Everything is based on this extension: hako-mikan/sd-webui-regional-prompter: set prompt to divided region (github.com)
Previously I did another tutorial to achieve a similar result: No more color contamination - Read Description | Stable Diffusion Other | Civitai
Step 1: Install this extension
Step 2: Restart Stable Diffusion (close and open)
Step 3: Active Regional Prompter (in txt2img under controlnet or additional network)
Step 4: Let's try
In positive prompt we put without quotes:
"blue hair twintail BREAK
yellow blouse BREAK
orange skirt"
In negative prompt we must place a negative token or several, if we do not put a single negative token, Stable Diffusion will bugge:
"worst quality, low quality"
In resolution I will put 572 x 768 and I will go to "divide mode" in Regional Prompter and put vertical. If I choose to put 768 x 572 then I must make horizontal and not vertical.
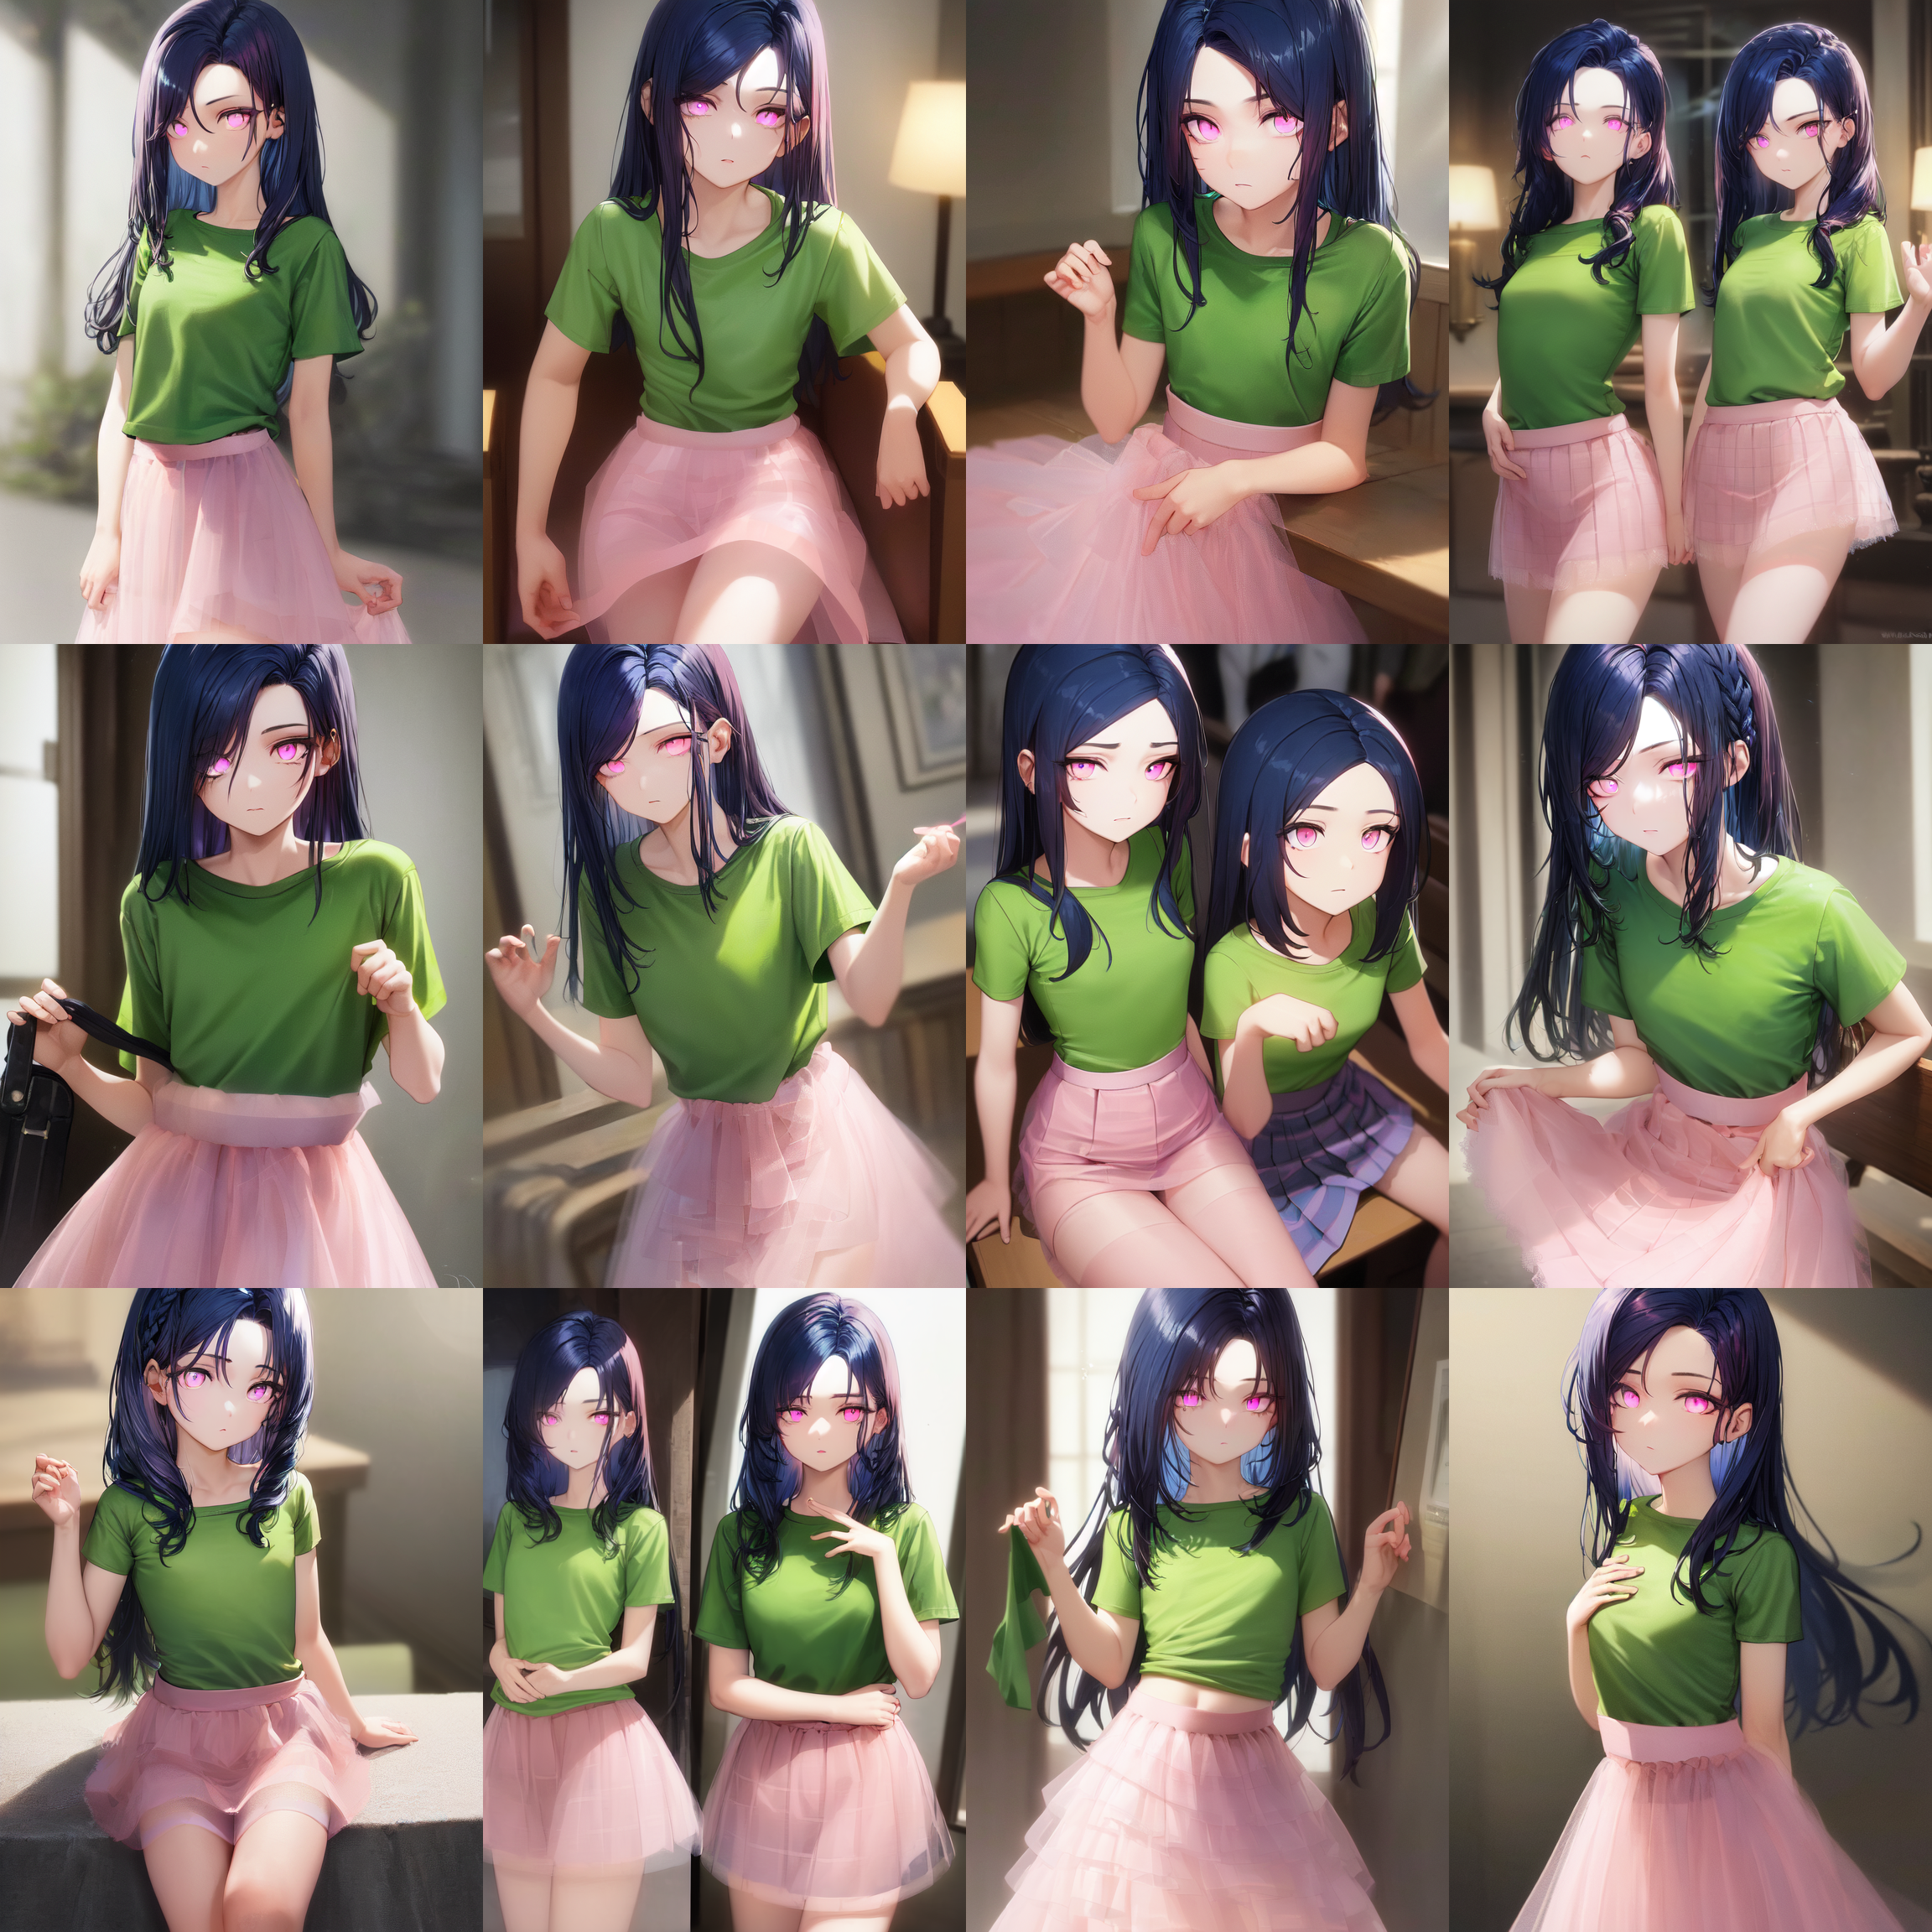
In divide ratio I will put 1,1,1. This will divide our image into 3 equal parts. Then I place an image to better understand what happens.
In short, let's imagine that our image is 100%, if we put it 1,1,1 it would be divided by 33%, 33%, 33%. If we put it 1.1, it would be 50%, 50%. I have not tested the proportions much.
For this step we should have our regional prompter in this way:
My result, if you don't look good, I leave printscreen to see my configuration used at the time of generating: https://prnt.sc/q395bQl_y9z7
Some things to take into account, this is already taken directly from the extension: hako-mikan/sd-webui-regional-prompter: set prompt to divided region (github.com)
Active
If checked, this extention is enabled.
Prompt
Prompts for different areas are separated by "BREAK". Enter prompts from the left for horizontal prompts and from the top for vertical prompts. Negative prompts can also be set for each area by separating them with BREAK, but if BREAK is not entered, the same negative prompt will be set for all areas. Prompts delimited by BREAK should not exceed 75 tokens. If the number is exceeded, it will be treated as a separate area and will not work properly.
Use base prompt
Check this if you want to use the base prompt, which is the same prompt for all areas. Use this option if you want the prompt to be consistent across all areas. When using base prompt, the first prompt separated by BREAK is treated as the base prompt. Therefore, when this option is enabled, one more BRAKE-separated prompt is required than Divide ratios.
Base ratio
Sets the ratio of the base prompt; if 0.2 is setted, the base ratio is 0.2. It can also be specified for each region, and can be entered as 0.2, 0.3, 0.5, etc. If a single value is entered, the same value is applied to all areas.
Divide ratio
If you enter 1,1,1, the area will be divided into three parts (33,3%, 33,3%, 33,3%); if you enter 3,1,1, the area will be divided into 60%, 20%, and 20%. Decimal points can also be entered. 0.1,0.1,0.1 is equivalent to 1,1,1.
Divide mode
Specifies the direction of division. Horizontal and vertical directions can be specified.
THANKS hako-mikan
Description
FAQ
Comments (30)
Have you tried the latent couple extension? I'm curious how the two compare to each other.
When I try to install I get an error. About 2 weeks ago, since then I have not tried again.
@DitamAi Okay, was just curious if you had any thoughts on latent couple. I was able to install it and use it, but I haven't worked with it much. I haven't tried this extension yet, but will add that to my agenda. I think they've each got their own strengths and weaknesses, and the best I can tell, they're different.
Latent couple lets you divide the image both horizontally and vertically at the same time — but it only lets you make every section the same size, so I think it's really only going to be useful for the same kinds of examples that you're showing here. The syntax for it seems to be sort of hard to understand at first too, since it's not really documented. I think for most users, this extension is probably the better one.
@dita There's an experimental 2D region syntax now, have you tried it? What do you think of it?
@firemanbrakeneck Are you talking about feature to sketch how you want the regions to look? I saw that a couple days ago, but I haven't tried it yet. I want to try it out soon, though.
@dita By sketch, you mean the mask PR in latent couple? If so, nope - in regional prompter, main branch. Look up "2D region assignment" in the readme.
https://github.com/hako-mikan/sd-webui-regional-prompter#2d-region-assignment-experimental-function
@firemanbrakeneck Oh, cool. I didn't realize that was there, and since I didn't look back to make sure first, I was talking about Latent Couple. lol, I'm all messed up today. I'll have to update my extensions in a bit. Finally something to let me specify areas of non-equal sizes!
Oh, and there's also a latent mode by now.
@firemanbrakeneck I was just reinstalling some extensions after moving to a new install, and I noticed something very promising. In case you aren't aware of it, I thought I'd share:
So kohya-ss's Additional Networks extension now has (experimental) support for isolating LoRAs via color masking! What Kōya-san says is that Latent Couple works on the output of the U-Net, but their implementation works on each layer of the U-Net individually. But because of the nature of LoRAs, the control is coarse and so there will still be some overlap no matter how you try to isolate them, quite unfortunately. Maybe LyCORIS formats are made in a way that can be better isolated? That would be nice!
Check it out: Additional Networks extension. I'm really looking forward to testing this! Especially since you can apply multiple LoRAs in the same area of the image. So if you have a style LoRA you want to apply to the whole image, you might paint the whole image in red, then if you have two character LoRAs, you'd paint each one with their corresponding color (blue or green), so you'd end up with some parts of the mask red (where there are no characters), some yellow (red + green), some purple (red + blue), and potentially white (red + blue + green). Only problem with that implementation is that it limits you to masking at most 3 LoRAs. You can use additional ones, but you won't be able to mask them. Another cool feature is that the transparency of the color mask specifies the weight of the LoRA.
Oh, so I finally tried Regional Prompter when I was trying to get multiple Bluelock characters into the same image. I tried and tried, with Regional Prompter, with Latent Couple, with and without Composable LoRA... Finally, the best method—really the only one that worked for me—was Regional Prompter using the Attention mode (not Latent), without Composable LoRA. Turning on Composable LoRA broke it. But then I learned that it's not necessary with Regional Prompter.
Uhh.... Sorry to be so chatty. Have a good day!
Another fantastic Tutorial you are in the bleeding edge of SD. Thanks for this
Te iba a etiquetar en Twitter para que le hicieras un video pero lo vi medio raro... y pues no te etiquete. Q.Q
@DitamAi jaja gracias esta semena ha sido tan bestial que no ha dado tiempo de nada, en realidad pienso que tu tutorial es mejor que mi video, pero si quiero probar esta tecnica parace que tambien ayuda cuando tienes multiples personajes en una misma escena.
@impactframes Yep! puedes poner 1,1,1 en horizontal y poner fulanita rubia, break, fulanita verde, break, fulanita roja y PUM! Las chicas superpoderosas.
@DitamAi Las chicas super poderosas es un buen tema para una serie 🤔
This does not work with the DDIM sampler: gives error einsum dimensions that are not compatible. Can this be fixed?
i dont know... but test 2m karras
The DDIM sampler is what I use most of the time. Probably everyone with a slow GPU does. 😆 DDIM isn't compatible with AND and OR keywords in the prompt, but I believe BREAK works okay. Is that the problem you're having? Also, what size image are you trying to make? You'll want to use numbers that are divisible by 64, so for example, 320, 384, 448, 512, 576, 640, 704, 768, etc. Otherwise, I can't think of anything that might cause that. I searched for other things that might be causing your error, but found nothing.
There's also the Cutoff extension which allows you to get some degree of color (and other trait) separation without having to specify regions. Of course, it provides less control as well, but you should try it to see if it will work for you. I've had no difficulty at all using it with DDIM.
It has been fixed.
when i set 1,1,1, it shows the error "RuntimeError: The size of tensor a (4608) must match the size of tensor b (6912) at non-singleton dimension 1", what is the problem?
Very helpful thank you very much. How do you choose your desired colors? Do we simply enter base colors such as red, blue, and green, and let SD do the rest, or is there a way to apply the exact color code we want?
I tried with hexadecimal colors and it doesn't work out, you can try other colors by putting light or dark or even pastel. Dark green, light blue, pastel pink... for example.
There's also the Cutoff extension which allows you to get some degree of color (and other trait) separation without having to specify regions. Of course, it provides less control as well, but for those who just want a quick and easy way to get consistent color separation, it might be a better way to go. DitamAI talks about this extension in another tutorial, for those interested.
for the life of me i cannot find where this is located. I've installed the github link, i've disabled and enabled cutoff, i've looked everywhere on text2img, i've restarted stablediffusion multiple times, yet i can't find where to find the regional cutoff button.
install this https://github.com/hako-mikan/sd-webui-regional-prompter
That link in the description points to another plugin
It worked. I was struggling for hours with an image where the top is denim and the bottom is leather. I tried CUTOFF but didn't work for me. So I gave this one a chance, and BOOM! I didn't understand well how it worked at first until I read the documentation. I've been experimenting with it and I am definitely getting more consistent output now.
For those wondering, yes, you have to type the word BREAK (originally I was hitting ENTER key, as in new line break - dumb me). It worked on photos, not just art or illustrations.
PS. It even worked when I added a comma at the end of the BREAK. So no need to 'break' in new lines, but the prompt looks neater if you do. I have done over 100 images already and the results are consistent. It is more powerful than just making colors behave. Worst reading the documentation and playing with it.
Struggling with this when adding LORAs. How do I add a LORA to the whole render? it seems like it is not applying properly. Also messes up the region breaks. Only pants are applied correctly.
There are actually three different types of sections in Regional Prompter, BASE, COMMON and ROW/COL. BASE is applied to the whole image, COMMON is duplicated and invisibly added on to every other section. This sounds like the same thing, but the behind the scenes for it is different. Try running your LORA in the BASE section. For an image divided into TWO parts, make sure to activate BASE (tick the box if you're using Automatic1111) and then it looks like this: base content BREAK region 1 content BREAK region 2 content
In attention mode, all loras are applied to the whole image, there's no way to separate them. In latent, as stated, either place the lora in base or in each region. Make sure you don't put loras in the common clause since the duplication ofr them is buggy. Also, non loras (eg lycos) aren't supported yet.
I need a tutorial for this, I still don't get it haha
Thank you for telling me I'm beautiful. You're beautiful too. <3