I started writing an article about how to best use older Wan 2.1 LoRAs in the new Wan 2.2 workflows and every time I wrote anything, it got so complicated that the article was nearly unreadable. In the end, I decided it was much simpler to just SHOW rather than EXPLAIN, so I made this workflow. The rough draft of this workflow has been my daily driver for wan creation for a little while now, so it's been proven to work.
1.2 UPDATE: Version 1.2 is released. It's a very minor bugfix version that replaces a LogicUtils node from the old workflow. A few users have mentioned that they are not able to install LogicUtils custom nodes package for some reason, so I swapped out that node for a similar one. This update should solve that installation problem.
UPDATE: I've published version 1.1 of this workflow. It's essentially the same but adds some extra guidance in notes for Wan 2.2 video creation and one new optional feature for long video generation. See the version notes on the right side of this page for more details.
This workflow is the result of a great deal of experimentation with running Wan 2.1 LoRAs inside a Wan 2.2 workflow for maximum effect and accuracy. Older LoRAs work best in the Low Noise model of Wan 2.2 which is the closest to the older Wan 2.1 model. However, the High Noise model is required to give Wan 2.2 videos the enhanced motions, camera control, and prompt adherence that are so much improved over Wan 2.1. This workflow is a compromise between those two competing interests and combines the best of both worlds. It provides all those Wan 2.2 advantages but also presesrves the look and feel of Wan 2.1 LoRAs, particularly character and clothing models, with high accuracy.
This workflow is customized to work very well with the Wan 2.1 models created by darkroast175696 on Civitai but should also work for any other Wan 2.1 models.
If your video doesn't use any LoRAs at all or is only using Wan 2.2 LoRAs, I recommend a 3-stage workflow with a 2-step introduction that doesn't use any LoRAs or acceleration at all, followed by 6 to 10 steps of Lightning enhanced High and Low Noise stages (3 to 5 steps of each).
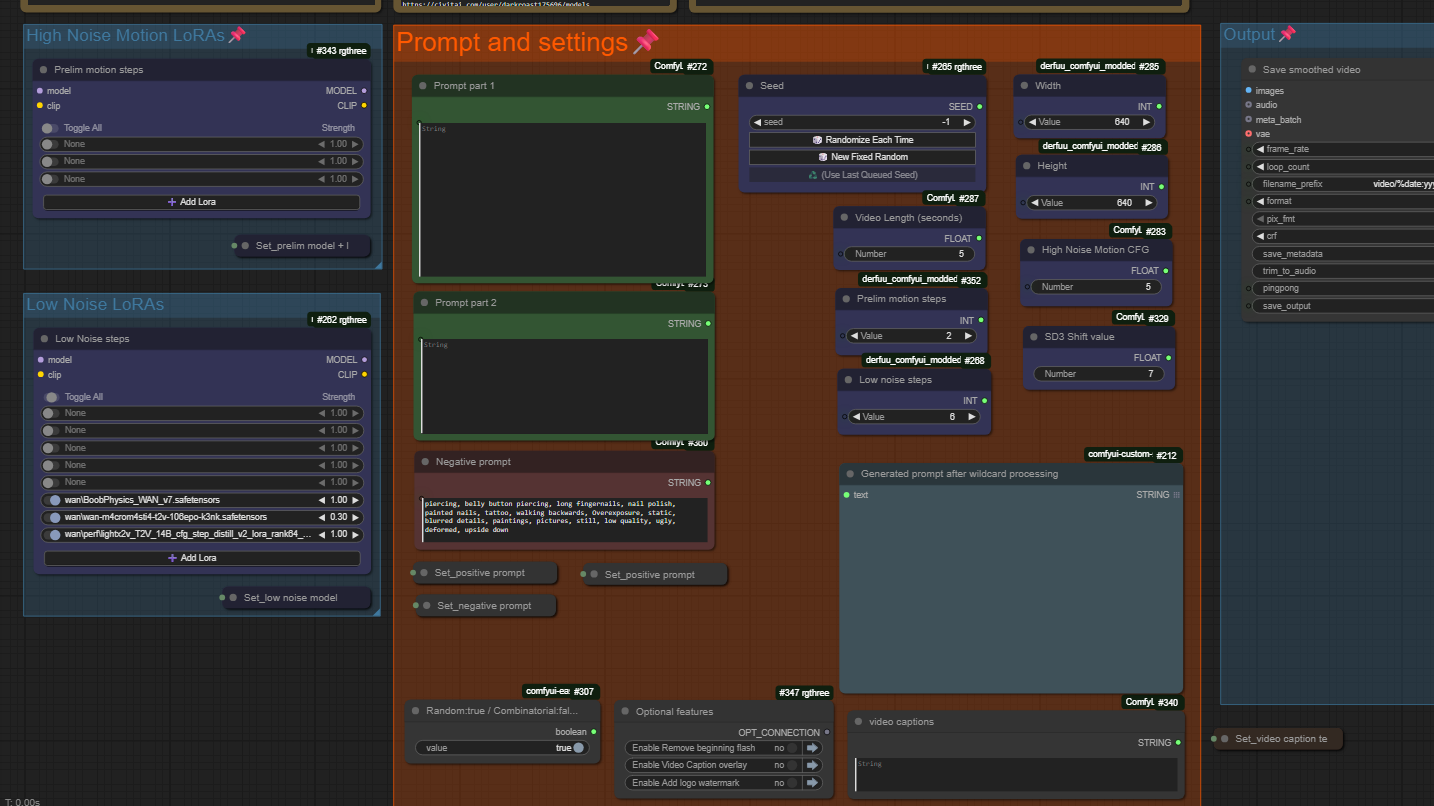
The workflow includes recommended settings for all of the Wan models I've published. Those settings may not always be the best for whatever video you're making, but they will make a good starting point and you can adjust from there. Some other features that are supported and optional:
smoothing/frame interpolation
dynamic prompts for wildcards and random generation
caption text overlay on final video output
watermark image added to final video output
I hope you can make good use of this workflow and make tons of awesome videos to share with the rest of us.
Description
Updated wan 2.2 gguf models to the Q8 version since it doesn't seem to use any more vram than Q6 and it should be slightly better results. Updated notes on steps and cfg recommendations. Added new note boxes for favorite width/height resolutions and Wan 2.2 scene terminology. Using the cinematic text descriptions seems to really improve the realism and cinematic motion in the videos. Added new feature with an on/off toggle to strip out the first couple of frames. This is useful when you make a video longer than 81 frames with lightx2v - you usually get a flash of extra bright frames at the very beginning of the clip. This toggle will turn on a filter that removes the first few frames from your video. It doesn't change the length enough to notice (about 1/8 of a second) and it fixes the flash.
FAQ
Comments (3)
Hi,
I'm having issue with one the nodes LogicUtils. I tried installing few time it but it fails to import.
@MuthalBC
I don't know what's going on with LogicUtils, but I can tell you how to edit the workflow to get around that issue. I think there is only one node in the workflow that uses that package.
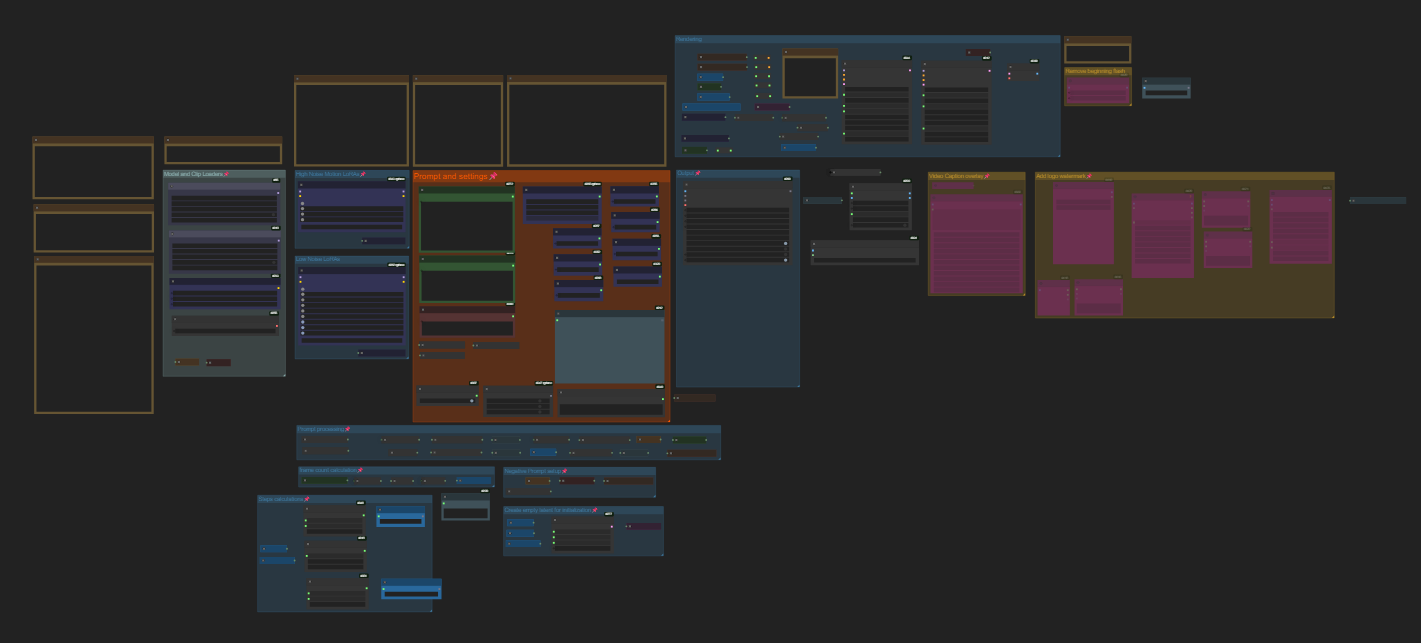
In the bottom section of the workflow is a group named "frame count calculation". In that group is a collapsed node named "Round". You need to replace that node. First, delete the node. Then add a new node in that spot by double-clicking in the workflow and in the search box, type "CR Float to Int". The Comfyroll package is already used in this workflow so you should have this node. It will also convert a floating point number to an integer. You need to connect the paths in the same place that the old node was: the output from "Math Float" is connected to the input spot, and the output from Float to Int is connected to the "a" input in the next node, "Math Int". Once you do that, the workflow should work for you. Please let me know if those instructions don't work for you.
By the way, you may need to expand the collapsed nodes in order to see the inputs and outputs. The grey dot on the left will open/close the node so you can see all those details.
@HoneySandhu I just released an update to this workflow that removes the logicutils node. If you still want to try the workflow, you should download the new version.