
HOW TO USE :
- Update Highlights – Version 1.6
Fully reworked the Detailer section, featuring better model selection and a cleaner, more readable display. This results in sharper outputs and a smoother experience when fine-tuning details.
Revamped the Preview system, making it more responsive and easier to read at a glance, improving iteration speed during generation.
Enhanced the Color Correction and Final Image pipeline, providing more consistent tones, better lighting balance, and overall higher-quality outputs.
Improved the overall workflow structure and visual clarity, making the setup more intuitive and user-friendly while keeping full flexibility for advanced users.
Various quality-of-life improvements and refinements across the workflow for a smoother and more efficient experience.
- Update Highlights – Version 1.5
Added LoRA Manager integration, allowing users to easily load, organize, and blend multiple LoRAs without clutter. This makes character and style creation much faster and more intuitive.
Improved stability and layout readability, refining the node flow to make it more logical and beginner-friendly while preserving full modular control.
Updated tutorial and usage guide, including a full step-by-step explanation on how to install, configure, and use the workflow efficiently.
Minor adjustments to default samplers and CFG values for better consistency across multi-character generations.
- Update Highlights – Version 1.4
Completely redesigned for better readability and ease of use, heavily inspired by vslinx’s workflow (shoutout to him).
The preview section has been revised for clearer and more intuitive feedback during generation.
The old dual-sampler setup has been replaced with a dedicated Hi-Res Fix node, improving image coherence and reducing anomalies during upscaling.
A new image filter now generates multiple base images depending on the batch size, allowing users to select the most suitable one before moving forward with detailing.
- Update Highlights – Version 1.3
Reverted some previous changes that didn’t provide meaningful benefits.
Improved readability: reorganized key sections of the workflow for better clarity and structure.
Enhanced usability: streamlined certain modules to make the workflow more beginner-friendly and intuitive.
Bug fixes:
Fixed issues with image upscaling using a second sampler. The upscaling process is now smoother and more reliable.
Addressed various minor bugs to improve overall workflow consistency and stability.
- Update Highlights – Version 1.2
Wildcard support added for more varied and automated prompt generation
Auto-masking system implemented
→ Automatically generates a base image to feed the mask detection logicManual masking system retained
- Update Highlights – Version 1.1
Added dedicated Detailer modules for:
• Face
• Eyes
• Hands
These provide better control and enhanced precision for high-focus areasIntroduced an optional NSFW Deta
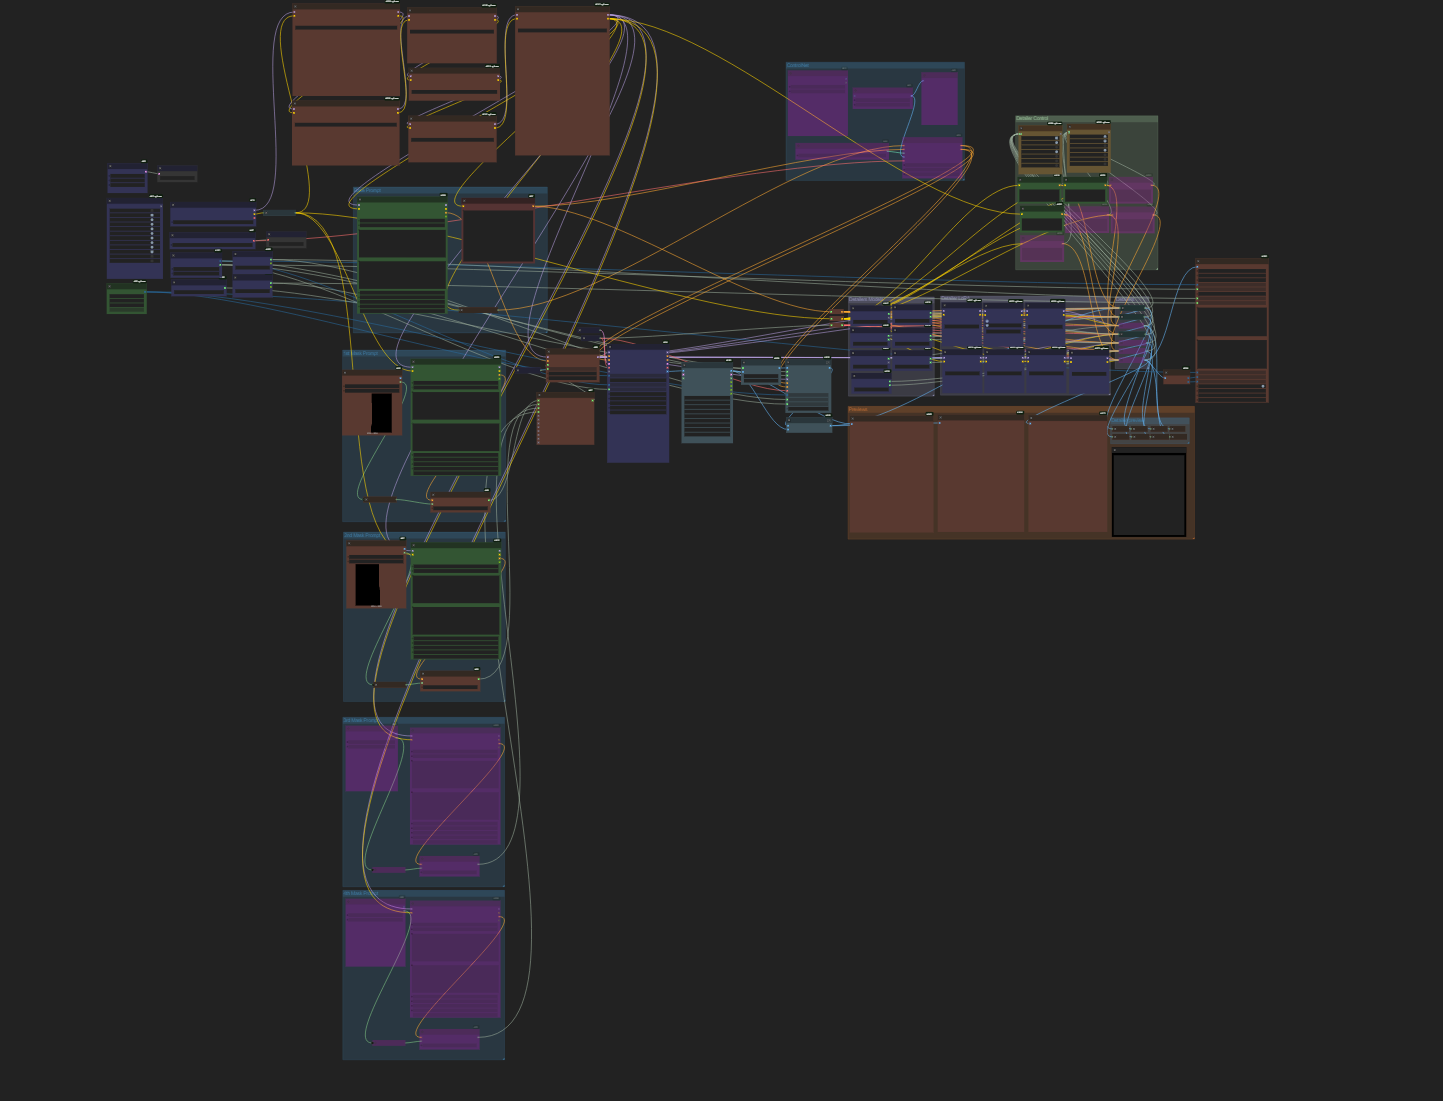
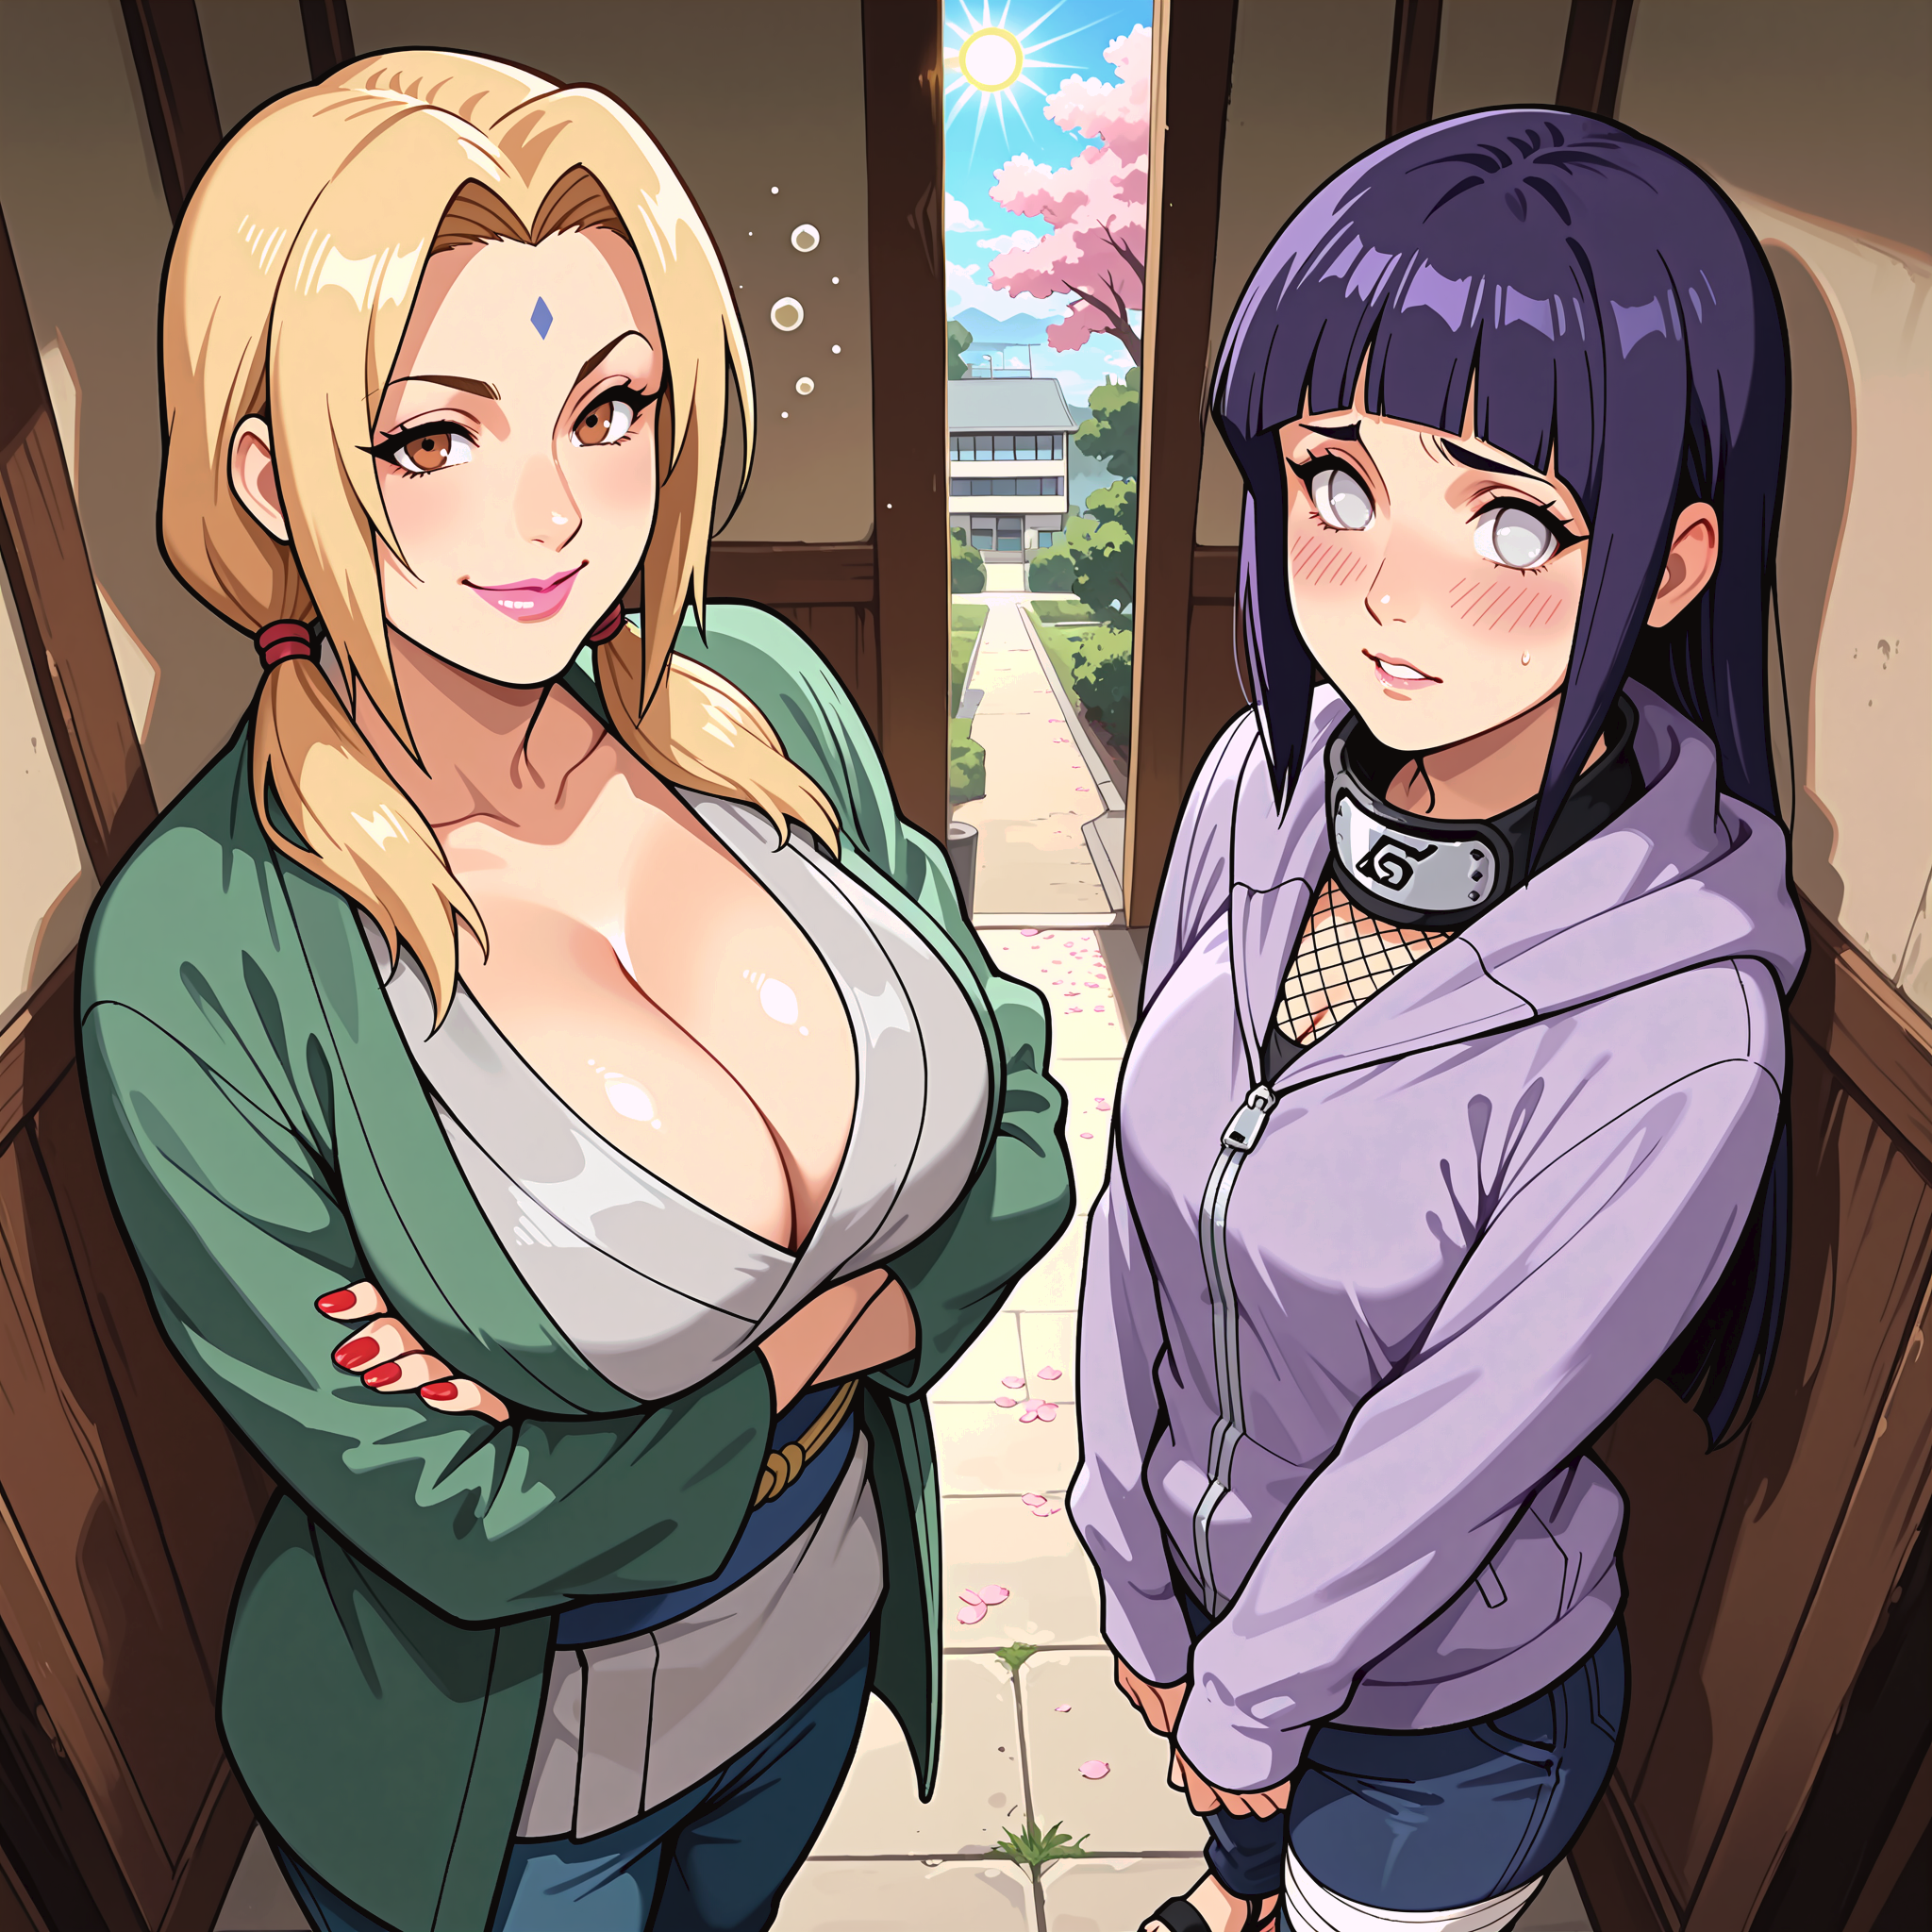
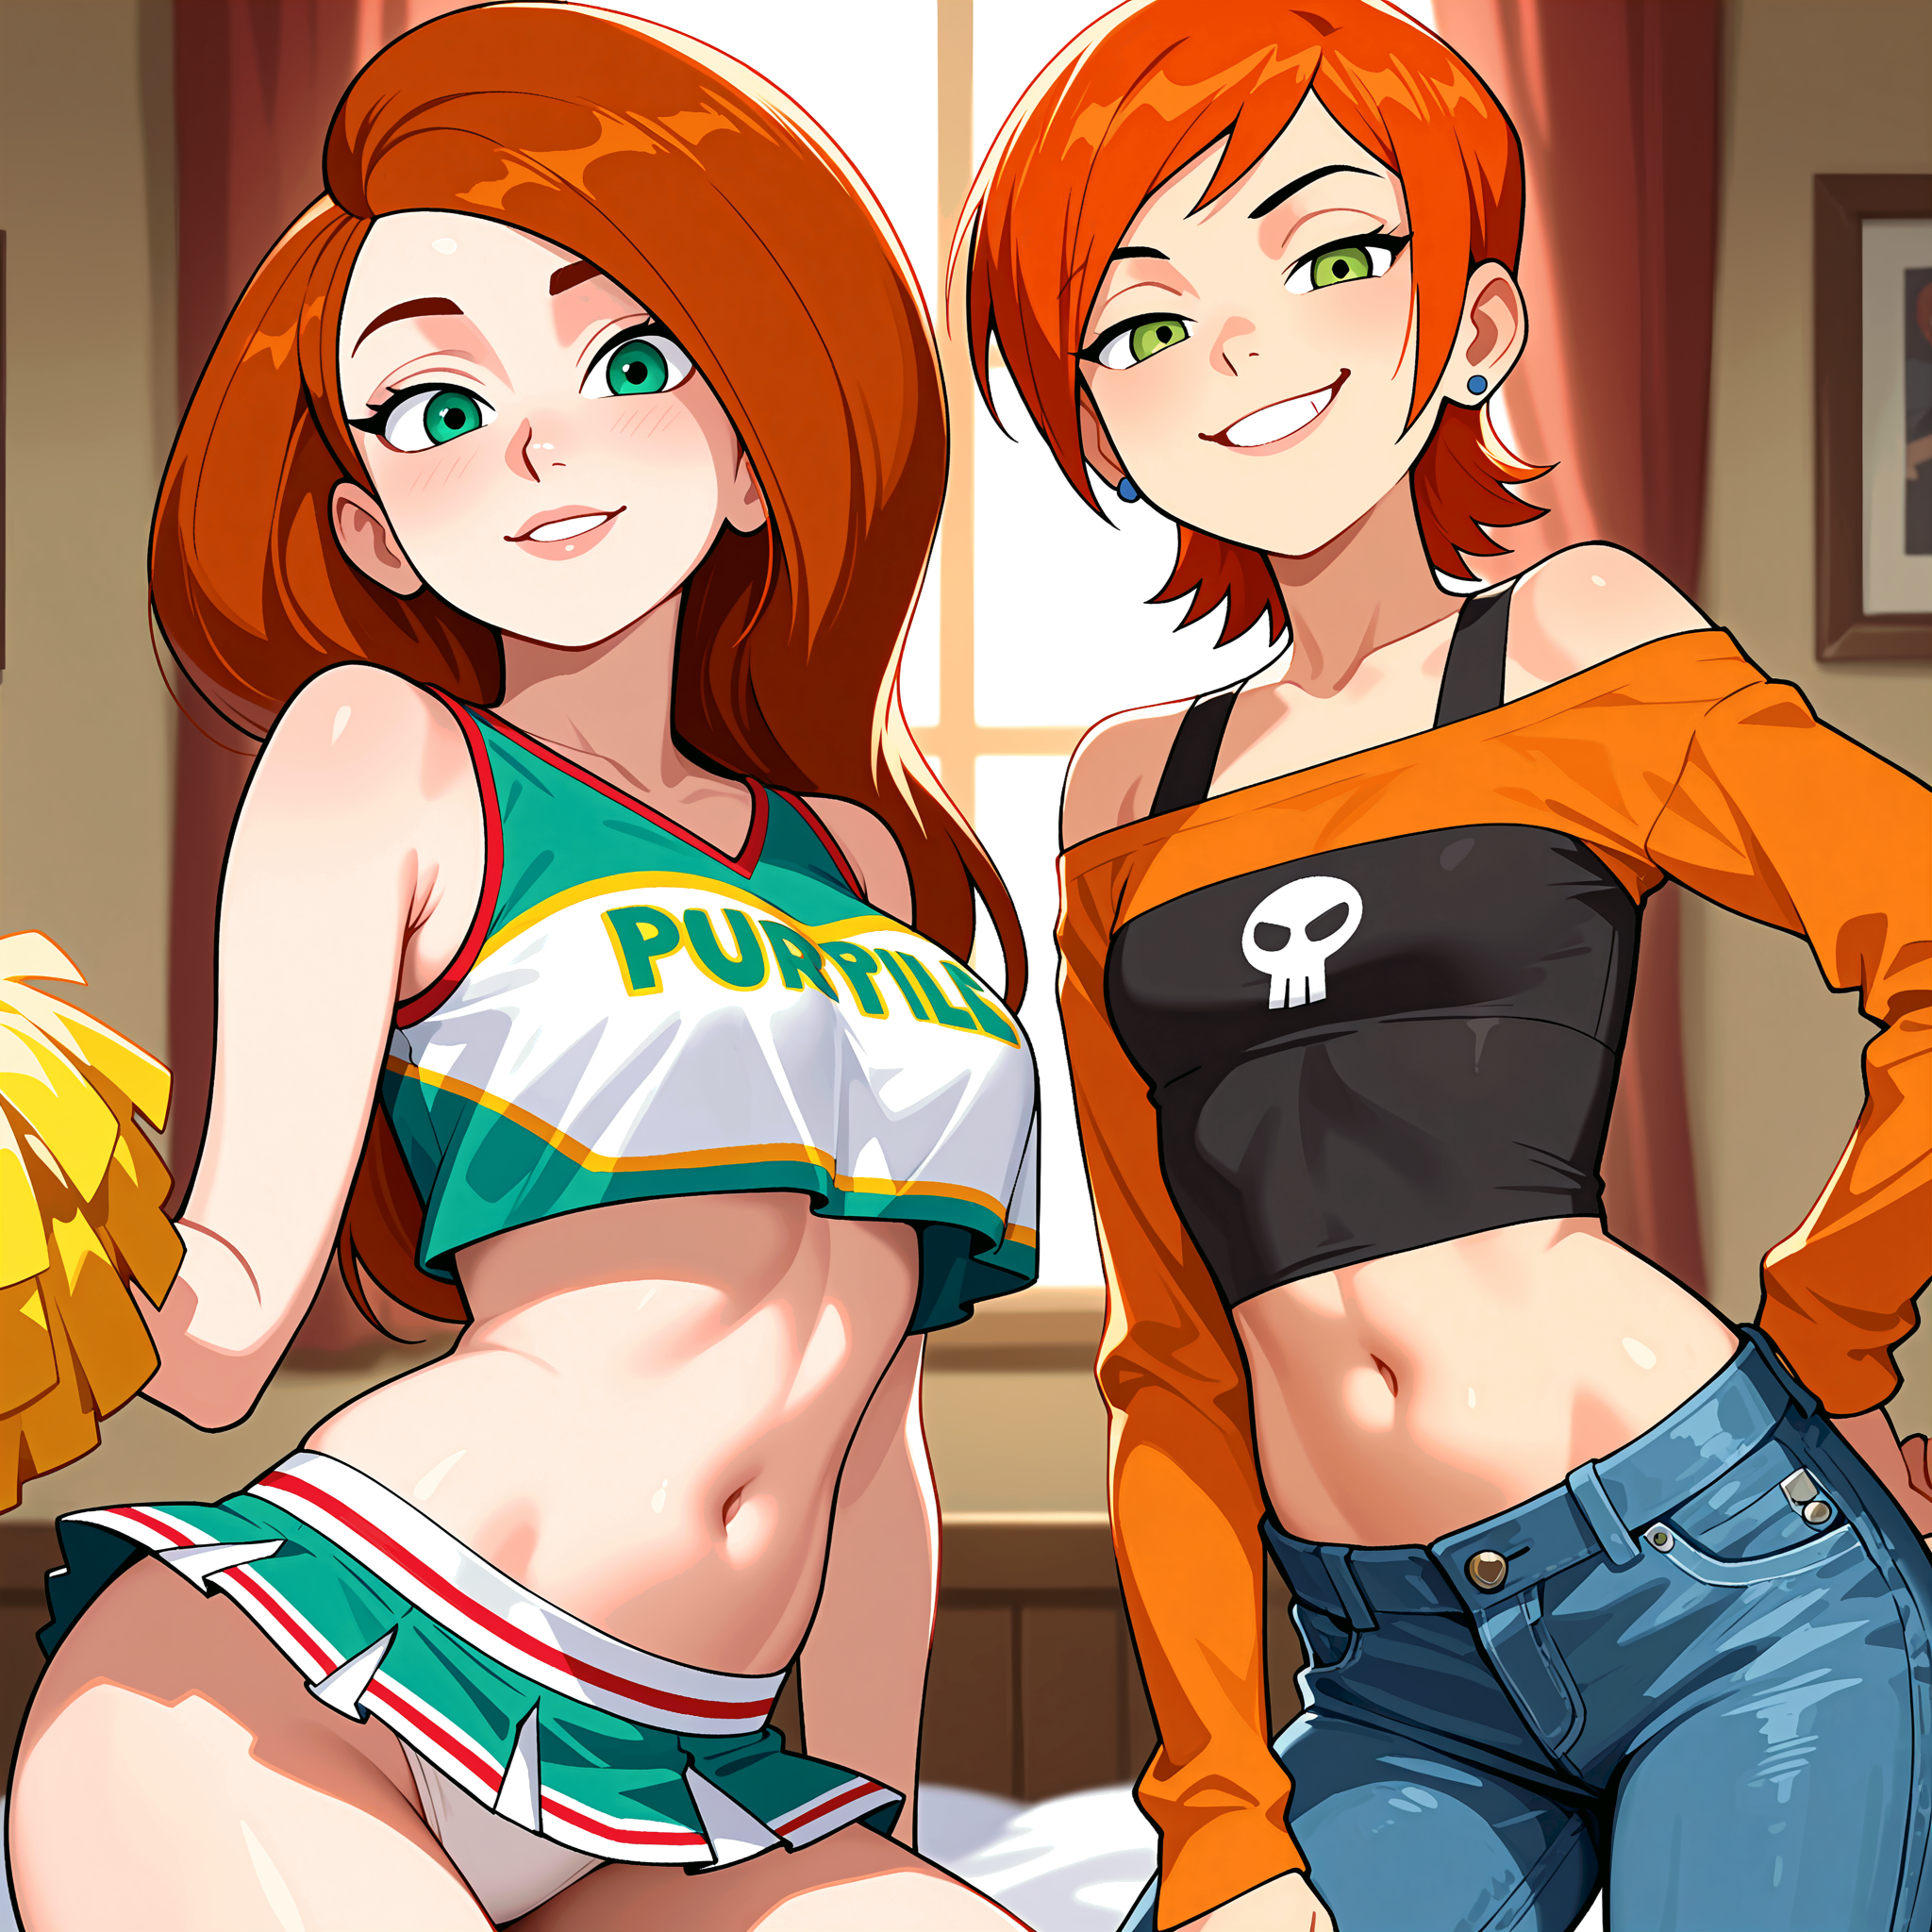
Introducing a powerful character design pipeline built around Illustrious — ideal for generating complex scenes with multiple precise characters, each with their own LoRA, styling, and pose masks.
✨ Key Features:
▫ Mask-Guided Multi-LoRA Framework
Supports multiple distinct characters with independent LoRAs
Each character area is defined via custom mask drawing (manual or input-based)
Dedicated nodes for LoRA types (style, body, clothing, accessories)
▫ Optimized Illustrious Foundation
Built on the Illustrious model family for rich detail and dynamic anatomy
Configured for stable multi-character composition
Modular design: easily customize scenes, lighting, camera, or prompt focus
▫ Creator-Focused Workflow
Enables high-precision, high-consistency character creation across generations
Ideal for multi-shot concepts, lineup renders, or consistent storytelling
Great for experimenting with pose, outfit swaps, or stylization
▫ Perfect For:
Multi-character fanart creators
Professional concept artists
Users who want full prompt and visual control
▫ Download Includes:
Main JSON workflow (ComfyUI ready)
Pre-configured node templates for characters and ControlNet masks
Prompt/Negative prompt structure examples
Optional face detailer setup
Feedback & Feature Requests :
I’m still actively improving this workflow — if you have suggestions, requests, or feature ideas, I’d love to hear them. Whether it’s a bug, usability issue, or a new tool you’d like integrated, feel free to share your feedback directly on the Civitai post or by message.
Community input is extremely valuable and helps shape future updates!
Ressources :
Detailers Models :
FACE
EYES
LIPS
NOSE
HANDS
NIPPLES
VAGINA
PENIS
Nodes used:
Join the Discord!
Come hang out, share your AI art, give feedback, ask questions, or just vibe with the community.
It’s also the best place for troubleshooting, commissions, and sneak peeks of upcoming work.
Description
FAQ
Comments (34)
I am sorry. Am i doing something wrong? I am trying to run but It says i don't have Advanced clip text encode, And when i got to the github there is not download button.. please help
You need to clone the repo on github in your "custome_node" folder, please refer to this official documentation : https://comfyui-wiki.com/en/install/install-custom-nodes
@Mittoshura Thanks for the help. I did cloned it but apparently I screwd the folder somehow. It's fixed now! thank you
@AlterAurora Great to know ! Pleasure helping you, don't hesitate if you need help again !
@Mittoshura I need help again. I am not sure what I am doing wrong but it doesn't matter what i prompt. It just.. doesn't follow. Mask 1 and 2 characters never show up. It kinda follows the main prompt and that's it. What am i doing wrong
@AlterAurora Are you using the MaskEditor correctly ? To paint where the prompt will be applied?
@Mittoshura I think?I am meant to add the black image mask (since it wont let me prompt anything until i do), Then on mask 1 and 2 I put only the characters. I dont repeat the scene like in the main prompt. even when the mask thing pop up for me to choose which image to pick, It's all invisible like, there's nothing there even tho an image was generated.
I am getting a few errors such as Output will be ingored
failed to validate prompt for output 173,157,161,182,160,162,163,159,158.
and after failed to validate prompt for output 166, it lists value not in list model_name 'sgm/ and basically all the things in there. even tho all the files are in the folder bbox and segm.
so i don't know.
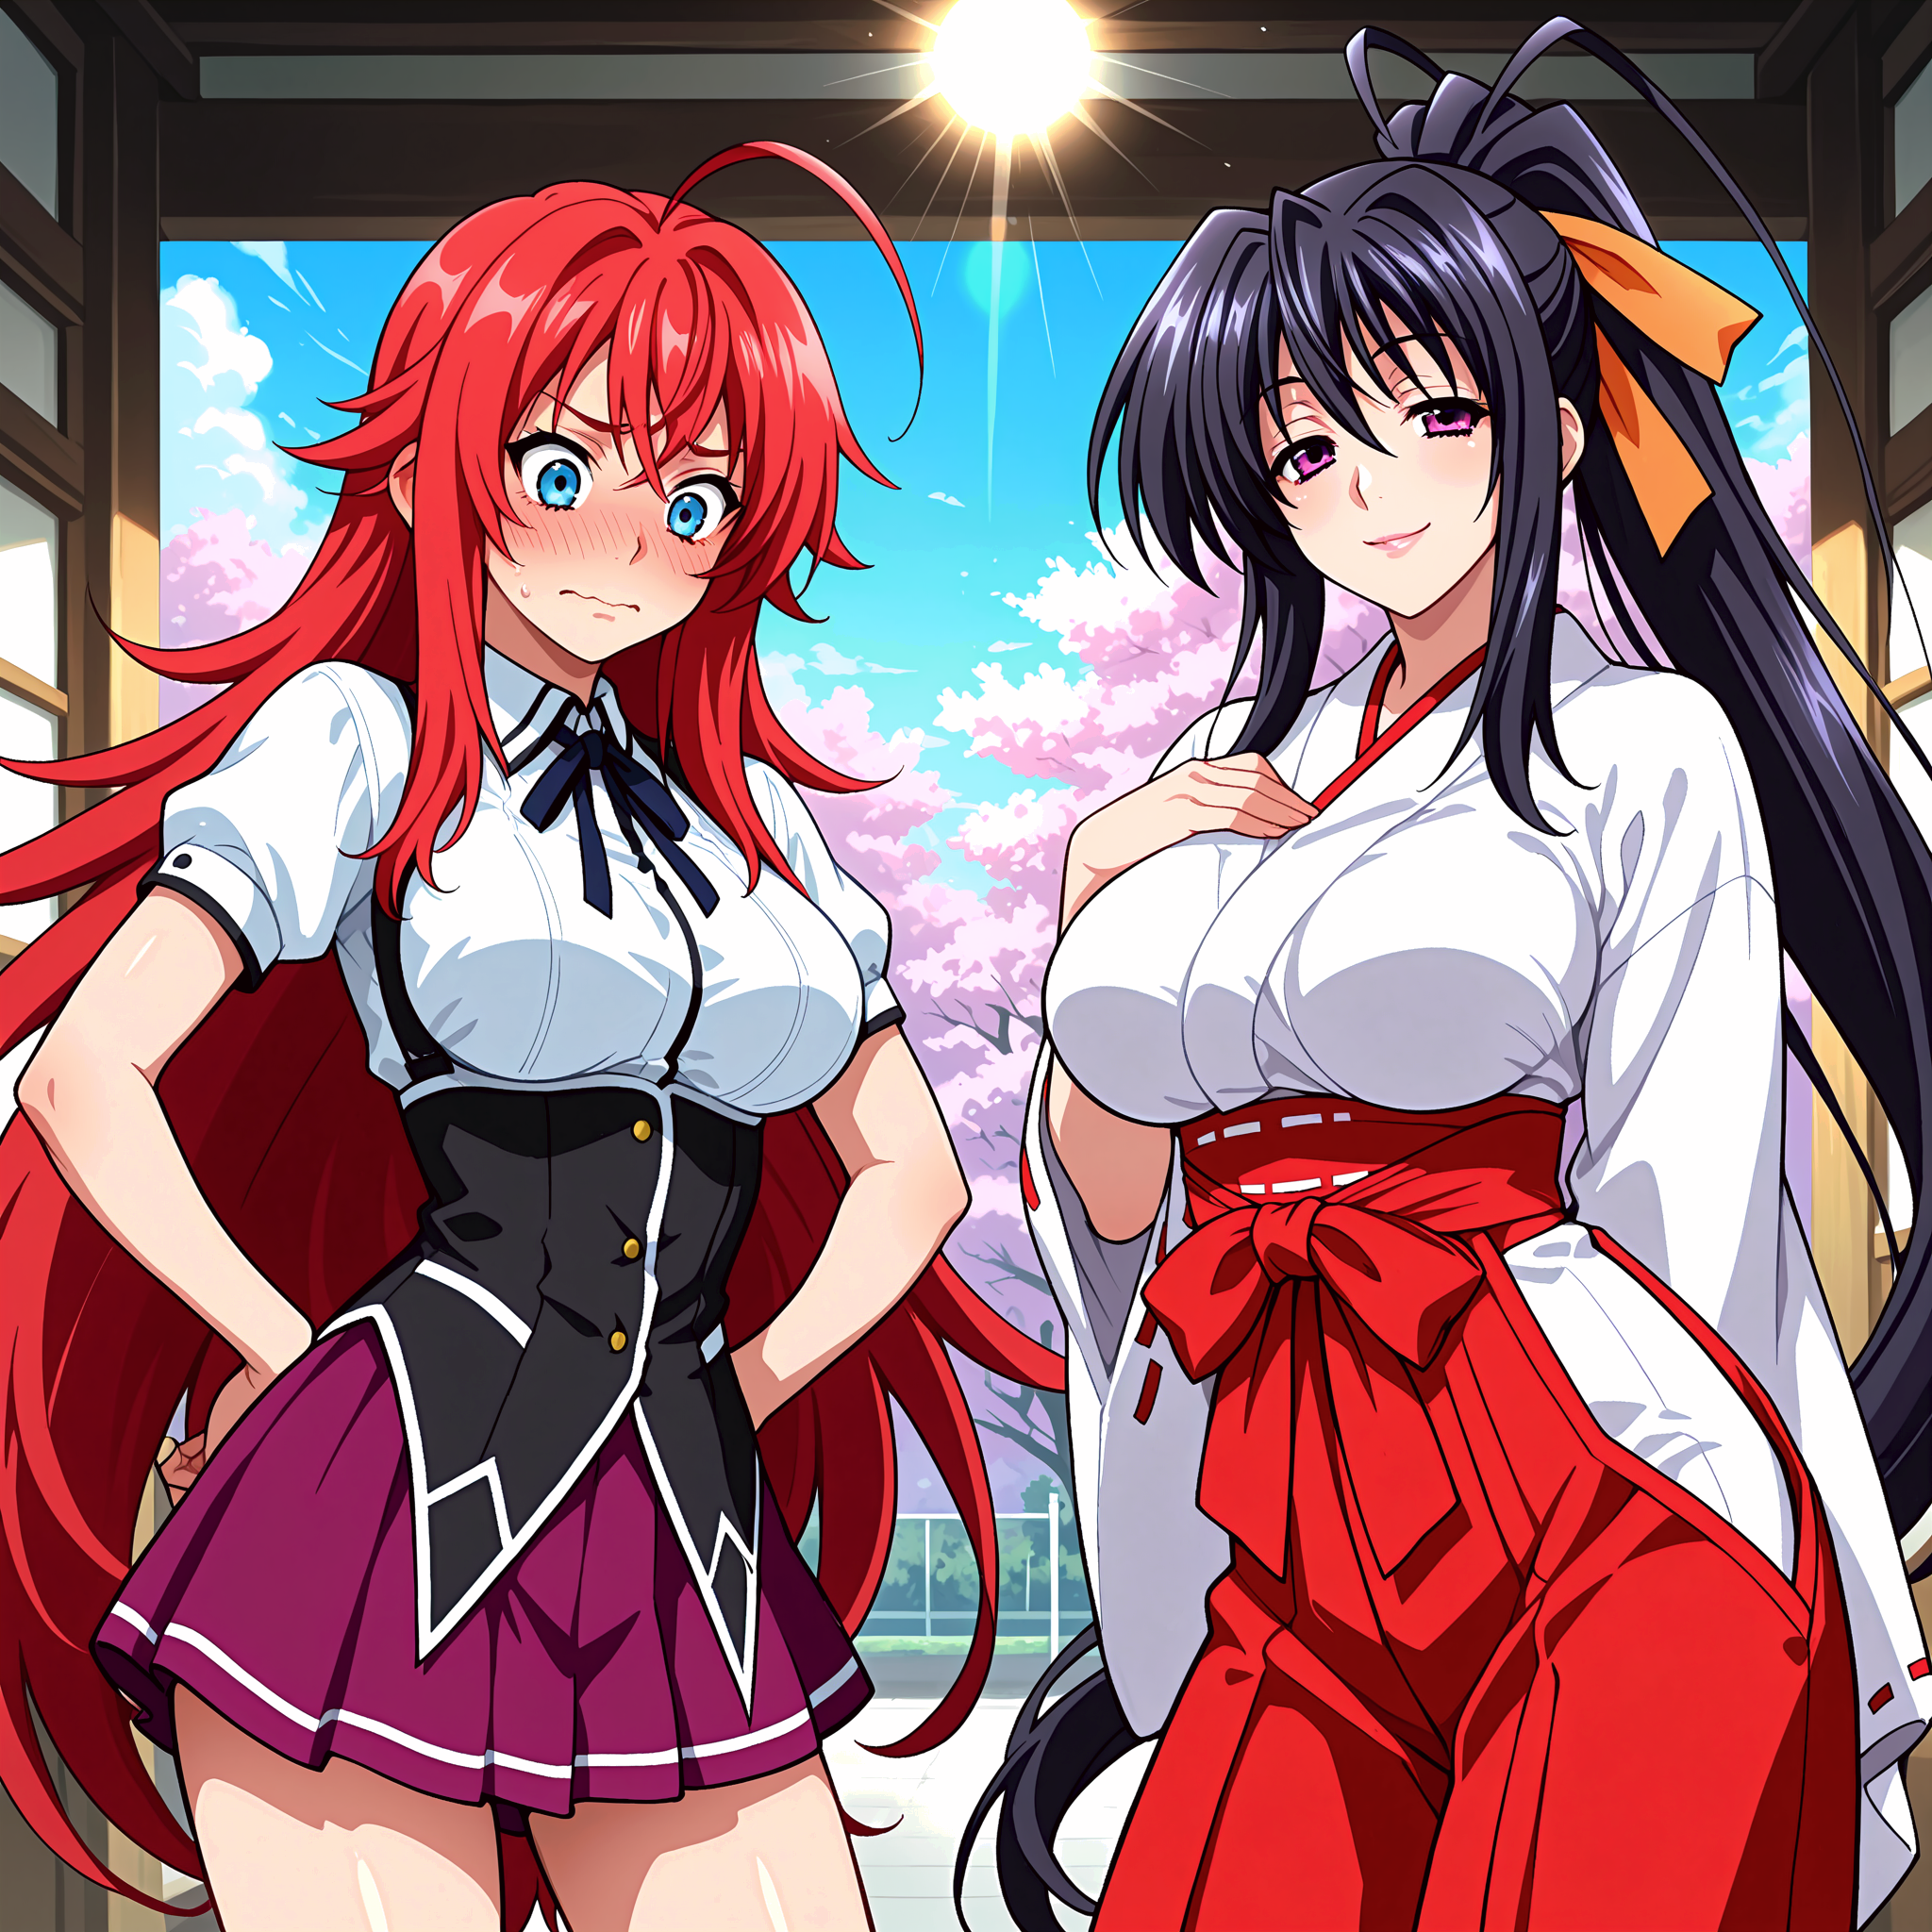
I've tried multiple ways and it only follows the main prompt not the masks at all. So i am definitely doing something wrong. your already hotd image to compare, even using that one it never generates the hotd characters either
maybe i am doing something completely wrong or I am just really stupid.
@AlterAurora Are you using the last version of the workflow?
@Mittoshura Sorry! I was gone for a bit didn't see the message.
At the time yes, I was using the latest. I will give a try on v1.5.
I only see 1 character lora box. Do I put all loras there? Or just the ones that affect everyone? What about the other characters? Also should the attention couple node resolution equal the entire image's resolution?
Yes the resolution must be the same ! As for the carater yes you can put all the loras in this box, and then call them individually in eache prompt box for each caractère with something like "<lora:rias_gremory_ilxl_v1:1>"
@Mittoshura Thanks kso much for the reply. So the lora will only apply to the prompt that I call the lora to via the <lora:> statement? Does that mean that any global lora such as lightings and styles should be called to the Base prompt in that way?
@ashdodd1029515 For better result you should yes ! You can try to just call the trigger words but i found it works better if you ass <lora:the strengh you want>, yes you describe the scene in the Base prompt, make sure to add the number of caracter, for exemple, if you plane on using 4 girls, add "4girls" in the base prompts, something like this :
Main prompt: “4girls, standing, beach, sunset, masterpiece, 8K, aesthetic”
Mask 1 prompt: “4girls, long pink hair, green bikini, side ponytail, shy expression”
Mask 2 prompt: “4girls, blue hair, black swimsuit, confident pose, hands on hips”
…and so on.
@Mittoshura Oooh, interesting, so you actually suggest referring to the number of subjects in each mask prompt? So 4girls, description of first girl in first mask prompt. Then second mask prompt: 4girls, and second girls description, etc? That works better than saying... "4girls, on beach" in the base prompt and then "1girl, description" in each individual prompt?
@ashdodd1029515 Yes, it works better and maintains coherence with the prompt, so the attention couple can do its job properly
@Mittoshura Good to know, I really appreciate the tips. I've only been prompting a few months now and was using solely Forge until a couple weeks ago, so I'll soak up advice like a sponge whenever someone has some to offer xD
@ashdodd1029515 Aahahah welcome in this world then ! Don't hesitate to hit me up if you need help ! I'll gladly help my best !
@Mittoshura You're too kind! I will most likely end up taking you up on that! XD
Wanted to take a moment to thank you for this. Everything is laid out in a senseful, easy to understand way. Excellent work.
I've been having a lot of fun playing around with the workflow, and as a by-product I've ended up learning about painting masks and using ragdoll posing apps.
For anyone having issues getting the masks to work: open up the example image from OP in ComfyUI and check out how they laid everything out. Use that as a guide.
-----
My only issues at this time have been with the Save Image w/Metadata node. Listing them below:
• Needed to do Right Click->Fix node (recreate) before it would output to my folder
• Positive and Negative are not currently populating and default to unknown
• modelname does not seem to automatically change when I change the model. I can change it manually so it isn't a huge deal.
Of course, this could always be an issue with the node on my end.
Thank you so much for the kind words and the support — it really means a lot to me.
And yes, I’ve run into that same issue too but completely forgot to mention the right-click → fix node trick. I’ll make sure to address it properly in the next workflow update (coming soon).
I’ll also take a closer look at the other problems you pointed out and see if I can get them resolved. Much love.
I have a question, your workflow helps with positioning the characters left and right, but how do i make them above each other, girl 1 top half girl 2 bottom half, for example
Juste draw the mask as you want for each caracter use the mask editor ! The first one you draw the top hald and the second one you draw the bottom half
@Mittoshura Where should i draw the mask? i didnt see a node for that
@StarAIStarAI On the mask node on each section for your character ! You right-click on the node and click on "Edit with mask editor" and plaint with the white color !
@Mittoshura Where is the mask node?
@StarAIStarAI It's the node on the left of the prompt in each container
Hey, I am getting no image after 1st sampler but I have it in sampler preview, what do you think can be the problem?
Either the node is corrupted, try update the node or re-installe it manually, or maybe try to recreat the node ?
How are you supposed to use the auto-mask? Whenever I try to run it I get an error like "[Errno 2] No such file or directory: 'C:\\ComfyUI\\input\\clipspace/clipspace-painted-masked-222014.png'"
I recommend not using it if your not familiar with these nodes, it's pretty broken and crused, i'll try to make it easier to use in later update
@Mittoshura Ok so, how am I supposed to use the workflow then?
@glencoe0204 You edit the mask by using the mask editor, right-click on the node mask and "Edit with MaskEditor"
Is there an alternative to efficiency nodes? I just cant get the to import properly
i'm still trying to get this workflow to work. I had a problem when it comes to the image filter node. The images are in a blue and red color. they don't show the same as the ksampler, how can i solve this?
OH and also it doesn't continue the process of final result and save image. it just finishes in high res result