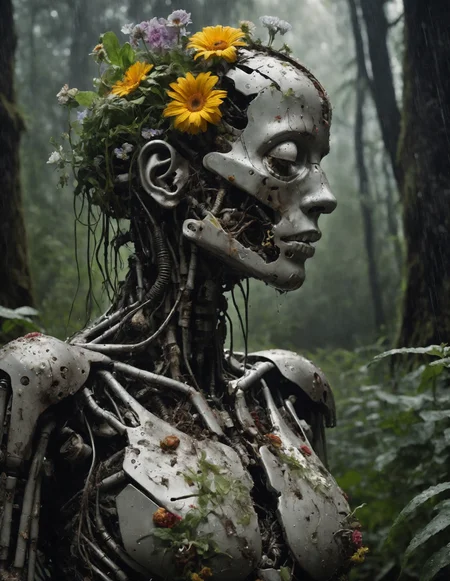

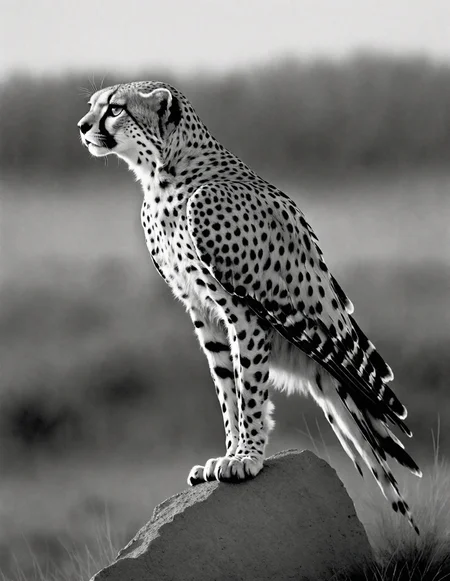

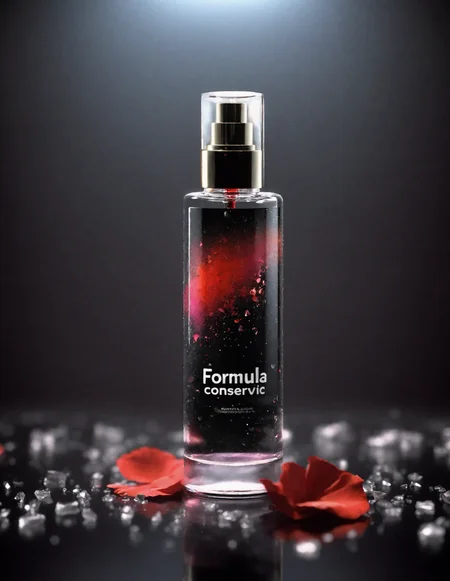
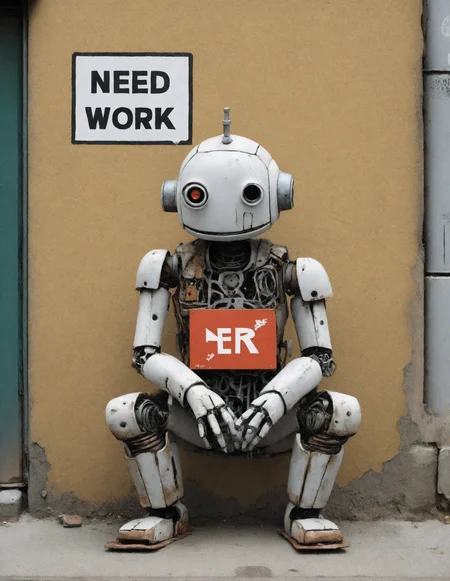
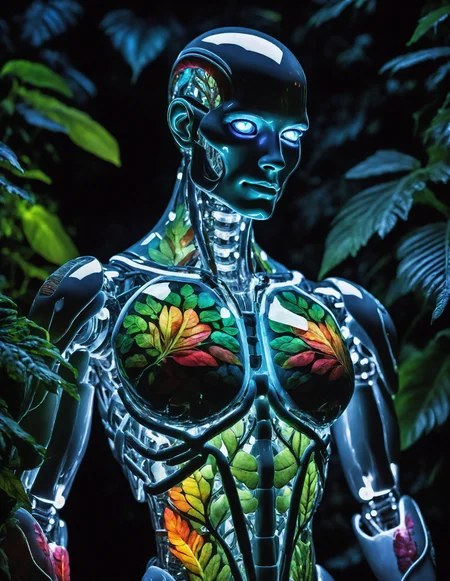



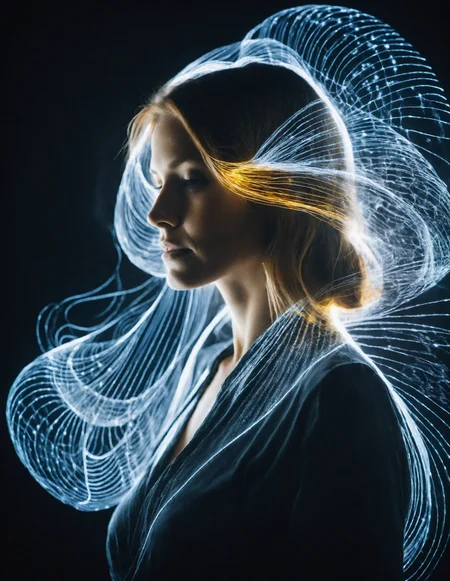

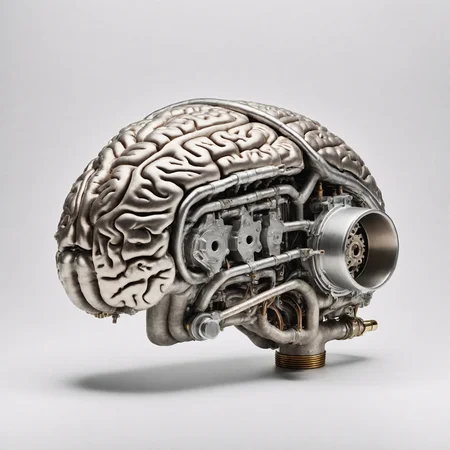



Now that you have been lured into the trap by the synthography on the cover, welcome to my alchemy workshop!
现在,你已经被封面上的合成图所吸引,欢迎来到我的炼金术工作室!
***Update*** I finally managed to upload v2.0 to Tensor.Art. If you want you can try a "demo" version of the model there for free without downloading anything. I put the best settings for that UI under the cover image on that same site: https://tensor.art/models/637807570054065038
****更新**** 我终于成功地将 v2.0 上传到了 Tensor.Art。如果你愿意,可以在那里免费试用模型的 "演示 "版,无需下载任何东西。我把用户界面的最佳设置放在了该网站的封面图片下: https://tensor.art/models/637807570054065038
WHAT is the formula for FormulaXL? 什么是 XL 配方?
English:
FormulaXL v1.0 = more artistic.
FormulaXL v2.0 = more anatomically realistic.
One is not better than the other; they are complementary. My suggestion is that if you want to make something that is not about the human body, the best choice is definitely v1.0. On the other hand, if you want something only human and photorealistic, the best choice is v2.0. What about hybrids? Try both and see which result convinces you more with your prompt!
Full fp32 versions are here only for those who want to train them on their own custom Lora.
How to use them? First install ComfyUI:
https://github.com/comfyanonymous/ComfyUI#installing
Put the model downloaded here and the SDXL refiner in the folder:
ComfyUI_windows_portable\ComfyUI\models\checkpoints.
SDXL refiner: https://civarchive.com/models/101055?modelVersionId=128080
Download the upscaler frome here:
https://www.dropbox.com/scl/fi/ma3gakfueia0m98m2yrt2/FormulaUpscaler.pth?rlkey=idtwivgh6mu8nbihwc3lotygv&dl=0
And put in the folder:
ComfyUI_windows_portable\ComfyUI\models\upscale_models
Then install the ComfyUI Manager version:
https://github.com/ltdrdata/ComfyUI-Manager#installation
Now download this JSON file from here:
https://www.dropbox.com/scl/fi/ox2qcp9df0r5dwbpkbeav/FormulaXL_ENG.json?rlkey=xuaance0nynmtq2ix6vun1d1i&dl=0
Drag and drop it into your ComfyUI browser UI. An error message will appear. Click on close. Then click on Manager in the small UI menu. Then click on "Install Missing Custom Nodes." In the new menu press on "Install" starting from the top one at a time. Between each click wait for the previous one to finish the process. It may take longer for some than others, so do not be afraid and wait.
When this is done, click close. Close again. And close the web screen and the black ComfyUI screen.
Now restart ComfyUI. Let it do everything automatically until the workflow appears. It will take a while. Now no error messages should appear. To be safe, close everything again and restart. Ta dan! Ready to use. Enjoy.
中文:
公式XL v1.0 = 更具艺术性。
公式XL v2.0 = 更符合解剖学原理。
一个并不比另一个好,它们是互补的。我的建议是,如果你想制作与人体无关的东西,最好的选择肯定是 v1.0。另一方面,如果你想要的只是人体和逼真的东西,最好的选择是 v2.0。那么混合版本呢?两种都试一试,看看哪种结果更能让您信服!
完整的 fp32 版本只为那些想在自己的定制版 Lora 上训练它们的人准备。
如何使用?首先安装 ComfyUI:
https://github.com/comfyanonymous/ComfyUI#installing
将在此下载的模型和 SDXL refiner 放入文件夹:
ComfyUI_windows_portable\ComfyUI\models\checkpoints.
SDXL refiner: https://civarchive.com/models/101055?modelVersionId=128080
从此处下载升频器:
https://www.dropbox.com/scl/fi/ma3gakfueia0m98m2yrt2/FormulaUpscaler.pth?rlkey=idtwivgh6mu8nbihwc3lotygv&dl=0
并放入以下文件夹
ComfyUI_windows_portable\ComfyUI\models\upscale_models
然后安装 ComfyUI 管理器版本:
https://github.com/ltdrdata/ComfyUI-Manager#installation
现在从这里下载这个 JSON 文件:
https://www.dropbox.com/scl/fi/ox2qcp9df0r5dwbpkbeav/FormulaXL_ENG.json?rlkey=xuaance0nynmtq2ix6vun1d1i&dl=0
将其拖放到 ComfyUI 浏览器用户界面中。此时会出现一条错误信息。点击关闭。然后点击用户界面小菜单中的 "管理器"。然后点击 "安装缺失的自定义节点"。在新菜单中点击 "安装",从顶部开始一次一个。每次点击之间都要等待前一次点击完成。有些人可能需要更长的时间,请不要害怕,耐心等待。
完成后,点击关闭。再次关闭。然后关闭网页屏幕和 ComfyUI 黑色屏幕。
现在重新启动 ComfyUI。让它自动完成一切,直到工作流程出现。这需要一段时间。现在应该不会出现错误信息了。为了安全起见,请再次关闭一切并重新启动。大功告成!可以使用了。尽情享受吧
我向我的中国朋友们表示歉意,但我不懂你们的语言,因此在撰写此文时使用了自动翻译器。希望我没有以任何方式冒犯你们。
WHO is FormulaXL?
Hello there, I'm Marco, and I'm your friendly neighborhood nerd.
Thanks to the collaboration with:
1) Giovanna: Italian photographer, instructor and popularizer of digital photographic development. (Giovanna Griffo - Wikipedia)
2) Massimo: the man who has been working in the field of graphic design for forty years.
3) Tiziana: traditional artist who studied painting at Academy of Fine Arts and Depero Art Institute: Graphic Photography and Cinematography.
4) Stefano: expert in Photoshop, Lightroom, technology and general photo retouching with any modern devilry.
The Power Rangers are pleased to present FormulaXL.
WHERE is FormulaXL?
Italy is pleased to participate in the international community in the creation of open source content for the betterment and advancement of the human race. We now have pizza, mafia, mandolin and AI.
WHEN is FormulaXL?
It's happening now! From February 2023, I started to become passionate about AI. After a brief flirtation with Midjourney, Giovanna introduced me to Stable Diffusion. And it was love at first sight. We started dating constantly, and now that she has had the surgery to become XL, I can no longer stay away from her. So I decided to throw my head, soul and heart into it to learn how to use and train her to the best of my ability. Also asking some great people around me to help me with the project. In the future, I hope to upgrade my Hardware to better meet her needs. If you know what I mean.
WHY FormulaXL?
The word Formula is the same in Italian and English. The etymology comes from Latin: formula, form, "shape."
Since Stable Diffusion's AI gives us the ability to shape our thoughts through words, it seemed the most appropriate one.
In addition, the writing of the prompts and the various settings for creating the final synthography are very reminiscent of the old alchemical recipes that started from elements of the most disparate kinds to compete for the creation of the perfect potion. In case of failure, the laboratory explosion. Something that mixes science and magic, awareness and luck, a bit like AI.
The philosophy behind this model is very simple: Less is More. My model will not return flavor-laden images unless you ask for them, only high quality. Imagine you are in a restaurant. And you order a portion of French fries. My model will bring you an excellent portion of fries. But there will be no salt, ketchup or mayonnaise etc. already added. They will be there available on the table. You will be able to take the fries and pass them through img2img, Photoshop, Lora, Lycoris, Lightroom, more prompt etc. To your personal taste.
This is the Mediterranean cuisine.
Enjoy!
Conclusions:
Let me know what you think! Give me feedback, criticism, pats on the back. Use the model, experiment with your wonderful imagination and show me here what you are able to accomplish. I only used simple prompts for the beta test to make sure it didn't derail. I look forward to admiring your geeky results.
If you would like to support the project and help me here is the part where I am begging:
https://ko-fi.com/madeinitaly
Description
This is version 2.0 Pruned fp16. Suitable for use in generating images on ComfyUi.
这是 2.0 版经过修剪的 fp16。适用于在 ComfyUi 上生成图像。
FAQ
Comments (25)
***UPDATE***: Thanks to the various prompts provided with the first version of this model and the feedback received from various places on the internet, I was able to work on and implement v1.0 pruned and v2.0 pruned. They are optimized to work on ComfyUI taking advantage of all the new features implemented by the SDXL architecture. The explanation of how to use them on ComfyUI can be found here in the model description. The full fp32 versions are only for future training if you are interested. I thank the entire Civitai community for their support and commitment to their wonderful creations. नमस्ते.
****更新****: 感谢第一版模型提供的各种提示以及从互联网上收到的各种反馈,我得以开发并实施了剪枝版 v1.0 和剪枝版 v2.0。它们利用 SDXL 架构实现的所有新功能对 ComfyUI 进行了优化。关于如何在 ComfyUI 上使用它们的说明,请参见此处的模型描述。如果您感兴趣,完整的 fp32 版本仅用于未来的培训。感谢整个 Civitai 社区对其精彩作品的支持和投入。नमस्ते.
Love how you post many photo examples and really appreciate how simple the negative prompt is.
Thank you very much for your feedback, really appreciated. <3
Why most examples here are comfyui ones? It won't work good with a1111? And i wonder where is the v10 [500b9f3c49] version gone away? I found that in my collection but not seeing here.. 🤔
Based on the feedback I received with the first model, the workflow that I found great for good photorealism with A1111 was too slow for most users. Which I could not predict by having a good PC to work with. Driven by this demand, I therefore looked for the best workflow that would allow the best quality/speed ratio. And to do that I had to squeeze ComfyUI with the configuration I have shown above in the description of the model itself. So my advice is to follow those directions and use ComfyUI set up that way to get the best results for pure image generation from text in acceptable time. Thank you for your understanding and feedback.
@MadeInItAly That's understandable and thanks alot! You did a great job with this model! 👌👌
@JoshBMX Thank you again.
You can always follow this guide to get the exact same images in A1111 and ComfyUI: https://github.com/Mikubill/sd-webui-controlnet/discussions/2039
@MadeInItAly There is a way to get Comfy and A1111 on the "same page" https://github.com/Mikubill/sd-webui-controlnet/discussions/2039
@olivetty Thank you for valuable information. 💙
@MadeInItAly Prego! :D
La versione 2.0 è un ulteriore balzo in avanti verso un fotorealismo praticamente indistinguibile dalla realtà. Ottimo lavoro!
Version 2.0 is a further leap forward towards photorealism that is practically indistinguishable from reality. Good job!
Hello, can you let me know how to change the upscale to 4x? Thank you for this great model.
First of all, thank you for the feedback! I personally don't recommend to upscale in my workflow to 4x, because it acts as a hires.fix. Which means the production will be super slow or even fail to process it due to excessive memory consumption. I can advise you to take the final result though and use a subsequent external upscaler. On A1111, or any other UI. I recommend this: https://www.upscayl.org/
It is Open Source and very good. ^_^
I forgot, I noticed from my tests, that going beyond x2 with hires.fix dilutes the image too much, ruining it.
I'm having a lot of trouble with installing this. I keep getting this error no mater what I do.
" When loading the graph, the following node types were not found:
Checkpoint Loader (Simple)
CR LoRA Stack
Nodes that have failed to load will show as red on the graph."
It's really strange, no one else I know who followed the steps I wrote in the description had any problems. I myself had done a test by deleting ComfyUI and redoing everything to make sure it worked. I wouldn't know how to help you, sorry. :(
So this only works with Comfy UI?
Based on the feedback I received with the first model, the workflow that I found great for good photorealism with A1111 was too slow for most users. Which I could not predict by having a good PC to work with. Driven by this demand, I therefore looked for the best workflow that would allow the best quality/speed ratio. And to do that I had to squeeze ComfyUI with the configuration I have shown above in the description of the model itself. So my advice is to follow those directions and use ComfyUI set up that way to get the best results for pure image generation from text in acceptable time. Thank you for your understanding and feedback.
Hello, I have downloaded and installed the missing nodes as instructed but after I restarted ComfyUI 3 times, it kept saying node types were not found:
GetLatent_(WidthHeight) _0
How can I fix it? I have checked and there is no other in "Install missing nodes".
❤️ Super nice Checkpoint. Rly miss it in onsite Generation. :(
GetLatent_(WidthHeight) _0
Any solution to this?
Details
Files
Available On (1 platform)
Same model published on other platforms. May have additional downloads or version variants.