

I have just starting to use Comfyui recently and wasn't satisfied with the up-scaling method I learn from the goat Mr.Olivio S. because :
the up-scaling models set by default tend to add much more details than the low resolution image and change a bit the style of the model
They need at least 0.40-0.50 denoising
I feel like they may be very useful for realistic art or semi-realistic/2.5D but not very interesting for simple detailed anime images.
Since I produce only anime like outputs, I try with the few knowledge I get from Olivio's Workshop to find again the a1111 up-scaling method.
I could achieve this simple workflow in the attachment.
I found that is very similar to how we upscale an image in a1111, see comparison in posts attached to the article.
The closer from 0.00 you are in the "Latent blend" "blend_factor", the closer you are from a traditional a1111 upscale. I recommend between 0.00 and 0.20. Too high, it changes the style.
It is set up here to upscale images doing 512x768 pixels to 768x1152 pixels (x1.50) to 1536x2304 pixels (extras x2). To change those value, you need to change values in latent empty images and width in the CR upscale.
As I am just a beginner with comfy, if you have better workflow for this purpose, I'd like to know, you can share it in the comments.
Still learning comfy, looking forward to build new original workflows.
Comparison of a1111 up-scaling process and my workflow (same settings and denoising) in posts section.
Description
First version, could be upgrade
FAQ
Comments (7)
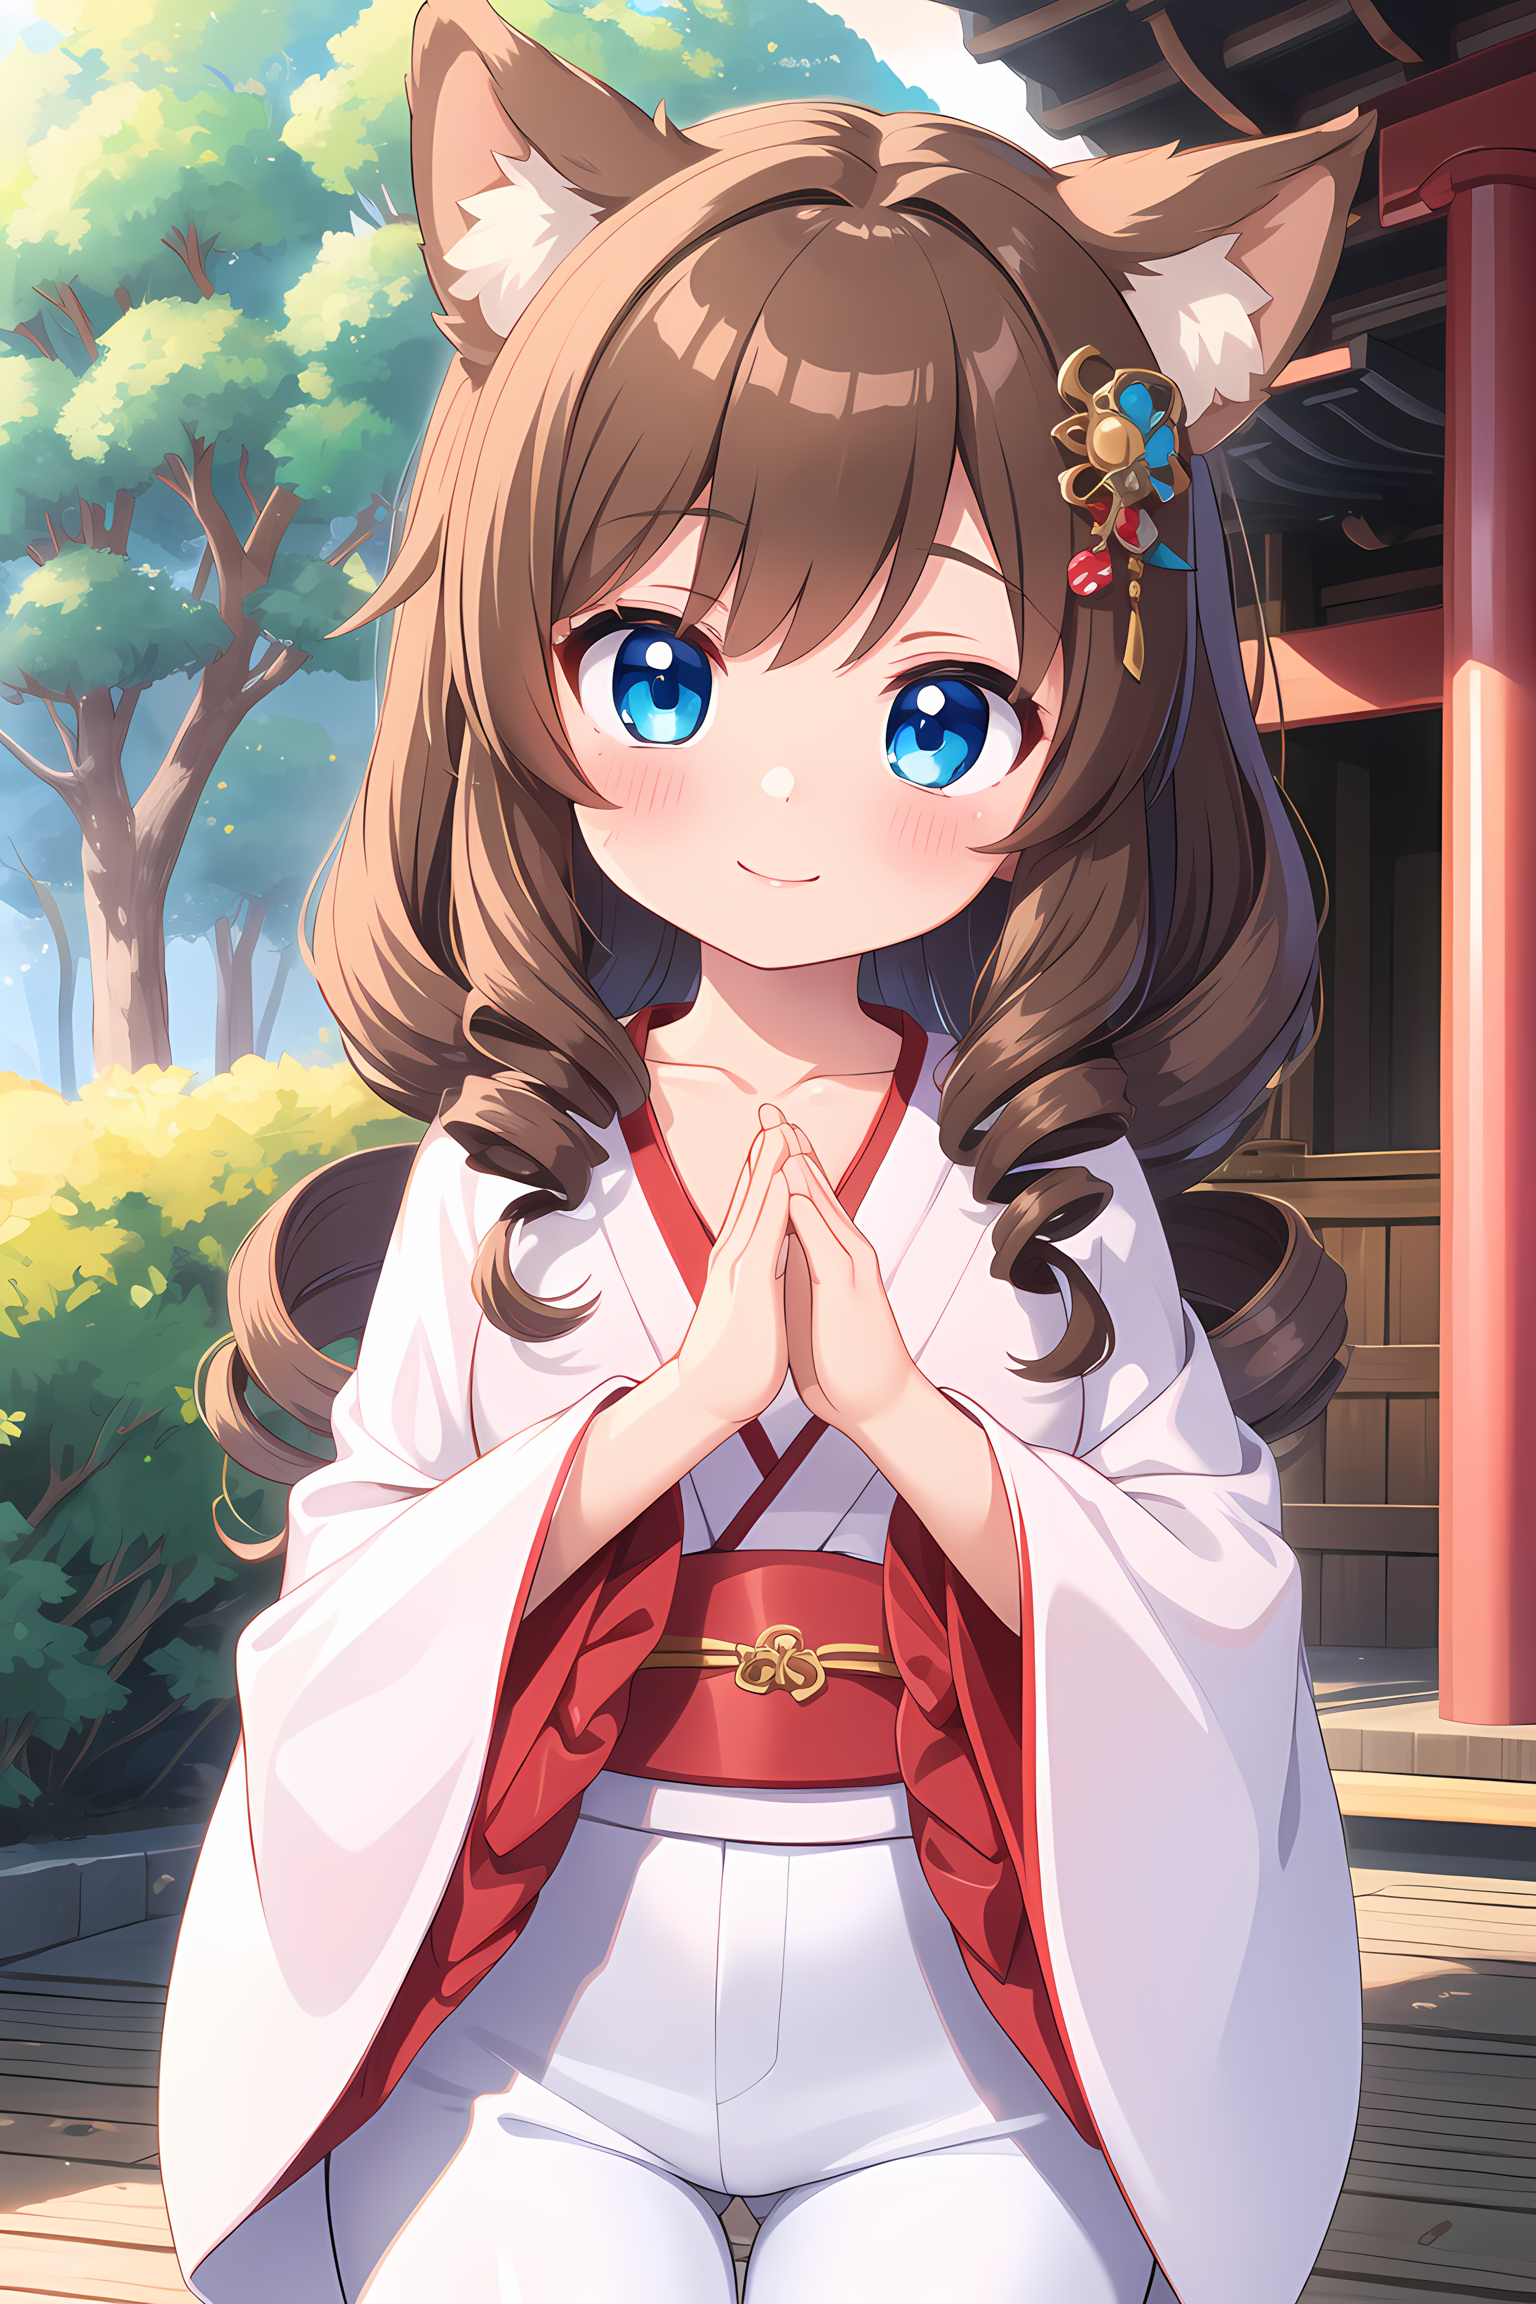
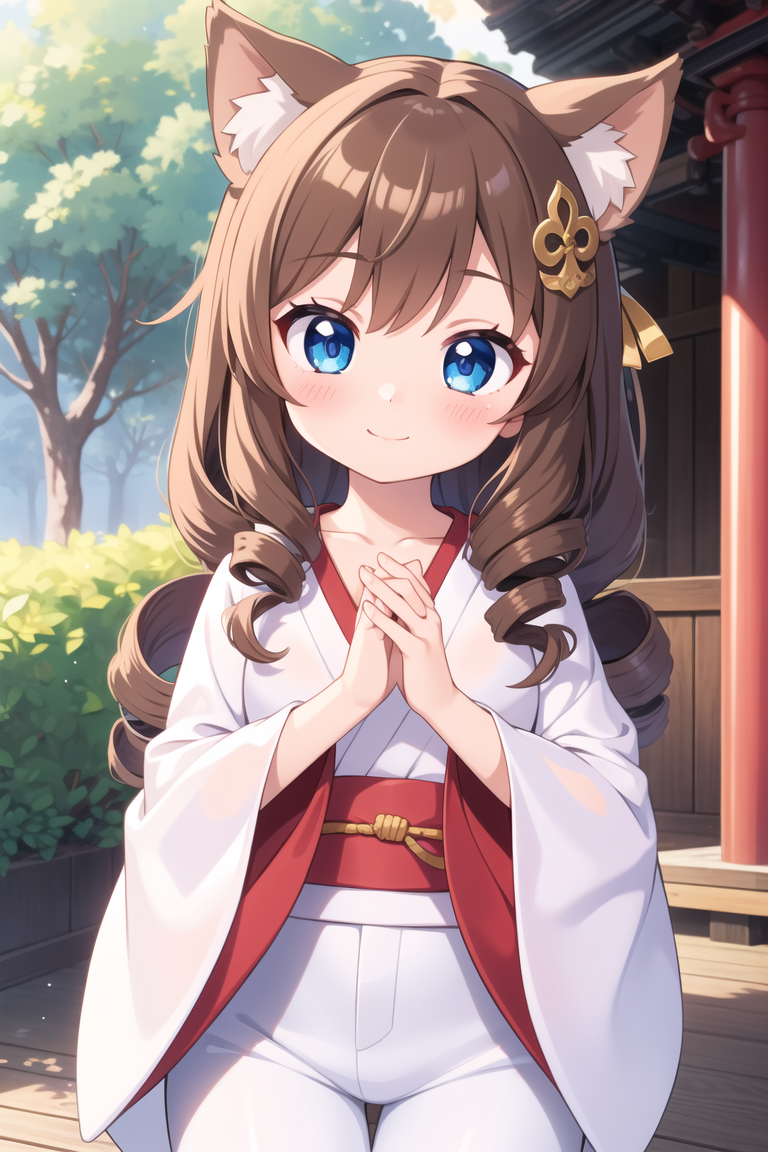
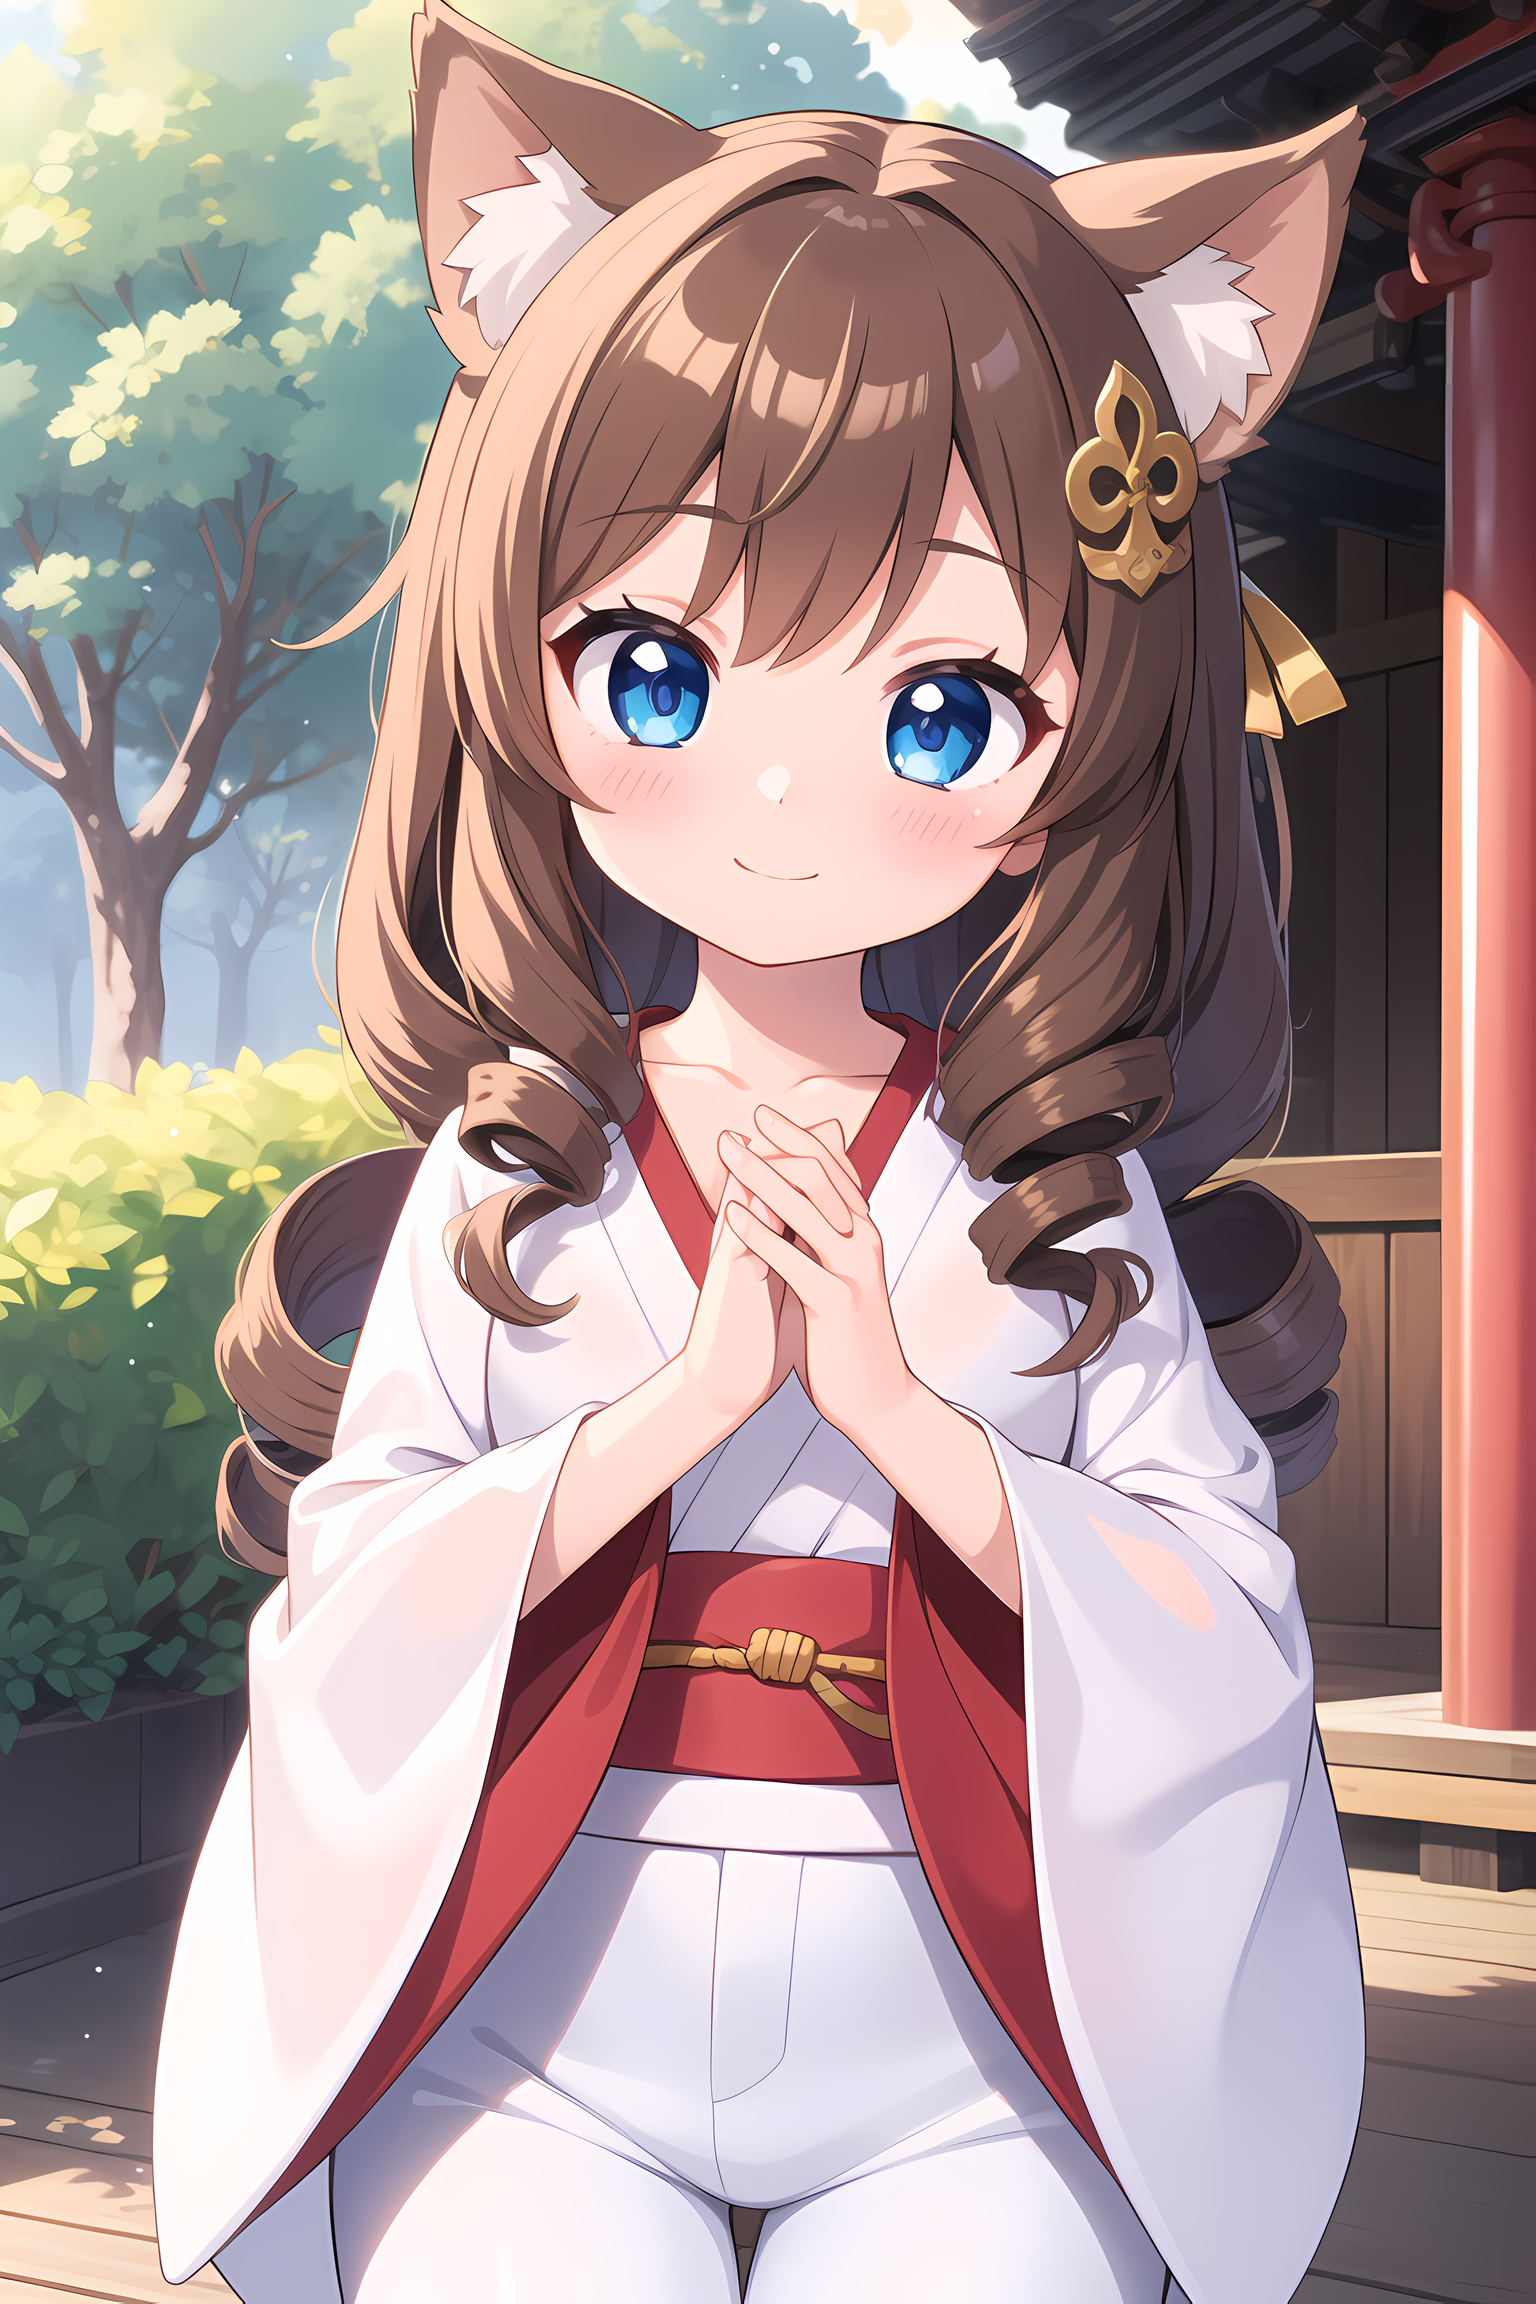
Images where there is blue in hair ornaments is up-scaled with comfyui and the 100% gold with A1111
This works so well, thanks for sharing this! I can even change the color of the hair (by adding like hair color:1.5 to the img2img prompt) and other details with almost no change to the composition at all!
I'm happy that this workflow could be useful, if you like to change color when up-scaling and targeting few changes in the composition, I'm currently building and testing a magic painting in-painting with depth control. I may be sharing it in few days (maybe tomorrow ;) ). Stay tuned if you want to play with colors and patterns of an initial image.
How to add upscaler model and download it.
You can check learning videos made by Olivio Sarikas on Youtube or Openart to get enough knowledge to respond your asking.
After all, I found that upscaling with A1111 using same settings as the txt2img and denoising ~0.50 is the best regarding my expectations.
## Flawed! ## Requires upscaler models that are not available in the manager. Even google has a hard time to find them, leading to sketchy pages. Better to avoid this mess.
SD1.5 is kinda very old now, that's a while I quit it and mooved on Illustrious, on top of that, the way I use SD has change a lot since then. I do everything on Krita AI diffusion, from basic generation to inpaint and upscaling. I just remember that this workflow was using upscale model installed as default with the comfy build or maybe by the A1111 build. For upscale, I can give you a cool tips instead of this worflow : in Krita AI diffusion, generate your images, add the ones you want to keep in the layer section. Then, upscale x1.5 or x2.0 with any upscaler, don't use the upscale version, use just the images resized, add a sharpness filter layer on top of the images, refine one by one the images, not in the upscale tab but generate tab, like this, no tile while you will have tiles in the upscale tab of Krita. + Same level of quality that using upscale model + refine, but requires less time for upscaling a bunch of image