Before to use
You have to know how works Stable Diffusion. I recommend using Automatic1111 like an interface to launch the model.
This is a model trained on SD 1.5 model, so you have to consider that it is not perfect. I had to make so much testing before to arrive to a stable generation. I will enhance the model when a better base model arrives (like SD XL new one).
This is a Checkpoint dataset.
I recommend you to follow me on my instagram account, where I will explain about AI image generation: https://www.instagram.com/eddiemauro.design/
Intro
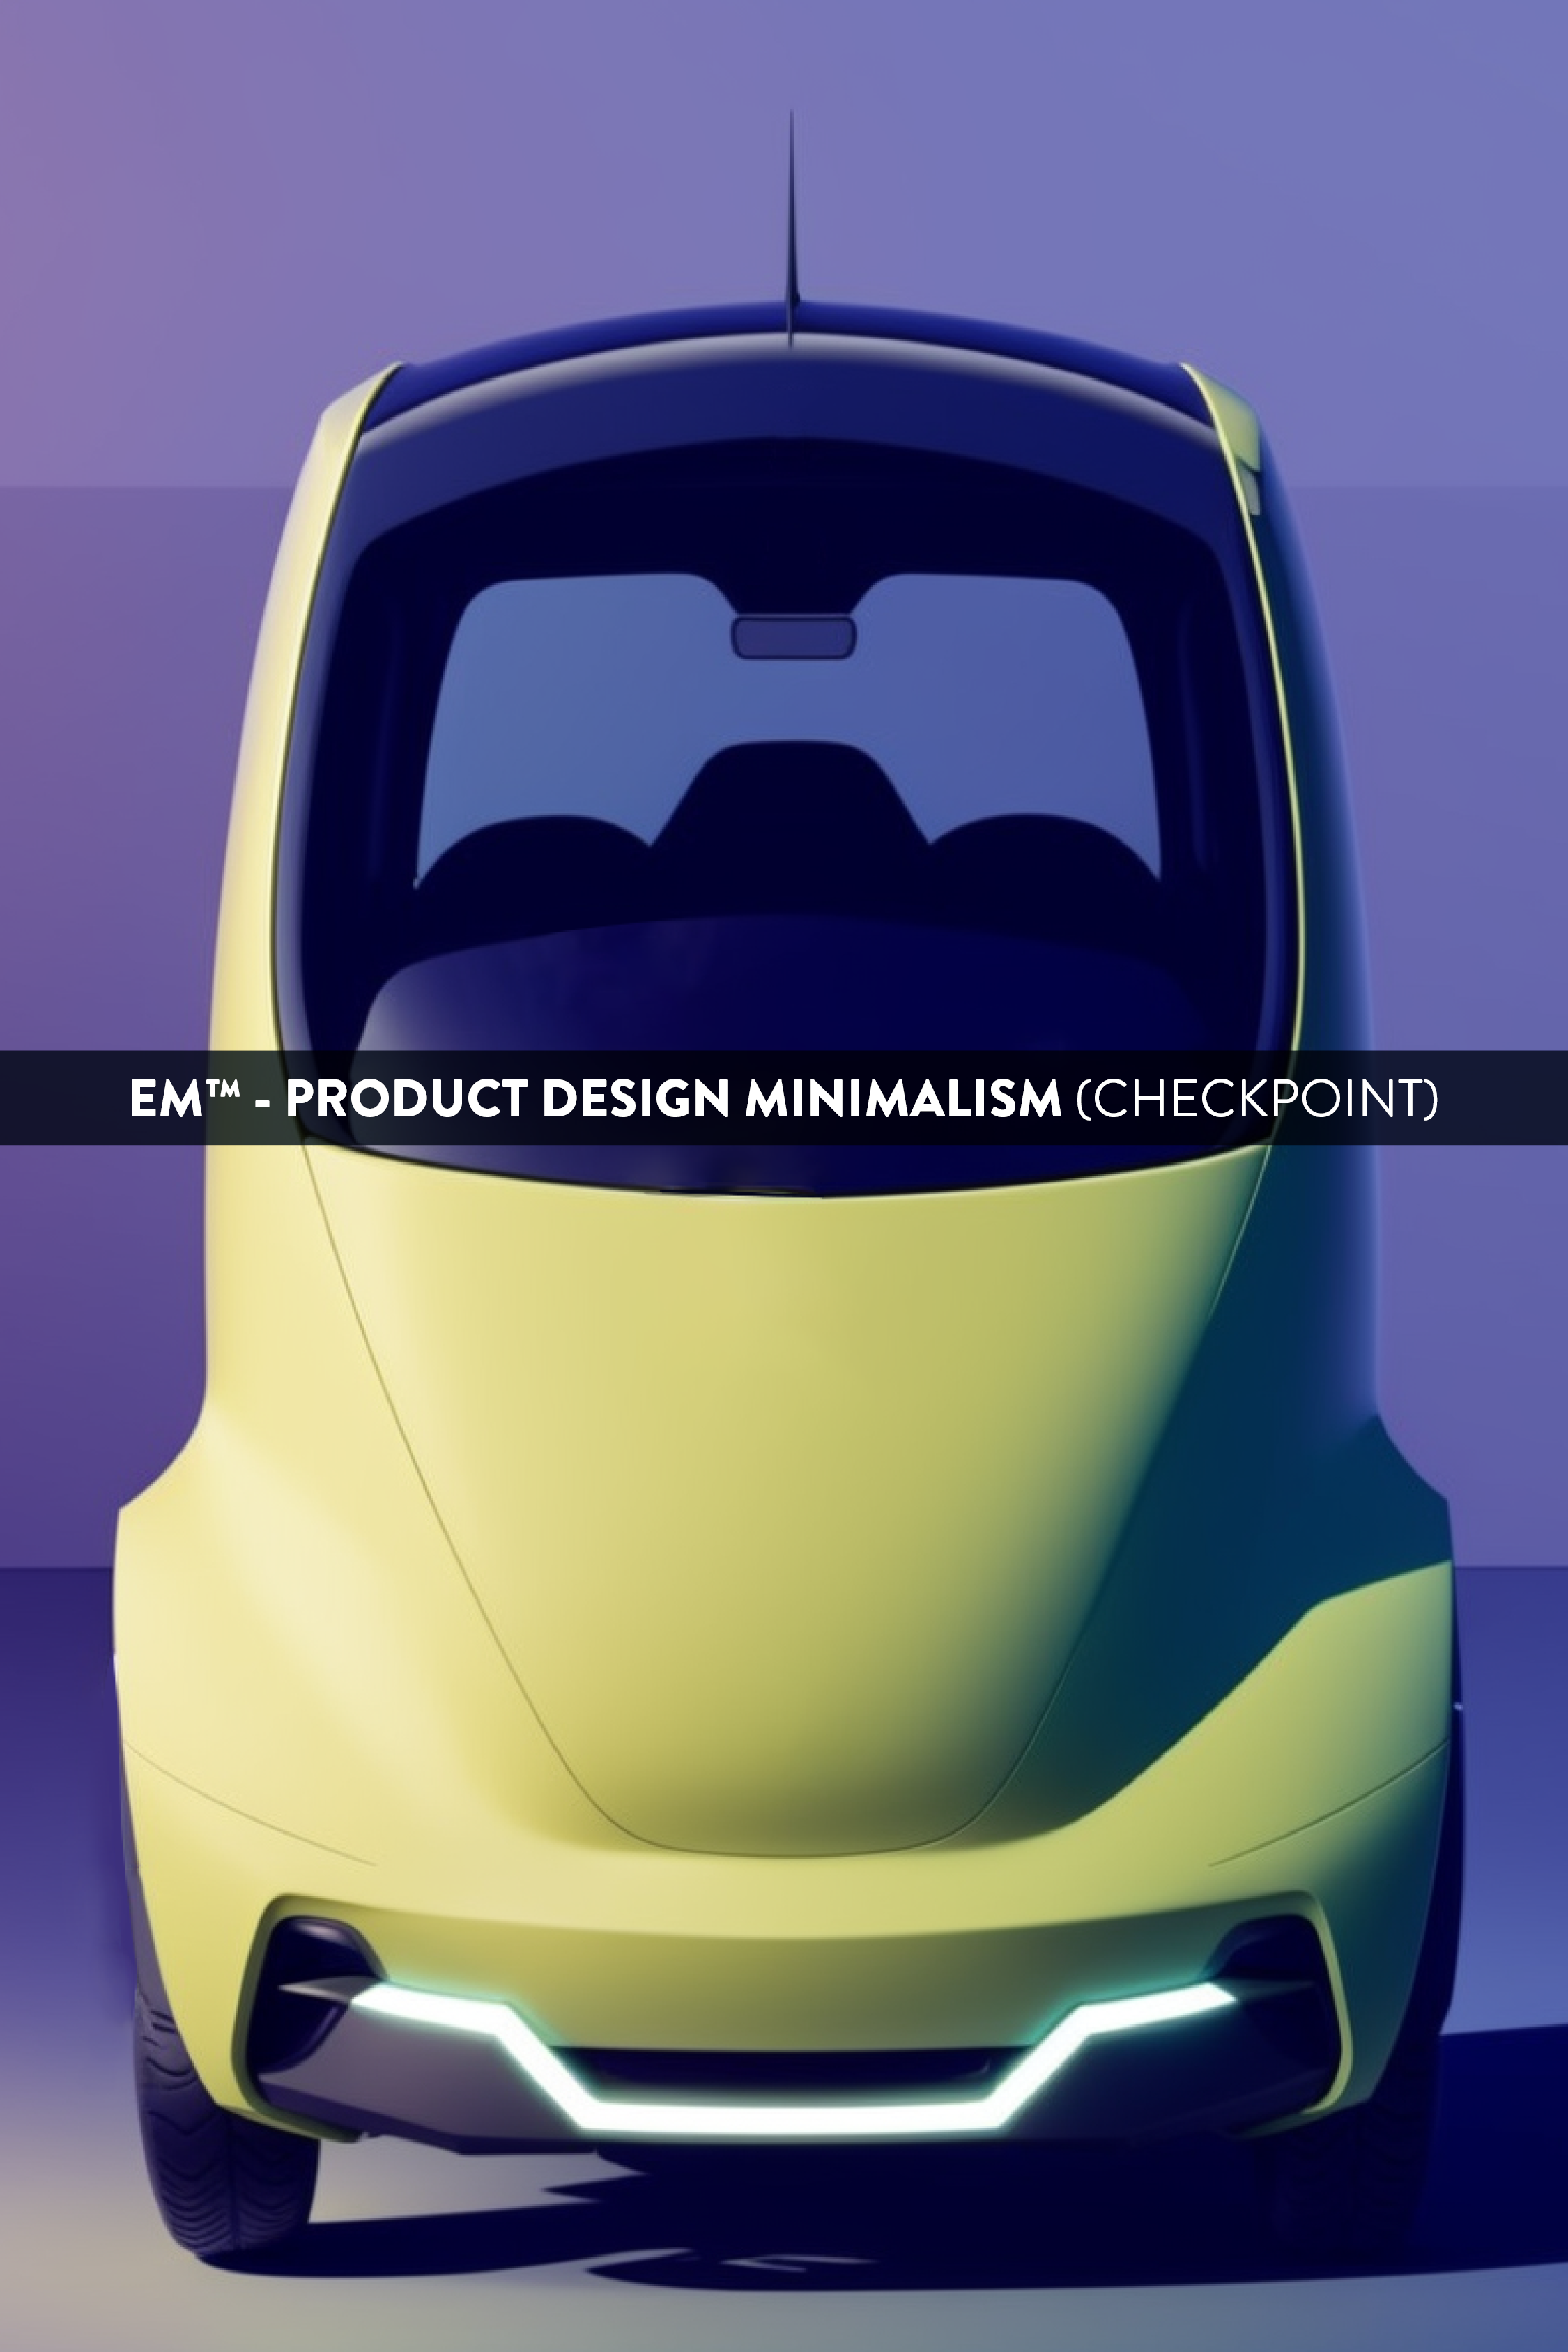
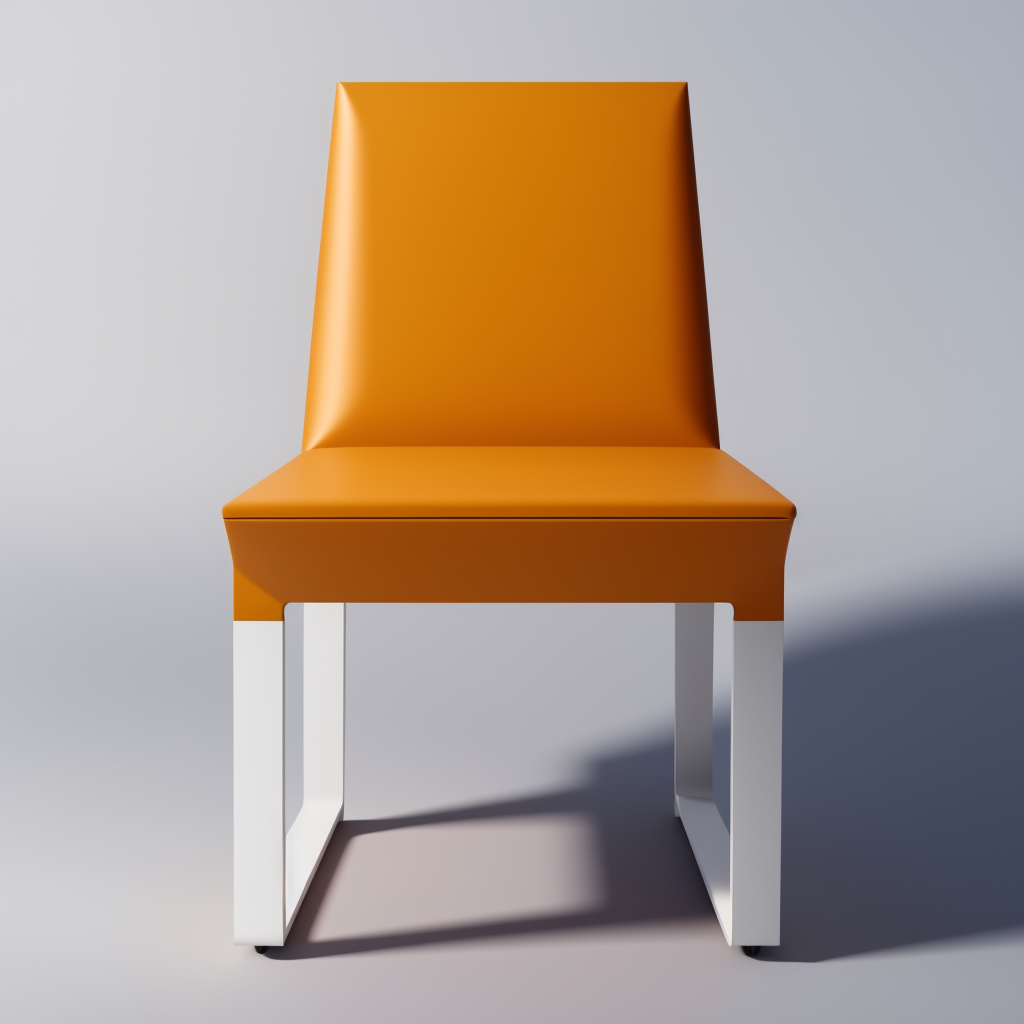
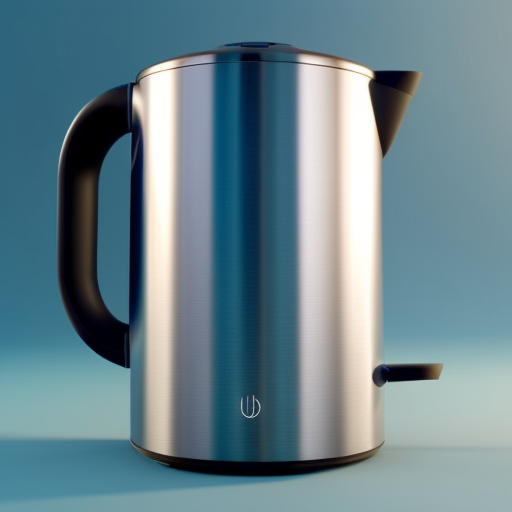
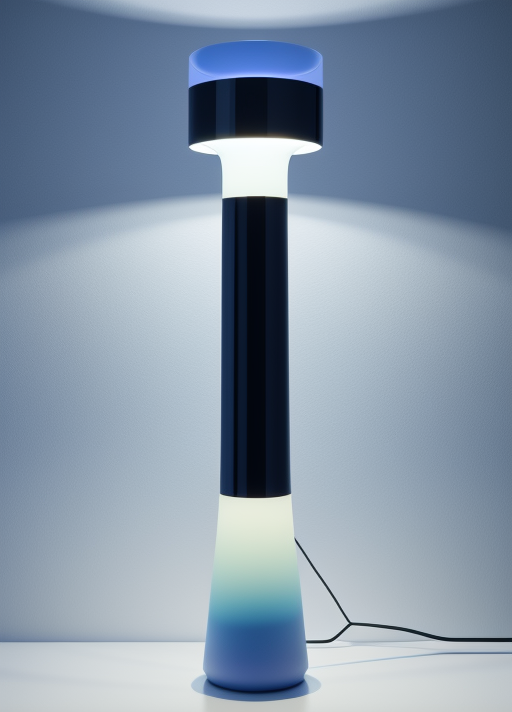
PRODUCT DESIGN (minimalism-eddiemauro) CHECKPOINT: Hi, I’m a product and car designer, and I’m so excited to test with AI, I think is a good tool for designing. This tool is so useful for the design process (shapes-ideas generation), but more than that, it helps so much to refine aesthetically. Also, you can turn sketch and 3D schemes into render style.
ORIGINAL MODEL: eddiemauro 1.5. Express the minimalism concept. Matte finishing.
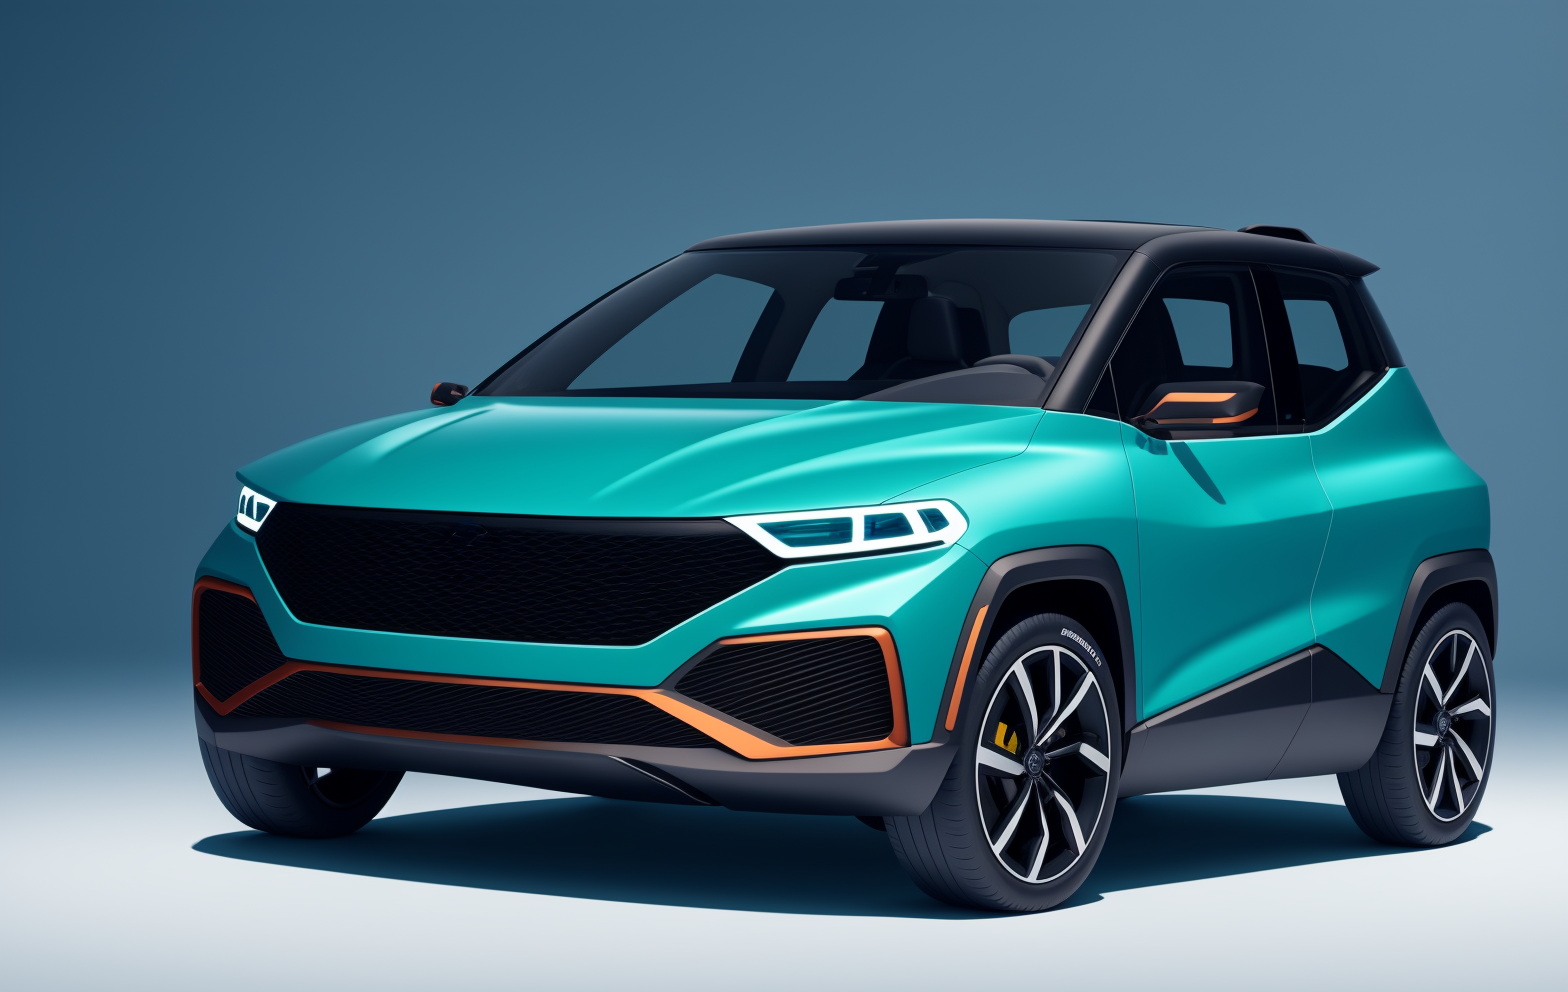
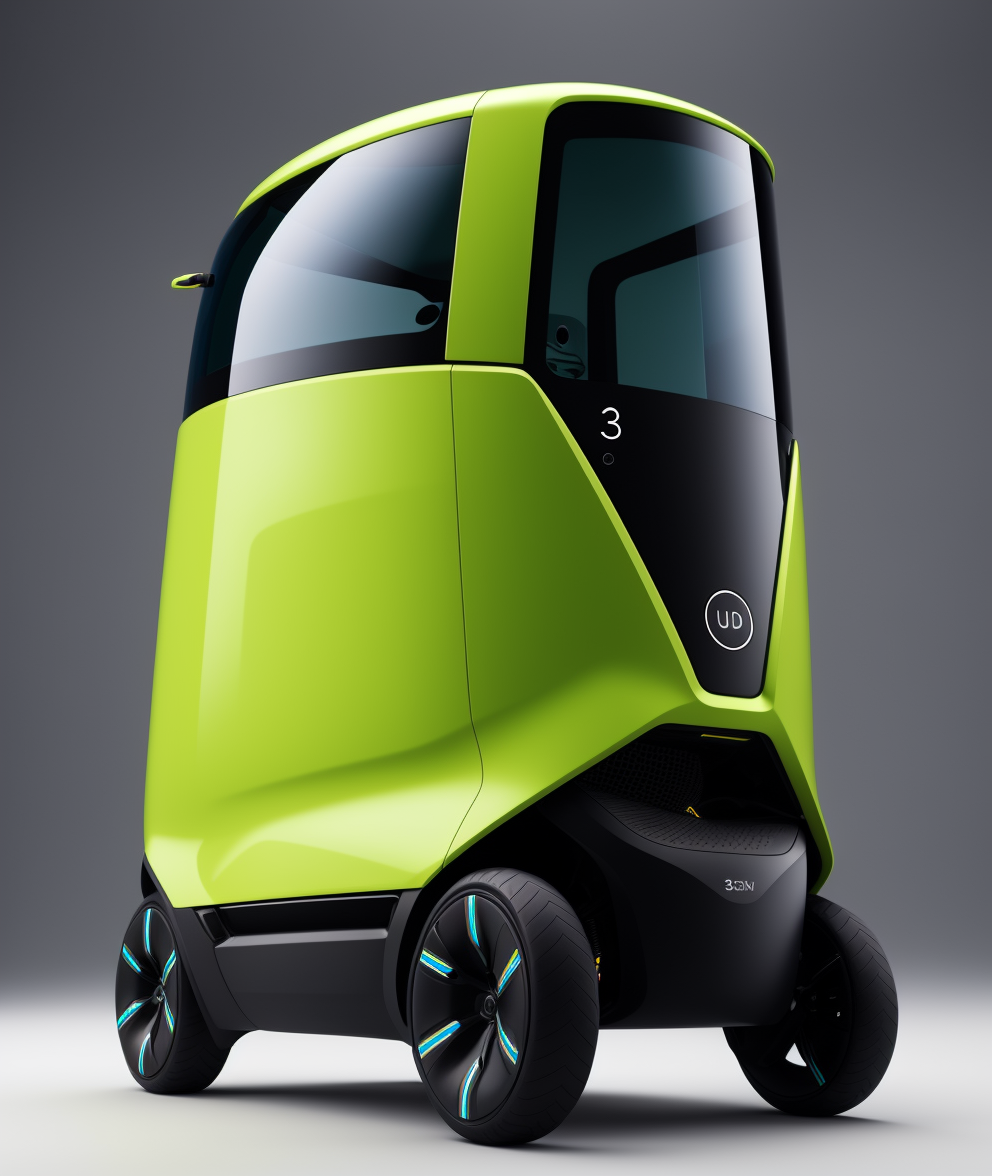
VARIANT MODEL: eddiemauro 1.5b. The prompt is more precise, and it adapts better with objects, but minimalism style is less. The object shape is more realistic, so I consider the original model is more "creative". Also, is less matte. (also known as eddiemauro3.5).
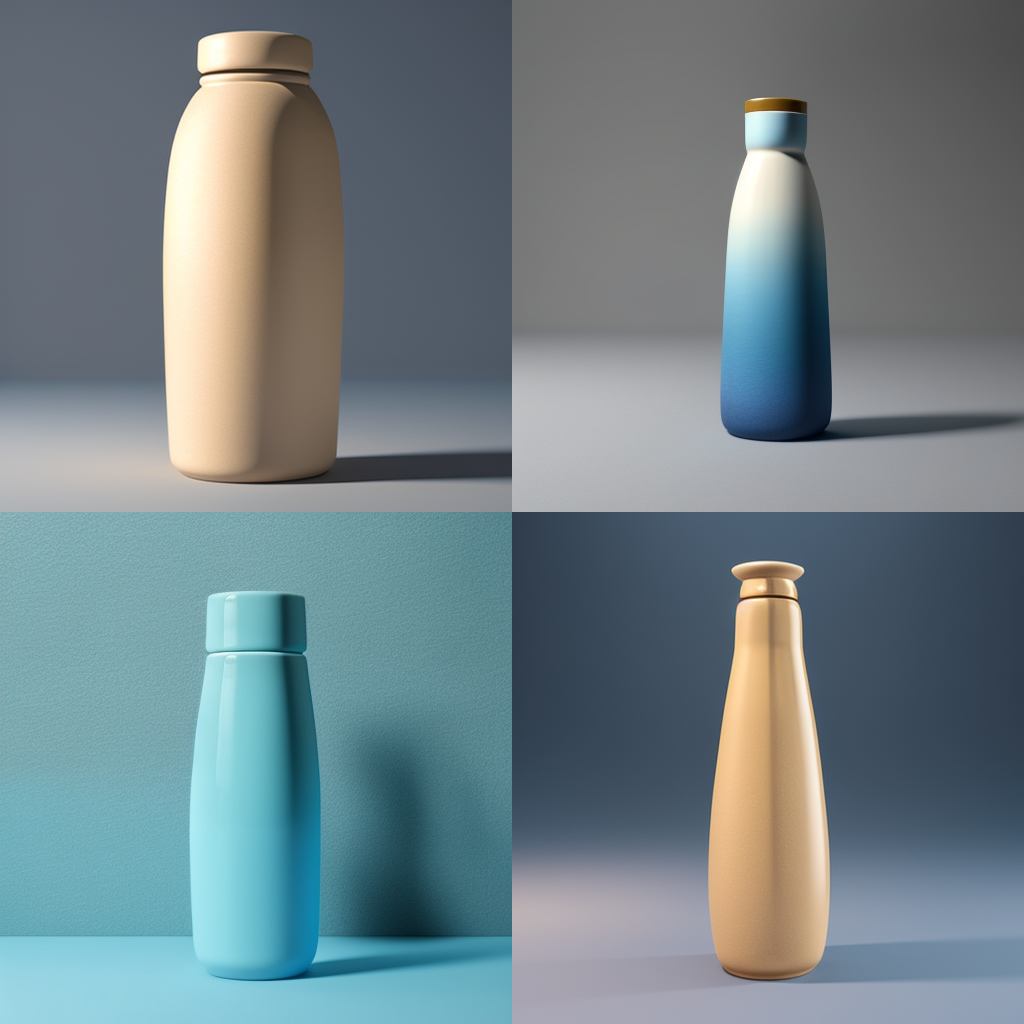
VARIANT MODEL v.2: eddiemauro 2. The prompt is more precise, and it adapts better with objects than original and first variant mode, but the minimalism style is less. The object shape is more realistic, so I consider the original model is more "creative". It is more matte when you apply hires.fix and img2img mode. It is more colorful, and It tends to have sometimes weird color combinations.
VARIANT MODEL v.2.5: eddiemauro 2.5. The prompt is more precise, and it adapts better to objects than the previous one, and the consistence of objects shapes is so good. It has a perfect balance between consistency and creativity. It works better with low Steps and CFG because was trained with 768 dimension. Furthermore, it is less colorful, a less saturated than the previous models, but this can be solved by increasing CFG. If you want to access this model soon, please be part of my lv.1 membership on Ko-fi:
If you want to support my work and help me to upload more models (with better quality), you can do it by entering here and donating, I would greatly appreciate it: https://ko-fi.com/eddiemauro
Installation
I use Automatic1111, the best UI for Stable Diffusion image generation, so I recommend you to install locally or use it online with some Colab or other hosting. You can find online instructions or videos to do that. If you are going to install locally, you can watch this tutorial online and I recommend you to have at least a 6-8 Gb of VRAM Graphic Card (nvidia) to have a stable interface and launch with “Microsoft Edge” because you will have problems on “Google Chrome”. Try also to install “medvram” or “lowvram” options besides “xformers” (search online how to).
You have to install the Checkpoint model to use.
Please for image creation you have to follow all my recommendations, if you don't, it is impossible to generate a good image quality. Also, you have to consider that from today AI image generation is not so consistent and perfect, you have to invest time to get it and make plenty of tests.
Recommendations for image generation
Activation token/caption: Inside prompt space, the first word has to be: “3D product render”, “product render” or "3D product render style" to activate the style. It is mandatory, if you don't do it, it will not work properly.
Another recommended prompting: Inside prompt you can use those words that will enhance the image generation: in the positive space, “futuristic, finely detailed, purism, ue 5, a computer rendering, minimalism, octane render, 4k”; in the negative space: “(worst quality:2), (low quality:2), (normal quality:2), lowres, ((monochrome)), ((grayscale)), cropped, text, jpeg artifacts, signature, watermark, username, sketch, cartoon, drawing, anime, duplicate, blurry, semi-realistic, out of frame, ugly, deformed”. You can also watch the image metadata of example images here and simulate the prompt.
Textual inversion/embedding or Lora tool recommended: I consider that “EasyNegative” is one best of textual inversion for negative prompt space, you should use it. Download here and install it, putting the file inside “embeddings”. You can use it also “Detail Tweaker” to even reduce the details of the image, for that, you have to download from here, install like a Lora and use it inside positive prompt with a value of “-0.5”. Use it when you realize the checkpoint used has so many details, but not when you see that minimalism is on it. This can change the shape of objects considerably. You can use another Lora's like "Epi noiseoffset" or "Godard Style", but not any of my Lora's of product design minimalism.
VAE: Mostly it is recommended to use the “vae-ft-mse-840000-ema-pruned” Stable Diffusion standard.
Clip Skip: It was trained on 2, so use 2.
Steps and CFG: It is recommended to use Steps from “20-40” and CFG scale from “6-9”, the ideal is: steps 30, CFG 8. For next models, those values could change.
Color adjustment: When you feel there is a color extra in the image, just put it in Negative prompt: "weird colors", or the color you intend to avoid. The v.2 tends to be so colorful.
Sampler: I use mostly “EulerA”, “DPM++SDE Karras” or “DPM++2S a”. Euler tends to be simpler and more creative. Make experimentation with other samplers if you like.
Batch: In txt2img try to put a value of 4 to generate more than 1 image and watch the generations. If you have a good graphic card, you can use “Batch size”, this will create at same time 4 images, increasing generation time; but if your computer cannot handle this, change to “Batch count” that will create 4 images in a row (not a same time), but generation time will be more.
Image aspect: Try to use these dimensions: 512x512, 768x512, 512x768, but even you can experiment with different. Don't generate bigger images because the style could be lost, if you want to create a bigger image, use hires.fix in txt2img mode, img2img increase method or Ultimate SD Upscale script extension + ControlNet, or just upscaling with GAN models.
Create bigger images: There are 4 different methods to create large images in Stable Diffusion, you can check online how to. For first method “txt2img hires.fix”, I recommend you to use upscale model called “4x-UltraSharp”, downloading here just “.pth” file, and then installing it, putting inside “ESRGAN” file. In hires.fix option put any “upscale by” value, and then with a “denoise strength” of “0.5-0.7”. For the second method, you have to select first the image generated in txt2img and then putting in img2img mode, increasing dimension at least “1,5 times” with a “denoise strength” from “0.3-0.5”. For the third method, you can use the same configuration of img2img, but activating “tile” mode of “ControlNet” extension and also the script of “Ultimate SD Upscale”, but for that, I recommend you to watch a tutorial here. For the last method, you have to pass the generated image in txt2img to “extras” and then select a GAN model and scale it, you can also use the “4x-UltraSharp” model.
Get more control of your creation: Use “ControlNet” extension to generate a more controlled shape of what you want, and even you can test it with sketches. Use “Scribble” or “Lineart” modes. For that, I recommend you to install this extension and then learn to how to use. There are plenty of online videos about it.
Copy prompt for image metadata: You can download my example images here and put it inside “PNG info” tab from Automatic1111
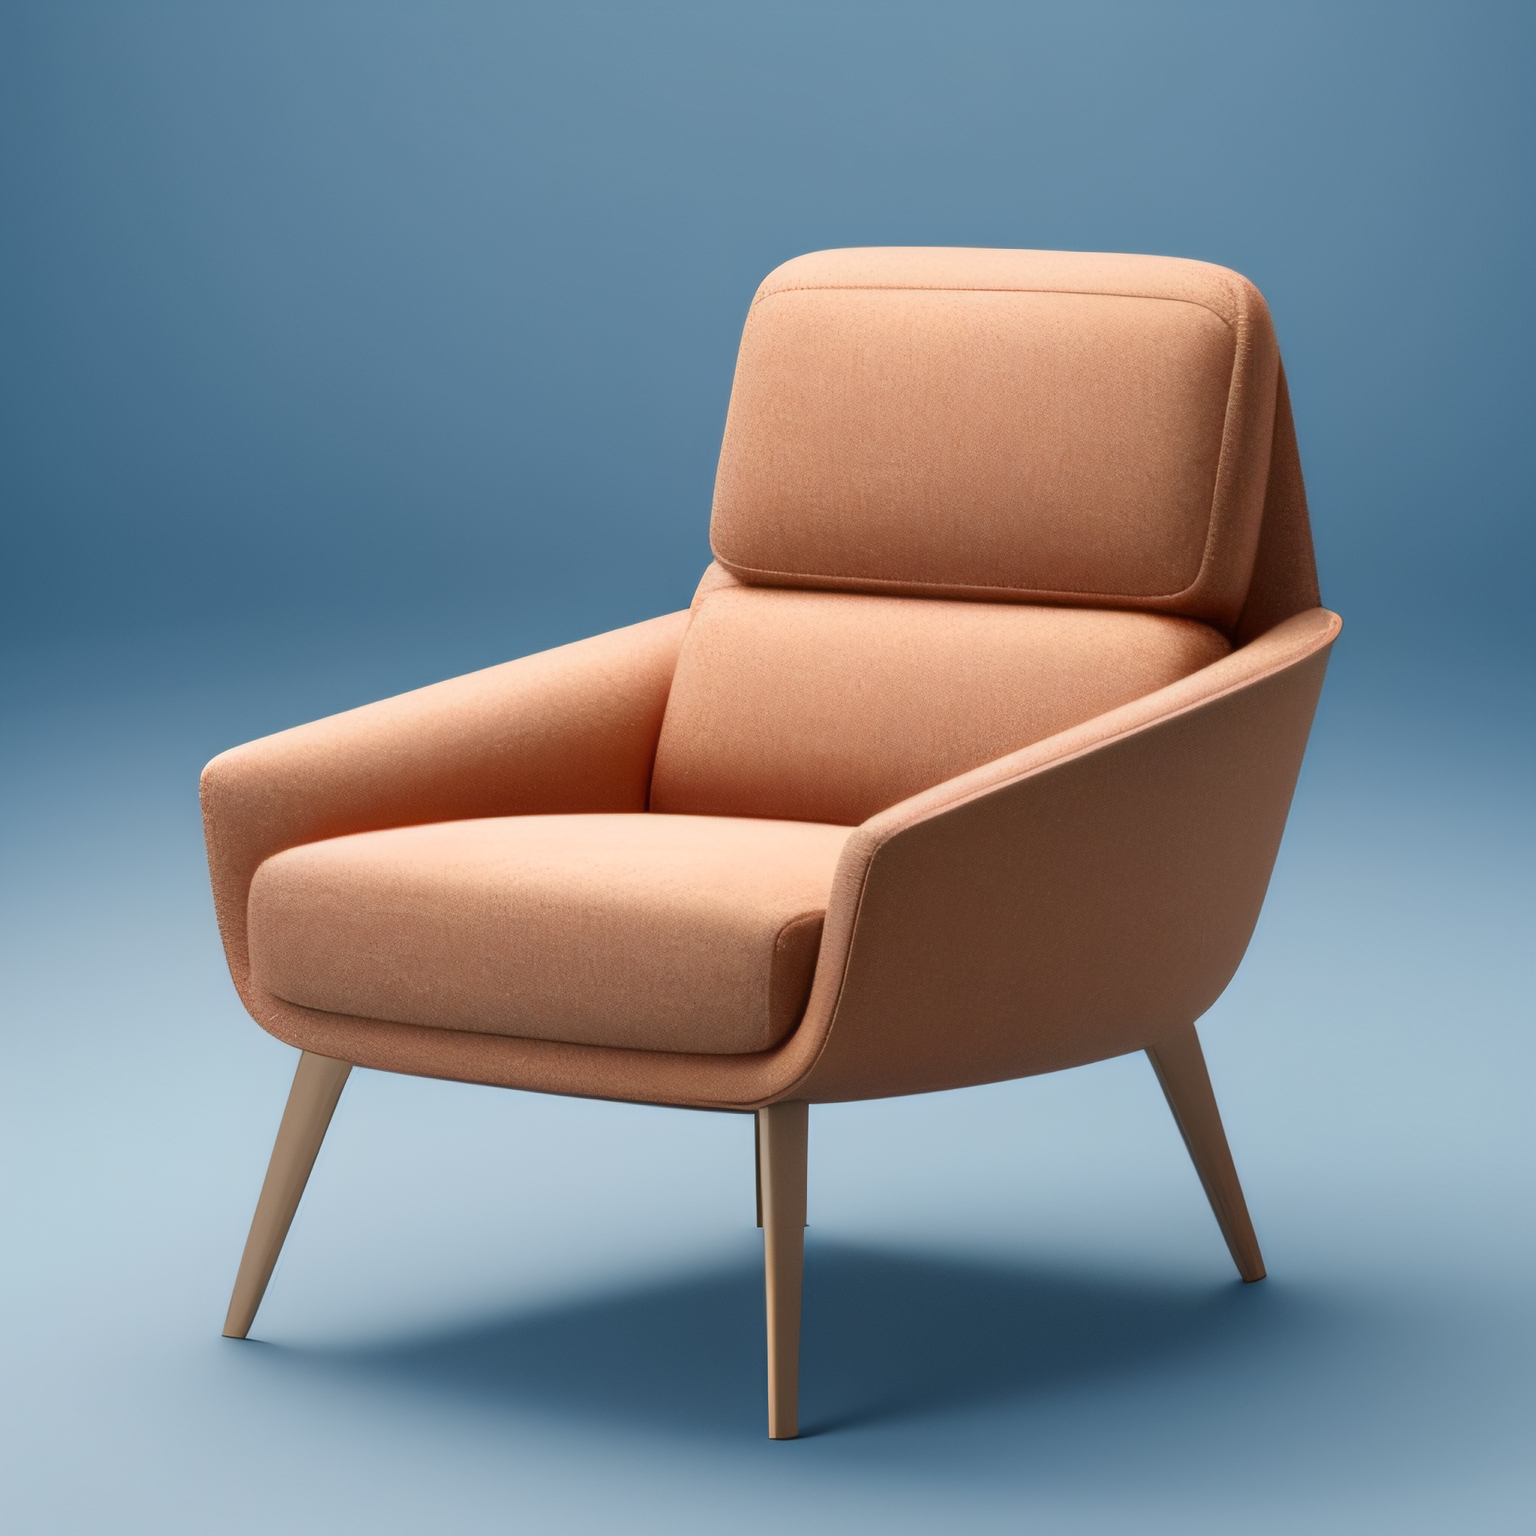
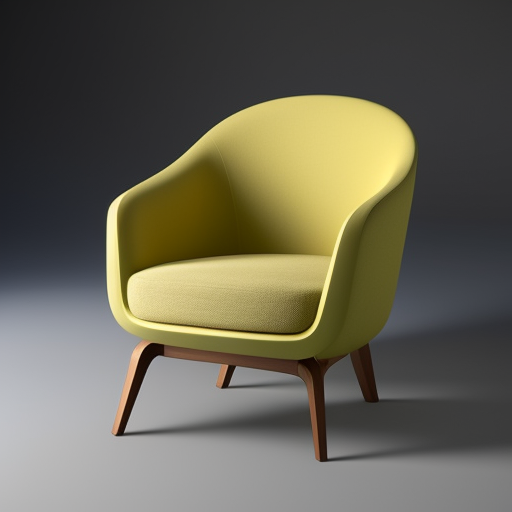
Example Prompting:
Positive prompt:
3D product render, futuristic armchair, finely detailed, purism, ue 5, a computer rendering, minimalism, octane render, 4k
Negative prompt:
EasyNegative, (worst quality:2), (low quality:2), (normal quality:2), lowres, ((monochrome)), ((grayscale)), cropped, text, jpeg artifacts, signature, watermark, username, sketch, cartoon, drawing, anime, duplicate, blurry, semi-realistic, out of frame, ugly, deformed
Steps: from 20-40 (For EulerA is enough 20, DPM++SDE Karras or DPM++2S a)
CFG scale: 6-9 (8 Ideal).
What comes for the future
I’m already trying to enhance the model. This was trained with 512 image aspect, so I will try with 768 (bigger one), and also other configurations (like changing captions, steps, epochs, etc.). If you like a better model of this version, try to keep supporting me on ko-fi, if there are more people supporting me, I can invest more time to train and enhance models, but if this doesn't happen I cannot.
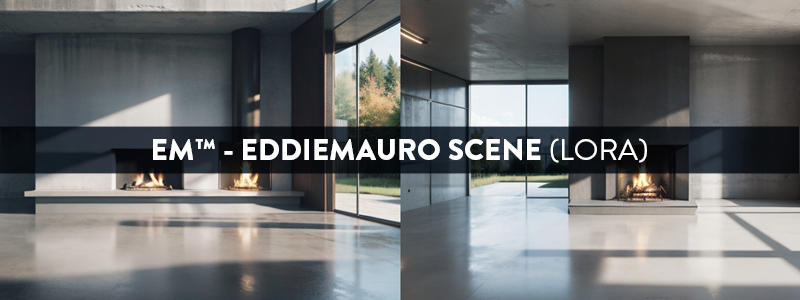
I launched my first private model for my Ko-fi membership lv.1, called "eddiemauro scene" minimalistic scenery creation for rendering. If you want to access to private models, you can support me and subscribe to this membership. I will also start to upload here more models centered on product and car design.
License
Watch here a Stable Diffusion license link. In the case of this specific model, use it for whatever you want in terms of image generation, also commercial (sell images you generate). It is prohibited:
Upload this model to any server or public online site without my permission.
Share online this model without my permission, using my exact model with a different name or uploading this model and then run it on services that generate images for money.
Merge it with a checkpoint or a Lora, and then publish it or share online, just talk to me first. In the future,
Sell this model or merges using this model.
Supporting
You can follow me on my social networks. I will show my process and also design tips and tools. Also, you can check my webpage and in case of you need a design service, I work like a freelance.
https://www.facebook.com/eddiemauro.design
https://www.instagram.com/eddiemauro.design
Description
FAQ
Comments (30)
if you are interested ... This mix is absolute magic mixed with the new Unreal Engine V3
I know what is Unreal, but how do you use it with Stable Diffusion?
I used this model to generate an abstract music video: https://youtu.be/Me7ptv8xlHU
So crazyyy, but niceee. I would ask you just to put in the video info the link of my model :)
Hi, @eddiemauro the link is added.
hi Zirteq, that was an awesome video. Can I ask you, (I am sort of new at this). I am running stable diffusion locally on windows (python in a container), do I need to open a terminal in the stable diffusion folder and paste the script? or what else do I need to do to create my own imagery?
Hi @Artefacteur, thank you
The configuration is for Parseq, which is a plugin for the Deforum extension for Automatic1111.
It's not complete in a way that you could directly copy&paste it anywhere, as I had to remove time-series and keyframe data from the audio sync to put in on Youtube. It just shows what was done exactly and you could use it to setup something like that with a different track and possibly reuse keyframe formulas to generate similar clips in Parseq.
What I did is relatively close to what is demonstrated in part 3 of the official Parseq tutorial by Robin Fernandes, which you can find on Youtube.
If you're not fam with Deforum and Automatic1111, I would recommend Sebastian Kamphs "How to Install Stable Diffusion - automatic1111" tutorial video. A1111 and the Deforum plugin can run locally and are used from a browser. Parseq is an external site to generate complex configurations for your local setup. I think you could run it locally too if you wanted.
@zirteq - Awesome! thanks so much!
很喜欢,一直在找产品设计的模型
🤓
看看我的
That's fantastic! I am a shoe designer, and I haven't yet found a truly effective training model.
🤓. Try to use also Lora, and if you want it, help me leaving 5 stars 🤣👍🏼
Hello. I work as an industrial designer and your model has been incredibly helpful as I start learning about AI. Thank you so much. I see that there are diverse possibilities beyond character design. I am currently studying through YouTube as I am eager to create a model similar to yours. I am interested in creating a model using DreamBooth. When training, should I only train with images of one car or product? Or can I train multiple images of various cars at once and just insert class prompts to facilitate learning of multiple images in one go?
Also can I use images freely, without copyright issues, that are created using your model combined with the LoRA I developed?
I recommend you: 1. Test, test and test. I had to for months. 2. Use any image just to learn, then try to render you own images and train with those. 3. Try to use mostly shapes, not just cars. (n.n)
Very nice model,looking forward to the SDXL version of the model
Soon, but it will be private: https://ko-fi.com/eddiemauro
There is a new version 2.5, made with higher resolution images: https://ko-fi.com/eddiemauro/gallery
Will V2 get a pruned version (1.99gb)?
I tried to prune, but it did not work .-.
OK. I try to use pruned so they better work with multiple other loads lie controlnet, hires etc.
Is the v2.5 model trained on 768x768? Would it be better for me to use 768x768 when training lora and rendering images?
yes. For training now, is better going with 768x768, but you have to know that the quality should be good
@eddiemauro I clicked on Order Membership on your ko-fi page, and my PayPal showed that you have set up pre-approved payment for the merchant. But I still can’t download the model on your ko-fi page
@eddiemauro Are there other ways to buy from you? I want to use it today
@ruqiule just paypal, and paypal is connected to ko-fi
Unfortunately, this old model handled my complex test prompts extremely glitchily. Well, okay, isn't it tailored to the product design? But unfortunately, it proved to be quite weak in this style as well. It lacks a lot of flexibility, responsiveness and diversity even in this style, or I'm doing something wrong. Sadly. But thanks for the work anyway.
It is 1.5 based. It has some limitations. And I launched the model like more than a year and a half. I invite you to train your own model.
Details
Available On (1 platform)
Same model published on other platforms. May have additional downloads or version variants.